Trek N300 Travel Router and Range Extender PR2000
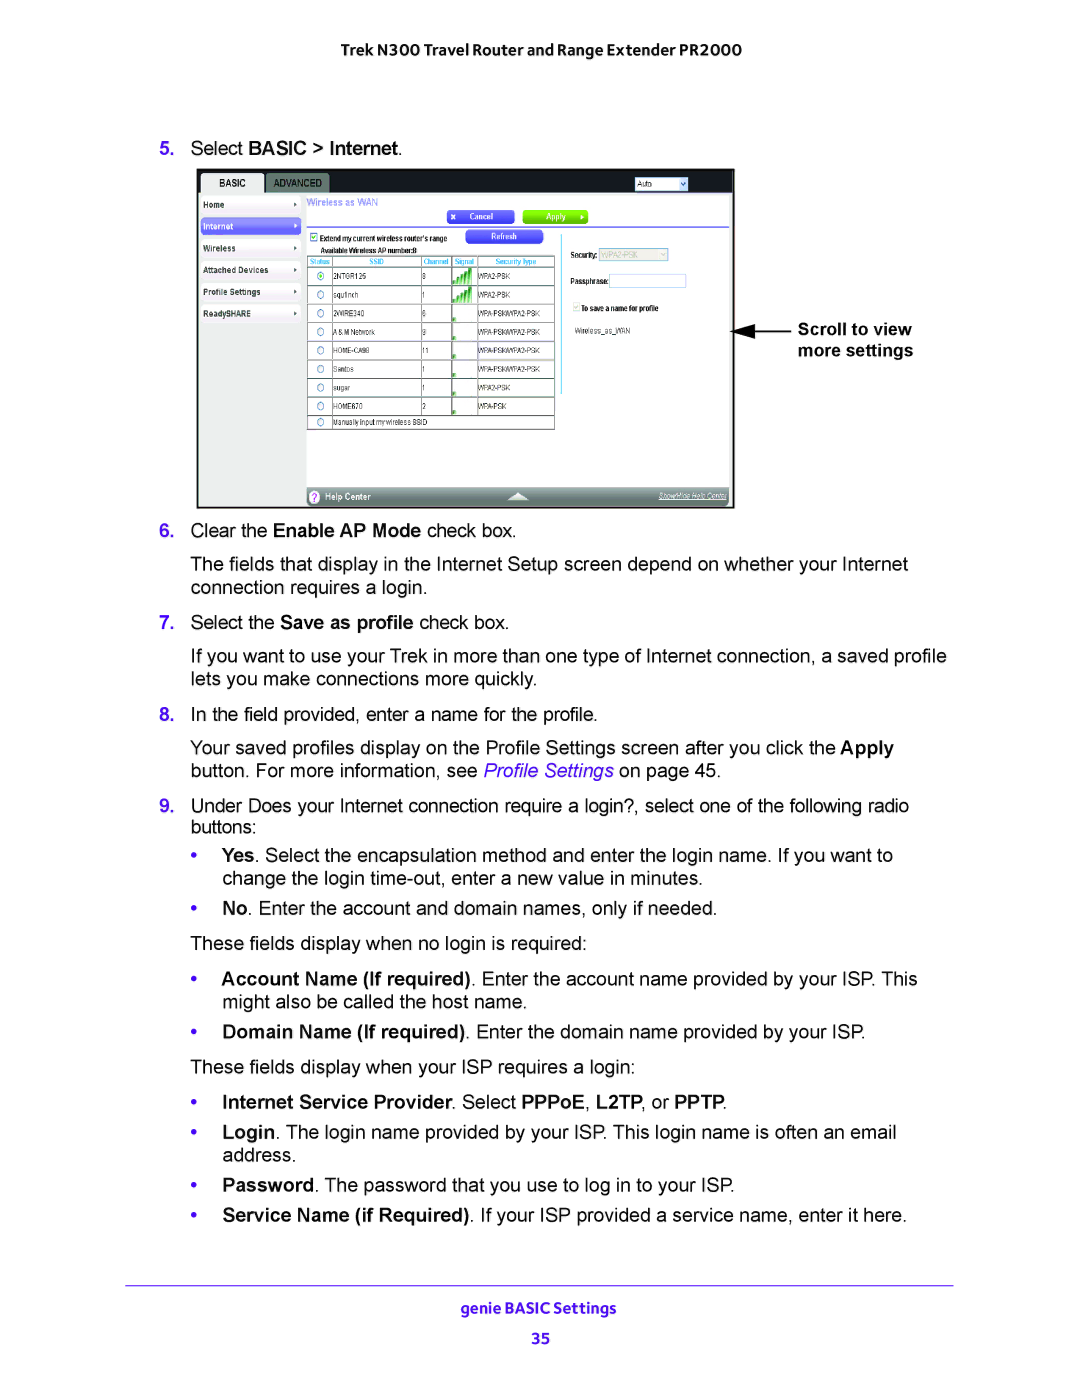
5.Select BASIC > Internet.
![]() Scroll to view more settings
Scroll to view more settings
6.Clear the Enable AP Mode check box.
The fields that display in the Internet Setup screen depend on whether your Internet connection requires a login.
7.Select the Save as profile check box.
If you want to use your Trek in more than one type of Internet connection, a saved profile lets you make connections more quickly.
8.In the field provided, enter a name for the profile.
Your saved profiles display on the Profile Settings screen after you click the Apply button. For more information, see Profile Settings on page 45.
9.Under Does your Internet connection require a login?, select one of the following radio buttons:
•Yes. Select the encapsulation method and enter the login name. If you want to change the login
•No. Enter the account and domain names, only if needed.
These fields display when no login is required:
•Account Name (If required). Enter the account name provided by your ISP. This might also be called the host name.
•Domain Name (If required). Enter the domain name provided by your ISP.
These fields display when your ISP requires a login:
•Internet Service Provider. Select PPPoE, L2TP, or PPTP.
•Login. The login name provided by your ISP. This login name is often an email address.
•Password. The password that you use to log in to your ISP.
•Service Name (if Required). If your ISP provided a service name, enter it here.
genie BASIC Settings
35