Trek N300 Travel Router and Range Extender PR2000
3.Enter the Trek user name and password.
The user name is admin. The default password is password. The user name and password are
4.Click the OK button.
The BASIC Home screen displays.
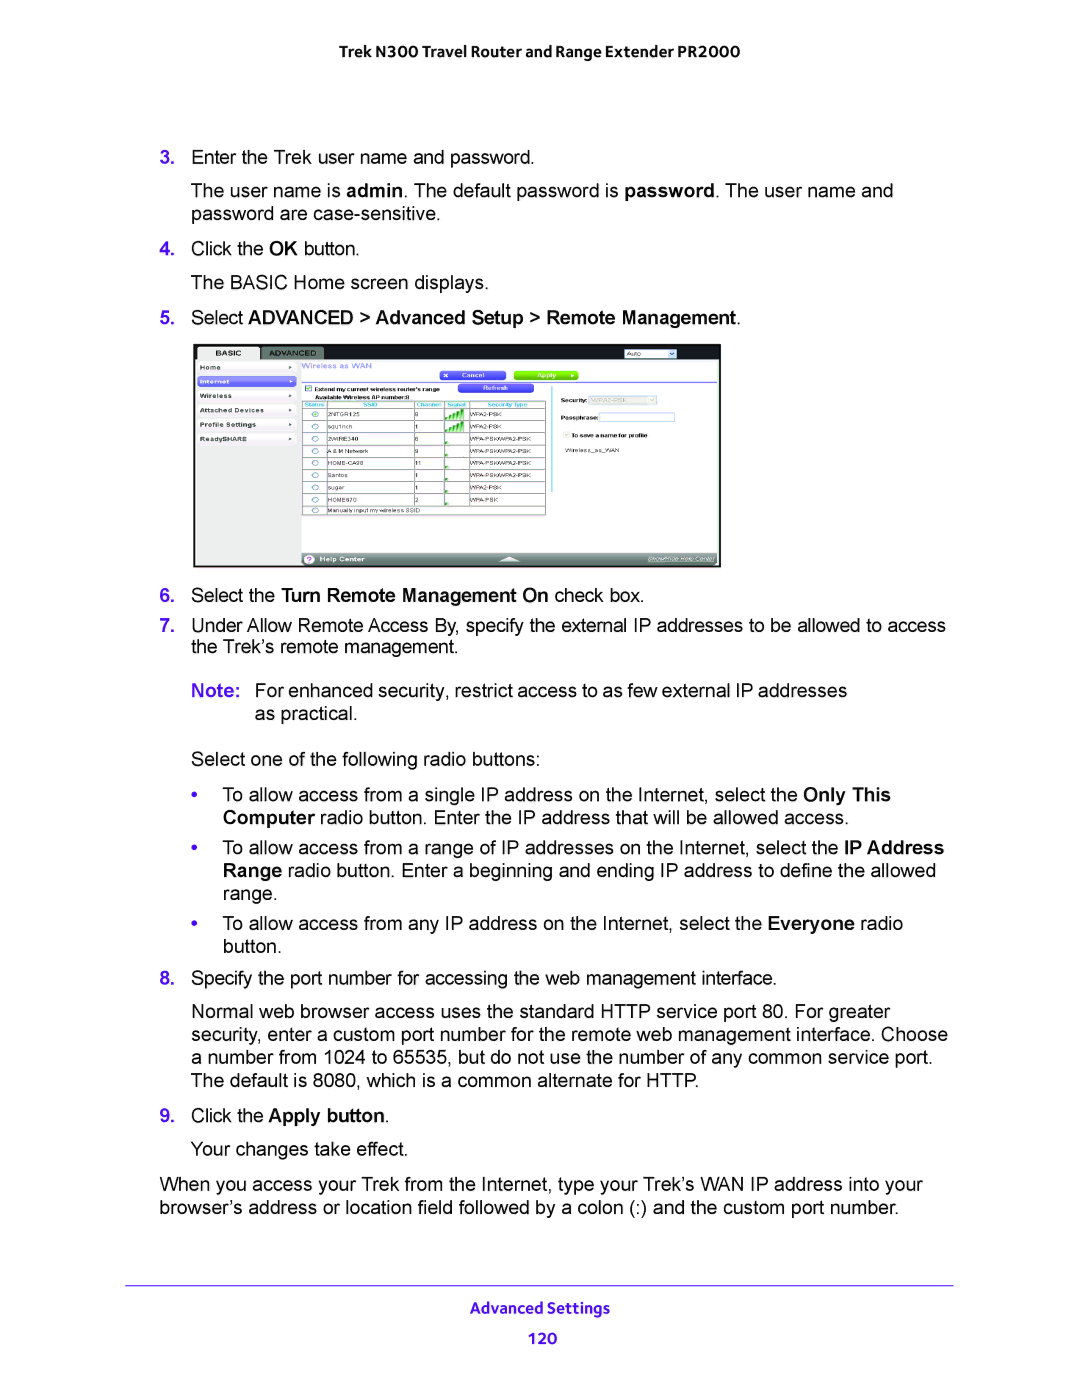
5.Select ADVANCED > Advanced Setup > Remote Management.
6.Select the Turn Remote Management On check box.
7.Under Allow Remote Access By, specify the external IP addresses to be allowed to access the Trek’s remote management.
Note: For enhanced security, restrict access to as few external IP addresses as practical.
Select one of the following radio buttons:
•To allow access from a single IP address on the Internet, select the Only This Computer radio button. Enter the IP address that will be allowed access.
•To allow access from a range of IP addresses on the Internet, select the IP Address Range radio button. Enter a beginning and ending IP address to define the allowed range.
•To allow access from any IP address on the Internet, select the Everyone radio button.
8.Specify the port number for accessing the web management interface.
Normal web browser access uses the standard HTTP service port 80. For greater security, enter a custom port number for the remote web management interface. Choose a number from 1024 to 65535, but do not use the number of any common service port. The default is 8080, which is a common alternate for HTTP.
9.Click the Apply button. Your changes take effect.
When you access your Trek from the Internet, type your Trek’s WAN IP address into your browser’s address or location field followed by a colon (:) and the custom port number.