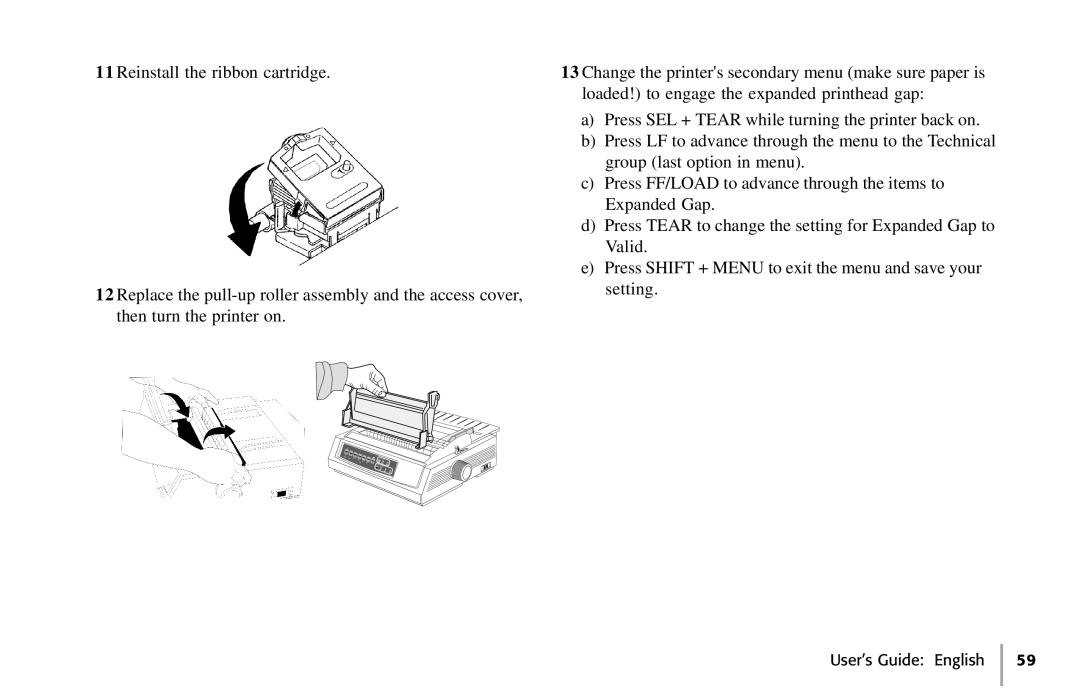
11 Reinstall the ribbon cartridge.
12 Replace the
13 Change the printer's secondary menu (make sure paper is loaded!) to engage the expanded printhead gap:
a)Press SEL + TEAR while turning the printer back on.
b)Press LF to advance through the menu to the Technical group (last option in menu).
c)Press FF/LOAD to advance through the items to Expanded Gap.
d)Press TEAR to change the setting for Expanded Gap to Valid.
e)Press SHIFT + MENU to exit the menu and save your setting.
