Connecting the power
STANDBY/ON | ON | STDBY |
STANDBY indicator | RCVR |
|
|
| |
| MASTER VOLUME |
|
STANDBY/ON |
|
|
STANDBY |
|
|
POWER |
|
|
ON OFF |
|
|
ZONE 2 (GRN ) |
|
|
AUDIO REC ( RED ) DVD VIDEO 1 VIDEO 2 VIDEO 3 VIDEO 4 VIDEO 5TAPEFM | AMPHONO C D |
|
PURE AUDIO UPSAMPLING SELECTOR | DISPLAY |
|
| PUSH TO OPEN |
|
POWER
TAPE
To wall outlet
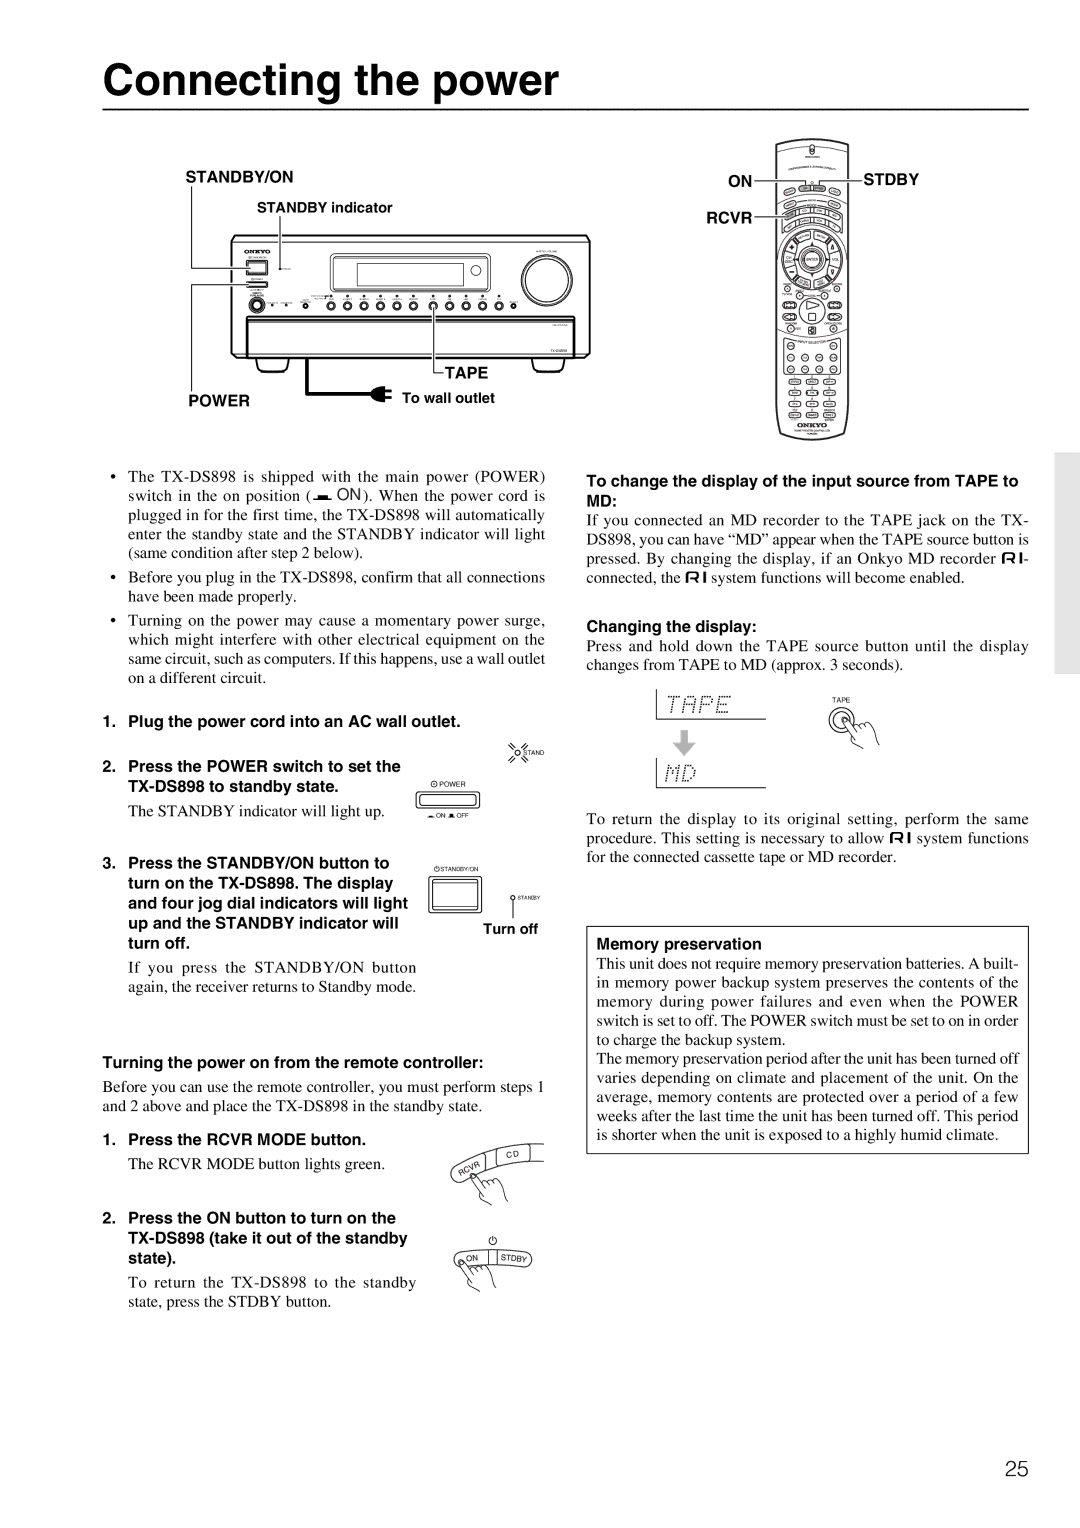
•The ![]() ON ). When the power cord is plugged in for the first time, the
ON ). When the power cord is plugged in for the first time, the
•Before you plug in the
•Turning on the power may cause a momentary power surge, which might interfere with other electrical equipment on the same circuit, such as computers. If this happens, use a wall outlet on a different circuit.
1. Plug the power cord into an AC wall outlet.
STAND
To change the display of the input source from TAPE to MD:
If you connected an MD recorder to the TAPE jack on the TX- DS898, you can have “MD” appear when the TAPE source button is pressed. By changing the display, if an Onkyo MD recorder z- connected, the z system functions will become enabled.
Changing the display:
Press and hold down the TAPE source button until the display changes from TAPE to MD (approx. 3 seconds).
TAPE
2.Press the POWER switch to set the
The STANDBY indicator will light up.
3.Press the STANDBY/ON button to turn on the
If you press the STANDBY/ON button again, the receiver returns to Standby mode.
![]() POWER
POWER
![]() ON
ON ![]() OFF
OFF
![]() STANDBY/ON
STANDBY/ON
STANDBY
Turn off
To return the display to its original setting, perform the same procedure. This setting is necessary to allow z system functions for the connected cassette tape or MD recorder.
Memory preservation
This unit does not require memory preservation batteries. A built- in memory power backup system preserves the contents of the memory during power failures and even when the POWER switch is set to off. The POWER switch must be set to on in order to charge the backup system.
Turning the power on from the remote controller:
Before you can use the remote controller, you must perform steps 1 and 2 above and place the
1. Press the RCVR MODE button.
The RCVR MODE button lights green.
2. Press the ON button to turn on the
To return the
The memory preservation period after the unit has been turned off varies depending on climate and placement of the unit. On the average, memory contents are protected over a period of a few weeks after the last time the unit has been turned off. This period is shorter when the unit is exposed to a highly humid climate.
25
