Getting Started
1.Activate the remote controller
Turning on the display
■Tap the screen gently with your finger or a blunt, soft object like a pencil eraser.
The display is activated and you see the Home panel.
Notes:
•If the display stays blank or becomes black, adjust the contrast dial on the left side.
•If another panel is displayed, tap the Home button.
•The remote controller shuts down automatically.
Using the backlight
■Press the backlight button on the left side.
The backlight shuts off automatically after a few seconds to save power.
Note:
In the settings (page 19) you can choose to activate the backlight automatically when you activate the remote controller.
Use mode
The remote controller has different “modes.” When you activate the remote controller for the first time, it starts up in Use mode allowing you to immediately operate your devices.
In Use mode, the remote controller icon ![]() is
is
entirely visible. If a label (like ![]() ) covers the icon, see page 22 to switch your remote controller to Use mode.
) covers the icon, see page 22 to switch your remote controller to Use mode.
2.Define the Brand of Your Device
The remote controller uses RC codes to activate device. Since there are several brands using specific RC codes, you have to define the brands of your devices.
In the Home menu, you find buttons for the most common video and audio devices. The remote controller is set up by default to operate with Onkyo devices.
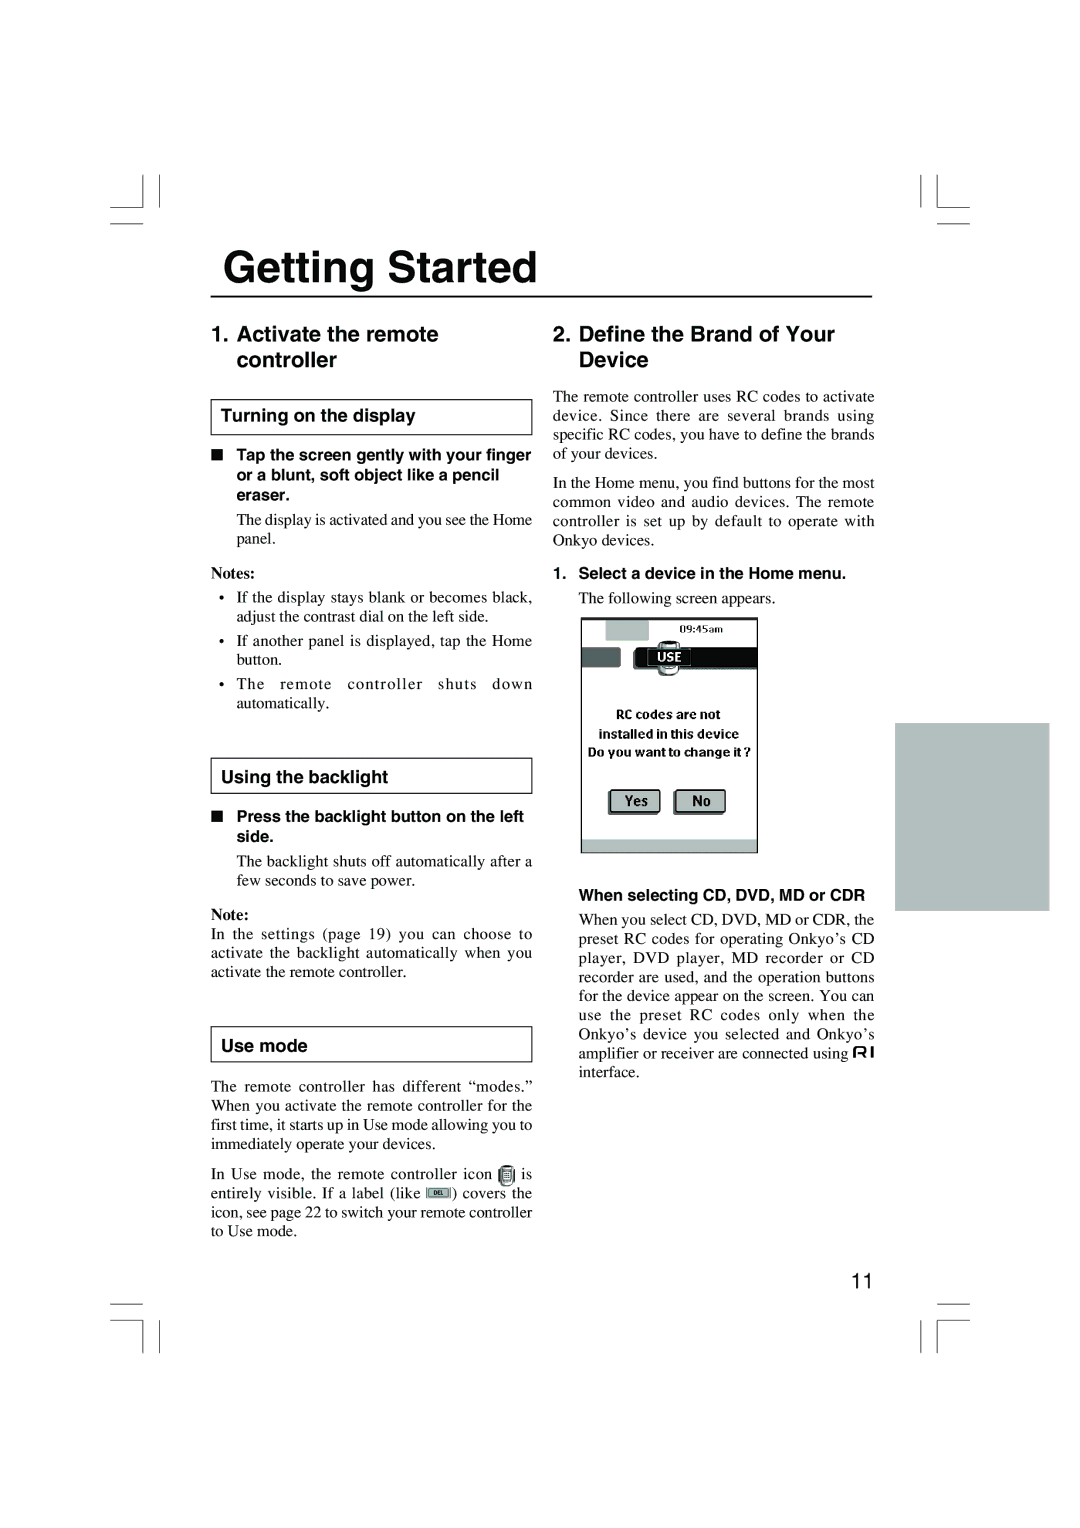
1.Select a device in the Home menu.
The following screen appears.
When selecting CD, DVD, MD or CDR
When you select CD, DVD, MD or CDR, the preset RC codes for operating Onkyo’s CD player, DVD player, MD recorder or CD recorder are used, and the operation buttons for the device appear on the screen. You can use the preset RC codes only when the Onkyo’s device you selected and Onkyo’s amplifier or receiver are connected using ![]() interface.
interface.
11
