Your Palm Treo 750 Smart Device
Intellectual property notices
PN 406-10626-00 v
Page
Contents
Vi C O N T E N T S
Your Microsoft Office tools 165
Viii C O N T E N T S
What’s in the box?
Welcome
Hardware
Documentation and software
What do I need to get started?
Setting up
This chapter
Front view
Palm Treo 750 smart device overview
Earpiece
Back view
Stylus Ringer switch
Inserting the SIM card and battery
Top view
E T T I N G U P
Follow the onscreen instructions to finish the installation
Charging the battery
H a R G I N G T H E B a T T E R Y
Maximizing battery life
Press Phone/Send to display your Today screen
Making your first call
Press Phone/Send
Adjusting call volume
Select Preferences Phone Settings
What’s my number?
Look here for your phone number Press OK
Setting up synchronization
Navigator
Using one thumb on the 5-way
Quickly move around
Complete tasks in applications
This chapter
Screen. Press Center to highlight and select items
Navigating around the screen
Center Left Right
Scrolling through screens
Highlighting and selecting items
Scroll arrows
Closing screens
Highlighting text
Using the action keys
Selecting menu items
Left action key activates this command
Selecting options in a list
Selecting options in a shortcut menu
To exit the list and cancel your selection, press Left
Understanding the keyboard backlight
Using the keyboard
Entering lowercase and uppercase letters
Entering numbers, punctuation, and symbols
Entering other symbols and accented characters
Or F Ï î Or T £ ¥ ¢ $
Symbols and accented characters
Press Alt To select… Enter… Ä â ã å æ
Or B Ö ô œ õ Ö Ô Œ Õ Or P ¼ ½ Ë ê Or R
Opening applications
Opening and closing applications
Closing applications
Using your Today screen
S I N G Y O U R T O D a Y S C R E E N
Your phone
This chapter
Turning your phone on
Turning your Palm Treo 750 smart device on/off
Turning your phone off
Dialing from the Today screen
Power/End
Making calls from the Today screen
Waking up the screen and turning it off
Dialing with a speed-dial button
Dialing by contact name
Select the number you want to dial
Dialing using the onscreen Dial Pad
Press Phone/Send or press Center to dial
To select from a chronological list
Other ways of making calls
Go to your Today screen, and then press
Hold Phone/Send To select from your most recently
Dialing from a web page or message
Receiving calls
To answer a call, do one of the following
Setting up voicemail
Using voicemail
Retrieving voicemail messages from the Today screen
Retrieving messages from a voicemail notification
What can I do during a call?
Ending a call
Press Power/End
Use the built-in speakerphone Press
Mute the microphone so you can’t be
Saving phone numbers
Switching applications during an active call
Menu right action key and select Ignore
Making a second call
Answering a second call call waiting
Send the new call to voicemail Press
Making a conference call
Hang up the current call and answer
Forwarding calls
Creating a speed-dial button
Defining speed-dial buttons
Plays the previous message
Extra Digits left action key to dial these digits
Deleting a speed-dial button
Editing a speed-dial button
Arranging your speed-dial buttons
Using a wired headset
Using a phone
Headset
Connecting to a Bluetooth hands-free device
Go to your Today screen, and then tap Bluetooth
Using a Bluetooth hands-free device
Selecting ringtones and display notices
Customizing phone settings
Phone Missed call a call you did not
Optional Select the Play icon to preview the sound
Adjusting call and ringer volume
Assigning a caller ID ringtone
Adding Contacts numbers from new callers
Select Ring tone
Select a tone for this contact entry Select OK
Enabling TTY
You can block incoming or outgoing calls
Blocking calls
Off No outgoing calls are blocked
Setting call waiting notification
Setting caller ID
You can turn caller ID on or off
Manually selecting your wireless band
Manually selecting your network settings
Check the Enable fixed dialing box
Enabling fixed dialing
Unless instructed to do so by a Cingular representative
What are all those icons?
From the Network Selection list, select an option
O U R P H O N E
Network
Your smart device’s battery is
Charging
Is fully charged
A P T E R
Synchronizing information
This chapter
To suit your needs and sync only some
You can, however, customize sync settings
How do I synchronize?
Synchronizing wirelessly with the server
Synchronizing with ActiveSync desktop software
What can I synchronize?
Setting up your computer for synchronization
System requirements
Installing the desktop synchronization software
Using ActiveSync desktop software
Plug the AC charger into a wall outlet
Connecting your Treo 750 to your computer
USB sync cable This button has no function with your Treo
Setting up wireless synchronization
Synchronizing using the sync cable
Select ActiveSync
Press Start and select Programs
Press Menu right action key and select Add Server Source
Check the Save password box
If your Microsoft Exchange Server
Setting the synchronization schedule
Send outgoing items immediately
Initiating a wireless sync manually
Press Sync left action key
Other ways to synchronize
Synchronizing over a Bluetooth connection
Synchronizing with multiple computers
When synchronization has finished
Synchronizing over an infrared connection
On your Treo 750, press Start and select Programs
Press Stop left action key
Setting synchronization options
Changing which applications sync
Stopping synchronization
Your email
This chapter
Entering settings for an email account
Setting up
Using a do-it-yourself setup application
Setting up Xpress Mail
For setup instructions, see Setting up Good Mobile Messaging
Mytreo750cingular
Setting up Good Mobile Messaging
Setting up an Imap or POP email account
Optional Select Options to select
Download settings for this account
Example, if this is your work email Press Finish
Go to your Today screen Press E-mail left action key
Sending and receiving messages
Select Subject and enter a title for the message
Press Send right action key
Treo 750 when you connect your
Receiving email messages
Check the Include file attachments box
Receiving attachments
Adding an online address book
Working with email messages
Enter the server name
Using an online address book
Forwarding a message
Customizing your email settings
Adding a signature to your messages
After deleting or moving a message
Verify names using these address
Select the Storage tab and set any of the following options
Sending email messages from within another application
Your text and multimedia messages
This chapter
Creating and sending a text message
Using the Messaging application
Pictures
Creating and sending a multimedia message
Ringtones
Sound clips
I N G T H E M E S S a G I N G a P P L I C a T I O N
On the message compose screen Press Menu
Setting message options
Select Message Options
Receiving text and multimedia messages
Reply to the message Press Menu
Viewing/playing a message
Menu right action key and select Save
Press Menu right action key and select Message Details
Enter your message Press Send left action key
Using Messaging to chat
Forward the message Press Menu
Right action key and select
Message status icons
Using links in messages
Select By Name or By Date Deleting a single message
Customizing message settings
Customizing the Messaging application
Sorting your messages
Automatically download MMS
Customizing chat settings
On the Messages tab, set any of the following options
Whether you want deletion confirmation messages to appear
Select the Chat tab Select either of the following options
Customizing notification settings
Customizing network settings
Acknowledge when messages are
Press OK twice
Select MSN Mobile Home
Using Pocket MSN
Signing in to Pocket MSN
Select Pocket MSN
O U R T E X T a N D M U L T I M E D I a M E S S a G E S
Your connections to the web and wireless devices
This chapter
Viewing a web
Browsing the web
Press Start and select Internet Explorer
R O W S I N G T H E W E B
Creating a favorite
Press OK to close Internet Explorer Mobile
Enter a name for this folder, and then select Add Press OK
Viewing a favorite
Organizing your favorites
Select New Folder
Press Menu right action key and select Edit Paste
Copying text from a web
Returning to recently viewed pages
Save links to pages visited
Customizing your Internet Explorer Mobile settings
Connecting to devices with Bluetooth wireless technology
Requesting a connection with another Bluetooth device
Entering basic Bluetooth settings
Select the Devices tab, and then select New Partnership
Accepting a connection from another Bluetooth device
Select Modem Link
Using your device as a wireless modem
Setting up Modem Link for a USB connection
Creating a DUN connection using Bluetooth technology
Accessing the Internet using a Bluetooth DUN connection
Setting up your computer for a Bluetooth DUN connection
Terminating a DUN Internet session
A P T E R
Your photos, videos, and music
Camera Pictures & Videos Windows Media Player Mobile
Taking a picture
Camera
Taking pictures in burst mode
Optional Set a five-second timer Press
Recording a video
Resolution Press Menu
Brightness Press Right
Center . Press OK to return to Thumbnail View
Customizing your Camera settings
Select the Video tab and set any of the following options
Sets the default size for newly captured pictures
Include audio when recording video
Select the Camera tab and set any of the following options
Viewing a slide show
Pictures & Videos
Viewing a picture
Viewing a video
Creating a video ringtone
Sending a picture or video
Organizing pictures and videos
To keep the picture or video in two
Using a picture as the Today screen background
Editing a picture
Viewing pictures and videos on your computer
Deleting a picture or video
WMA WMV
Windows Media Player Mobile
Playing media files on your Treo
Working with libraries
Working with playlists
Customizing Windows Media Player Mobile
Resume playback after a phone call
Continues if you switch to another application
O U R P H O T O S , V I D E O S , a N D M U S I C
Your personal information organizer
Contacts Calendar Tasks
Adding a contact
Contacts
Viewing or changing contact information
Deleting a contact
Finding a contact in an online address book
Calendar
Customizing Contacts
Set any of the following options
Creating an appointment
Select one of the following views
Creating an untimed event
Adding an alarm reminder to an event
Sending a meeting request
Scheduling a repeating appointment
Organizing your schedule
Marking an event as sensitive
Customizing Calendar
Select the type of events you want to view
Deleting an event
Highlight the event you want to delete
Set reminders for new items
Tasks
Adding a task
Checking off a task
Deleting a task
Organizing your tasks
Customizing Tasks
Creating a voice note
Creating a note
Organizing your notes
Depending on where you recorded the note Press OK
Creating a note from a template
Go to the Notes list
Customizing Notes
Deleting a note
Presentations with you
Your Microsoft Office tools
This chapter
Copy the file into the Mobile Device folder, and then sync
Synchronizing your Microsoft Office files
Word Mobile
Windows Explorer on your computer
Document list, select the document you want to open
Creating a document
Select Word Mobile
Opening an existing document
Open the document containing the text you want to find
Creating a document from a template
Go to the documents list
Finding or replacing text in a document
Select Save
Saving a copy of a document
Formatting text
Checking spelling in a document
Press OK to return to the document
Formatting paragraphs and lists
Indentation Changes the paragraph margins
Deleting a document
Organizing your documents
Customizing Word Mobile
Select Next or Previous to play animations
PowerPoint Mobile
Select PowerPoint Mobile
Playing a presentation
Loop continuously Advances to
Setting presentation playback options
Excel Mobile
Press Menu right action key and select End Show
Cell patterns Patterns applied to cells are removed
Select Excel Mobile
Creating a workbook
Creating a workbook from a template
Calculating a sum
Sheet Lets you switch to a different worksheet
Viewing a workbook
Panes
Inserting a function
Entering a formula
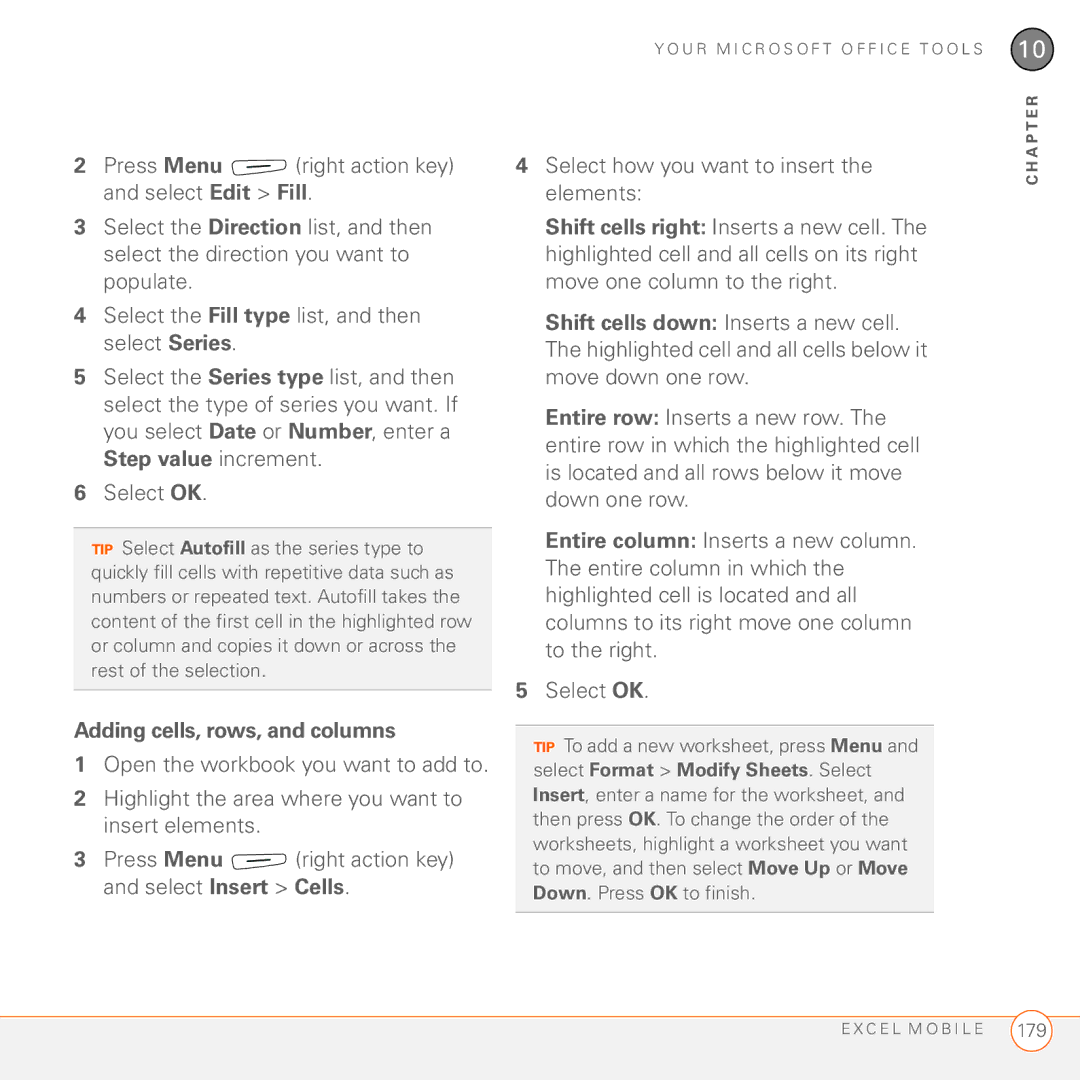
Entering a sequence automatically
Adding cells, rows, and columns
Formatting rows and columns
Formatting cells
Renaming a worksheet
Sorting info in a worksheet
Creating a chart
Filtering info in a worksheet
Finding or replacing info in a workbook
Formatting or changing a chart
Deleting cells, rows, and columns
Organizing your workbooks
Customizing Excel Mobile
Select how you want to remove the elements
Your application and info management tools
This chapter
Press Start and select Programs Select Search
Using Search
Finding information
Within notes, appointments, contacts, and tasks
Select My Device to view all folders
Press Search left action key
Exploring files and folders
Select File Explorer
Installing bonus software from the CD
Installing applications
Installing applications from the Internet
Installing third-party applications
Click Add Programs
Installing applications onto an expansion card
Installing applications from your computer
Double-click Mobile Device
Mobile-Based Device To open Mobile Device folder
Removing applications
Sharing information
Double-click My Windows
Your info or to receive info from another device
Beaming information
Receiving beamed information
Beaming a record
Turn on your screen
Inserting and removing expansion cards
Using expansion cards
S I N G E X P a N S I O N C a R D S
Saving files to an expansion card
Opening applications on an expansion card
Viewing available expansion card memory
Moving info between your Treo 750 and an expansion card
Exploring files on an expansion card
Select Calculator
Calculator
Renaming an expansion card
Performing calculations
Using the Calculator memory
Your personal settings
This chapter
Select Browse Select the picture you want to use Press OK
Today screen settings
Selecting which items appear on your Today screen
On the Personal tab, select Today
Silencing sounds
System sound settings
Selecting Sounds & Notifications
S T E M S O U N D S E T T I N G S
Regional Settings
Display and appearance settings
Setting display formats
Adjusting the brightness
Changing the system color scheme
Aligning the screen to correct tapping problems
Arranging the Start menu
Application settings
Changing screen orientation
Portrait Landscape right-handed Landscape left-handed
Option + OK = Task Manager
Setting up voice commands
Start = Start menu OK = OK/Close
Option + Phone/Send = Messaging Option + Start = Calendar
Using voice commands
Select the Options tab and set any of the following options
Setting input options
Capitalize first letter of sentence
Default zoom level for writing
Default zoom level for typing
Locking your Treo 750 and info
Locking your screen
Locking your keyboard Keyguard
Locking the SIM card
Check the Require PIN when phone is used box
Locking your Treo
Select Password, tap the onscreen
Setting the date and time
System settings
Entering owner information
Press OK If prompted, select Yes to accept your changes
Setting system alarms
Managing identity certificates
Enabling error reporting
Optimizing power settings
Turning wireless services on/off
Wireless Manager
Connection settings
Managing ISP settings
Setting up a proxy server
Connecting to a VPN virtual private network
Ending a data connection
Transferring info from another device
Common questions
Shut down your computer, and then turn it on again
Reinstalling the desktop software
Resetting your Treo
Performing a soft reset
Performing a hard reset
Replacing the battery
Contacts
Select Running Programs
My battery seems to drain quickly
Performance
Applications are running slower than usual
Screen appears blank
Signal strength is weak
Screen
Network connection
My Treo 750 won’t connect to the mobile network
Can’t tell if data services are available
My phone seems to turn off by itself
Can’t send or receive text or multimedia messages
Your Bluetooth device is charged and turned on
Turn on Bluetooth box is checked in Bluetooth Settings
Verify all of the following
ActiveSync desktop software
Synchronization
ActiveSync desktop software does not respond to sync attempt
A P T E R
My video and music files won’t sync
Synchronization starts but doesn’t finish
Press Menu right action key and select Schedule
Check the Use above setting when roaming box
My appointments show up in the wrong time slot after I sync
My scheduled sync doesn’t work
An alert tells me that the server could not be reached
Exchange ActiveSync wireless synchronization
Again later
Have problems sending and receiving email
Have problems using my account
Scheduled email synchronization is not working
Have problems sending email
Select Control Panel
Click Start on your computer, and then select Settings
Can’t access a
Web
An image or map is too small on my Treo 750 screen
Shockwave, VBScript, WML script, and other plug-ins
Secure site refuses to permit a transaction
Camera preview image looks strange
Third-party applications
Getting more help
Making room on your Treo
Is the other person hearing an echo?
Voice quality
Are you hearing your own voice echo?
Is your voice too quiet on the other end?
For a quick introduction
Where to learn more
While using your Treo
Treo750cingular
H E R E T O L E a R N M O R E
Terms
Infrared IR
Gprs General Packet Radio Service
Dialog box
Edge Enhanced Data rates for GSM Evolution
PIM personal information manager
Partnership
Phone Off
Phone/Send
Synchronization
SMS Short Messaging Service
Start
Streaming
Apps that use Microsoft Windows Mobile
E R M S
FCC Statement
Regulatory information
Antenna Care/Unauthorized Modifications
G U L a T O R Y I N F O R M a T I O N
Driving Safety Tips Overview
Static ELECTRICITY, ESD, and Your Palm Device
E G U L a T O R Y I N F O R M a T I O N
Specifications
Specification S
ActiveSync
Specification S
Index
206
235-240 171
102
Contacts 43, 56
Opening 28, 197
Installing 189-190
Animation 141, 173
198
123-126
Bluetooth wireless
203
240
135
Border highlight 19 borders 174 brightness, adjusting
Entering 24, 25, 178 146
Charts 175, 181
134, 135
169
126
112
127-129
51-53
Text 121
91, 97, 101
55, 139
121
184
Network settings 112 Notes application 164 phone
122-123
172
265
Resetting 215
246 124
232 257
Videos 133, 138
Events 155
123, 124 Pictures 133, 138
249 167
241
Earpiece 5, 247 eBooks 11 echoes
Servers
With
178
Errors 219, 232
Passwords 77, 90
261
199
On 198
Cards 142, 146
172, 183
119
183
175
19-20
235
187-188
Storing 195, 246
Internet 128, 222
168
Lists accessing 22 creating 168
Manage Folders command
Leading zeros
104
110
Deleting 97, 109
142-147 106 105, 111
17-19
189
142, 146, 197
Microphone 5, 42, 137
154
Multimedia Messaging System. See MMS messaging
Off Hold button 42 Office files
Downloading sounds for
Receiving phone calls
204
Saving 90 spreadsheets
From 92
174
216
Making 12, 34, 38
Entering 12, 34, 37
201
50, 53
138
140 PINs 60, 214
136
PIMs 226, 238
Text messages 101, 105 Videos
Radio 258
Radio frequency emissions 257
102, 105, 110 pictures
244
Resets 215, 226-228
192
169, 172, 183
231
Running Programs tab 29
Security 125, 212-216
140
193
169, 182
158
Services tab 46, 57, 58
239, 240
253
Start menu 28, 208
235-241
Symbols 26, 27, 48 235
Information 195, 246
144
System settings 216-222
Wirelessly 68, 75, 80, 81
245-246
Installing 190, 245 Dialing from 34, 35, 37
245 240
228
145
Voice recording formats 211 voicemail
VPN connections voice captions Voice Command button 210
Troubleshooting
210
144 194 167-173
Accessing 117, 119
222
75, 80, 81
For 184 worksheet names 175 worksheets
Zoom In command 173 zoom options Zoom settings 175, 177
173