<Checking the display mode for RGB signals>
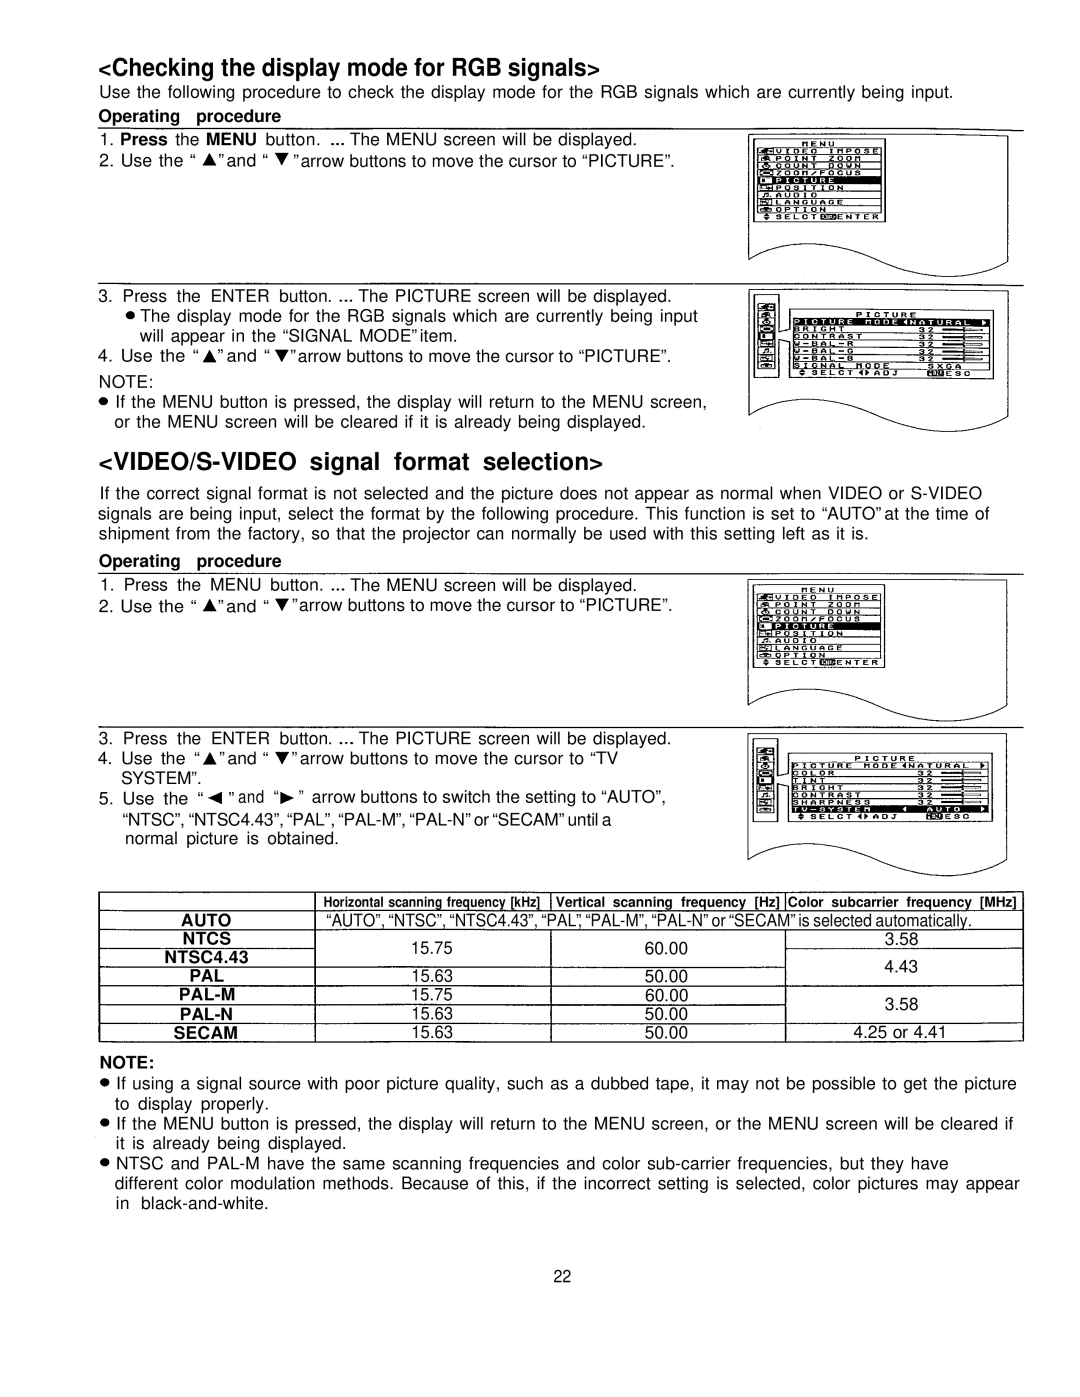
Use the following procedure to check the display mode for the RGB signals which are currently being input.
Operating procedure
1.Press the MENU button. The MENU screen will be displayed.
2.Use the “ ” and “ ” arrow buttons to move the cursor to “PICTURE”.
3.Press the ENTER button. The PICTURE screen will be displayed. The display mode for the RGB signals which are currently being input will appear in the “SIGNAL MODE” item.
4.Use the “ ” and “ ” arrow buttons to move the cursor to “PICTURE”.
NOTE:
If the MENU button is pressed, the display will return to the MENU screen, or the MENU screen will be cleared if it is already being displayed.
<VIDEO/S-VIDEO signal format selection>
If the correct signal format is not selected and the picture does not appear as normal when VIDEO or
Operating procedure
1.Press the MENU button. The MENU screen will be displayed.
2.Use the “ ” and “ ” arrow buttons to move the cursor to “PICTURE”.
3.Press the ENTER button. The PICTURE screen will be displayed.
4.Use the “ ” and “ ” arrow buttons to move the cursor to “TV SYSTEM”.
5.Use the “ ” and “ ” arrow buttons to switch the setting to “AUTO”, “NTSC”, “NTSC4.43”, “PAL”,
AUTO
NTCS
NTSC4.43
PAL
PAL-M
PAL-N
SECAM
NOTE:
Horizontal scanning frequency [kHz] | Vertical scanning frequency [Hz] Color subcarrier frequency [MHz] | ||
“AUTO”, “NTSC”, “NTSC4.43”, “PAL”, | |||
15.75 | 60.00 | 3.58 | |
4.43 | |||
15.63 | 50.00 | ||
| |||
15.75 | 60.00 | 3.58 | |
15.63 | 50.00 | ||
| |||
15.63 | 50.00 | 4.25 or 4.41 | |
If using a signal source with poor picture quality, such as a dubbed tape, it may not be possible to get the picture to display properly.
If the MENU button is pressed, the display will return to the MENU screen, or the MENU screen will be cleared if it is already being displayed.
NTSC and
22
