Adjusting the lens
This projection lens used in this projector is equipped with electronic zoom and electronic focus. These settings can be adjusted directly using the ZOOM button and the FOCUS button on the projector operating panel, or they can be adjusted by selecting “ZOOM/FOCUS” from the
NOTE:
If direct adjustment is carried out while some other
The projector is equipped with a function which retracts the lens when the projector power supply is turned off. However, the lens will not return to the
Adjustment procedure <for direct adjustment>
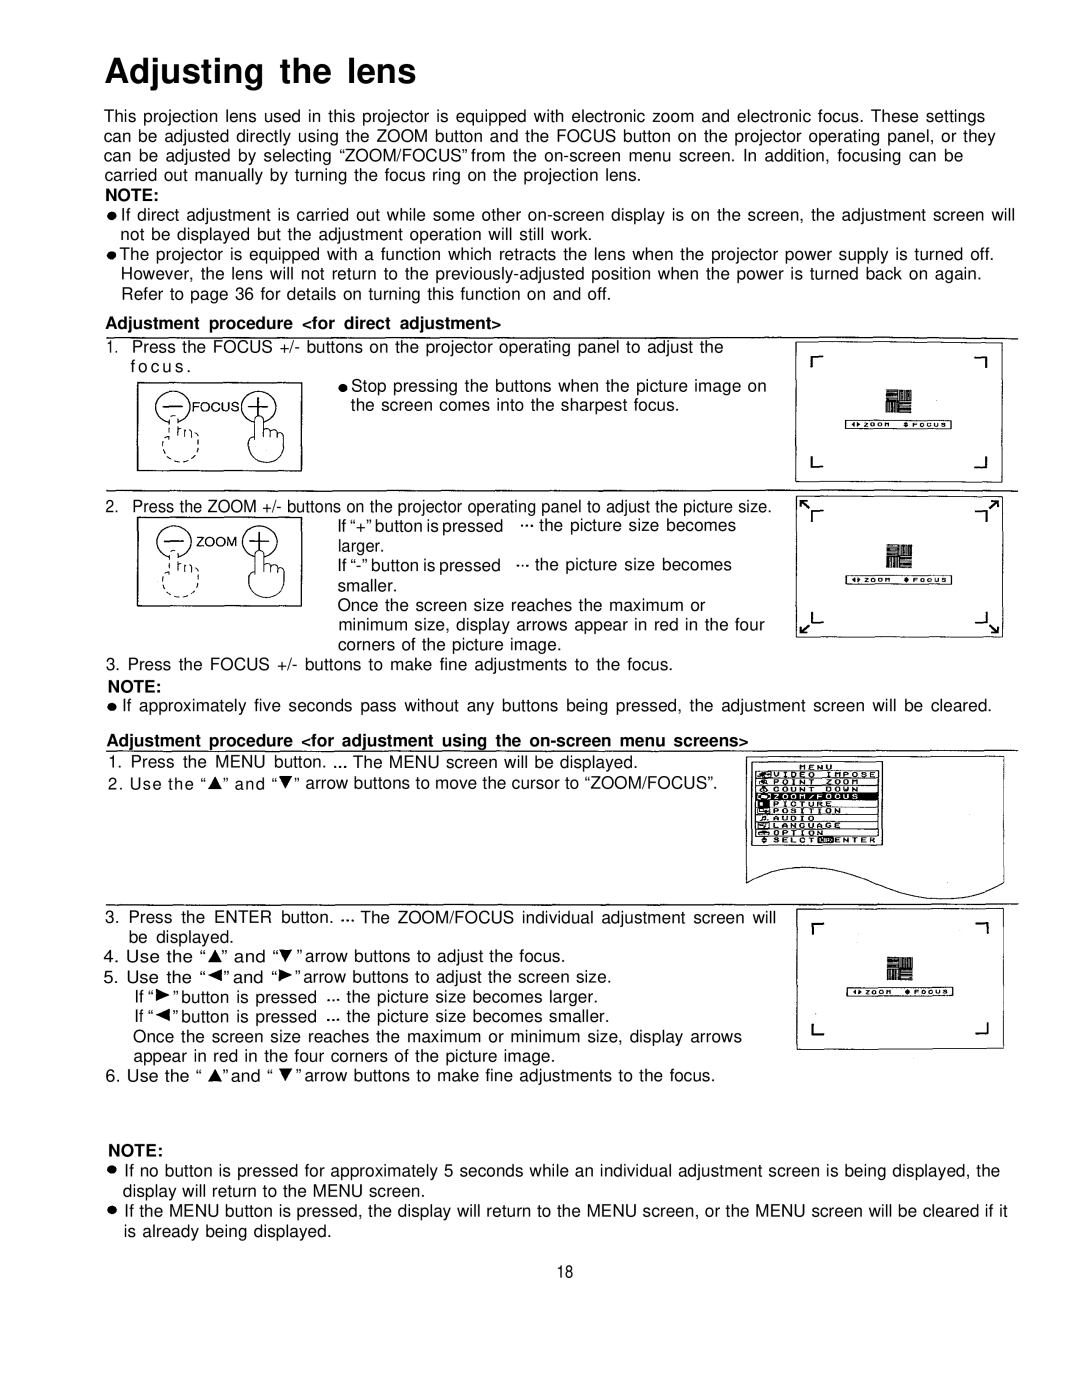
1. Press the FOCUS +/- buttons on the projector operating panel to adjust the f o c u s .
Stop pressing the buttons when the picture image on the screen comes into the sharpest focus.
2. Press the ZOOM +/- buttons on the projector operating panel to adjust the picture size.
If “+” button is pressed the picture size becomes larger.
If
Once the screen size reaches the maximum or minimum size, display arrows appear in red in the four corners of the picture image.
3. Press the FOCUS +/- buttons to make fine adjustments to the focus.
NOTE:
If approximately five seconds pass without any buttons being pressed, the adjustment screen will be cleared.
Adjustment procedure <for adjustment using the
1. Press the MENU button. The MENU screen will be displayed.
2. Use the “ ” and “ ” arrow buttons to move the cursor to “ZOOM/FOCUS”.
3.Press the ENTER button. The ZOOM/FOCUS individual adjustment screen will be displayed.
4.Use the “ ” and “ ” arrow buttons to adjust the focus.
5.Use the “ ” and “ ” arrow buttons to adjust the screen size.
If “ | ” button is pressed | the picture size becomes larger. |
If “ | ” button is pressed | the picture size becomes smaller. |
Once the screen size reaches the maximum or minimum size, display arrows appear in red in the four corners of the picture image.
6. Use the “ ” and “ ” arrow buttons to make fine adjustments to the focus.
NOTE:
If no button is pressed for approximately 5 seconds while an individual adjustment screen is being displayed, the display will return to the MENU screen.
If the MENU button is pressed, the display will return to the MENU screen, or the MENU screen will be cleared if it is already being displayed.
18
