Crossover
Crossover
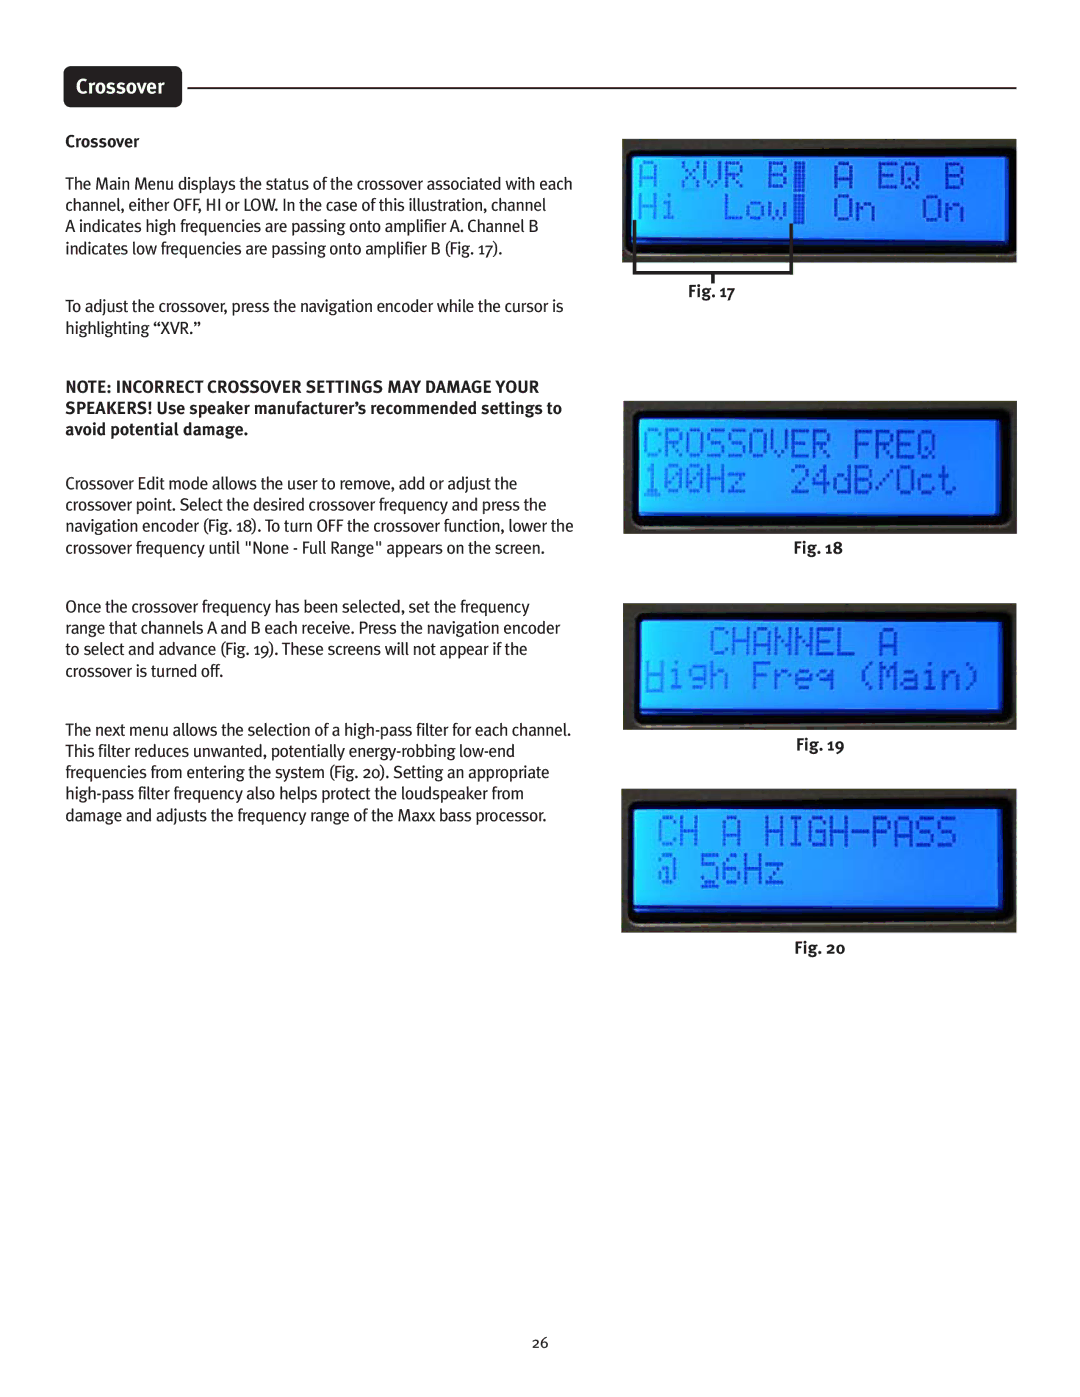
The Main Menu displays the status of the crossover associated with each channel, either OFF, HI or LOW. In the case of this illustration, channel
A indicates high frequencies are passing onto amplifier A. Channel B indicates low frequencies are passing onto amplifier B (Fig. 17).
To adjust the crossover, press the navigation encoder while the cursor is highlighting “XVR.”
NOTE: INCORRECT CROSSOVER SETTINGS MAY DAMAGE YOUR SPEAKERS! Use speaker manufacturer’s recommended settings to avoid potential damage.
Fig. 17
Crossover Edit mode allows the user to remove, add or adjust the crossover point. Select the desired crossover frequency and press the navigation encoder (Fig. 18). To turn OFF the crossover function, lower the crossover frequency until "None - Full Range" appears on the screen.
Once the crossover frequency has been selected, set the frequency range that channels A and B each receive. Press the navigation encoder to select and advance (Fig. 19). These screens will not appear if the crossover is turned off.
The next menu allows the selection of a
Fig. 18
Fig. 19
Fig. 20
26
