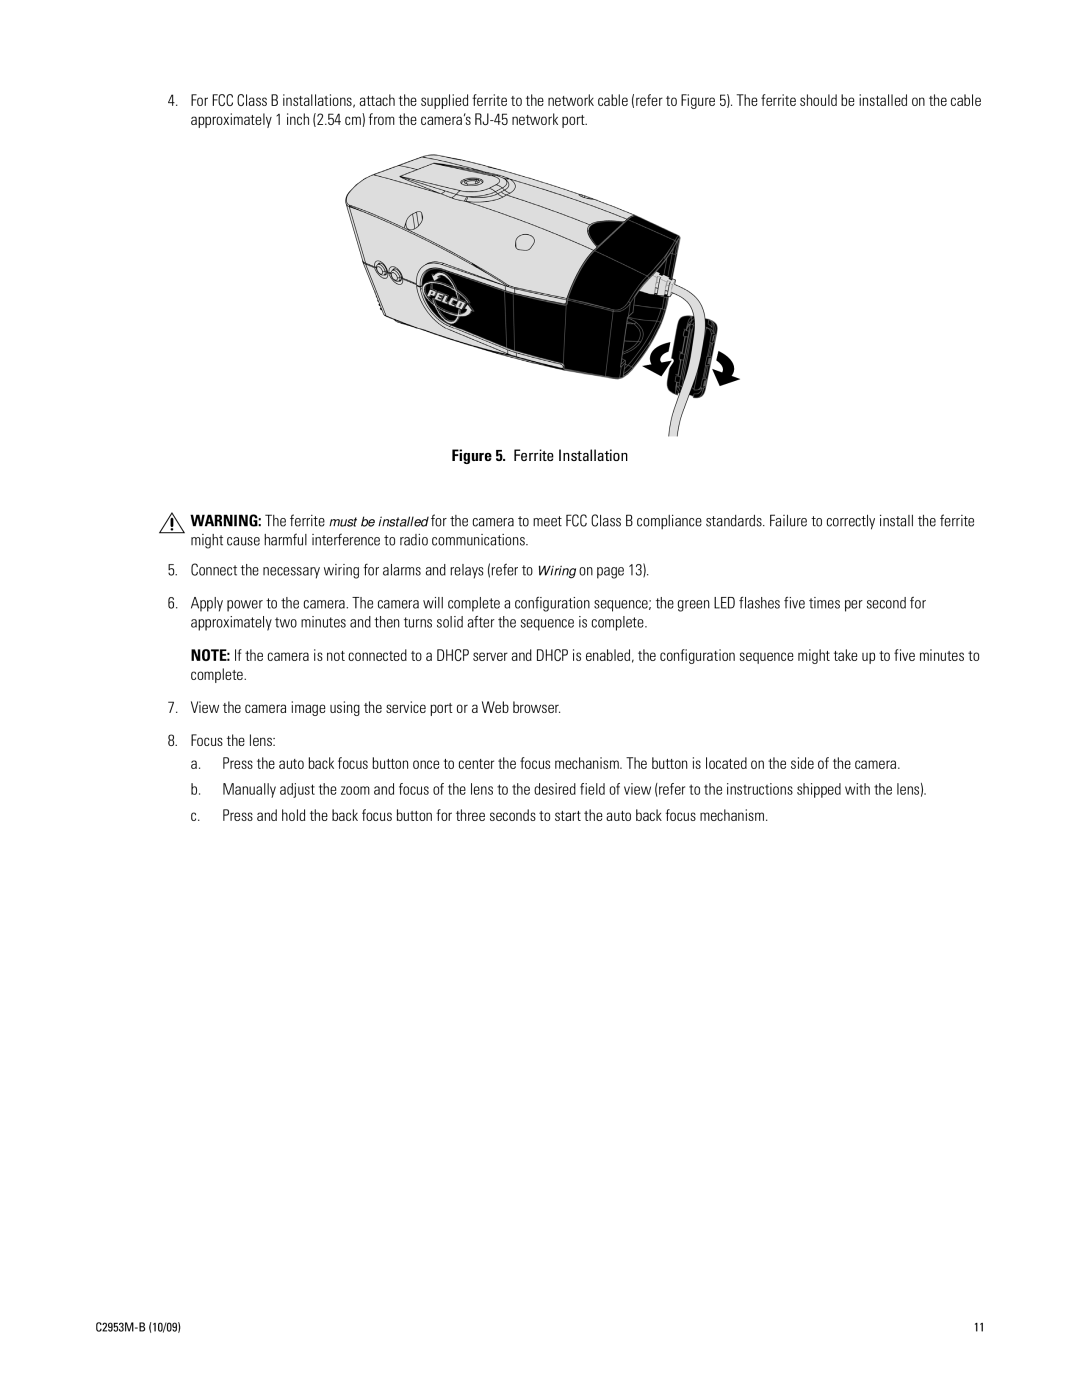
4.For FCC Class B installations, attach the supplied ferrite to the network cable (refer to Figure 5). The ferrite should be installed on the cable approximately 1 inch (2.54 cm) from the camera’s
Figure 5. Ferrite Installation
![]() WARNING: The ferrite must be installed for the camera to meet FCC Class B compliance standards. Failure to correctly install the ferrite might cause harmful interference to radio communications.
WARNING: The ferrite must be installed for the camera to meet FCC Class B compliance standards. Failure to correctly install the ferrite might cause harmful interference to radio communications.
5.Connect the necessary wiring for alarms and relays (refer to Wiring on page 13).
6.Apply power to the camera. The camera will complete a configuration sequence; the green LED flashes five times per second for approximately two minutes and then turns solid after the sequence is complete.
NOTE: If the camera is not connected to a DHCP server and DHCP is enabled, the configuration sequence might take up to five minutes to complete.
7.View the camera image using the service port or a Web browser.
8.Focus the lens:
a.Press the auto back focus button once to center the focus mechanism. The button is located on the side of the camera.
b.Manually adjust the zoom and focus of the lens to the desired field of view (refer to the instructions shipped with the lens).
c.Press and hold the back focus button for three seconds to start the auto back focus mechanism.
| 11 |