Manuals
/
Philips
/
Photography
/
Security Camera
Philips
BL-C10
operating instructions
Operating Instructions, Network Camera
Models:
BL-C10
1
1
110
110
Download
110 pages
4.86 Kb
1
2
3
4
5
6
7
8
Specs
Default
Indicator
Maintenance
Configuring Multiple Cameras
Registering a Preset Button
Accessing the Camera
Automatic Setup
Setting Description
Cleaning
Page 1
Image 1
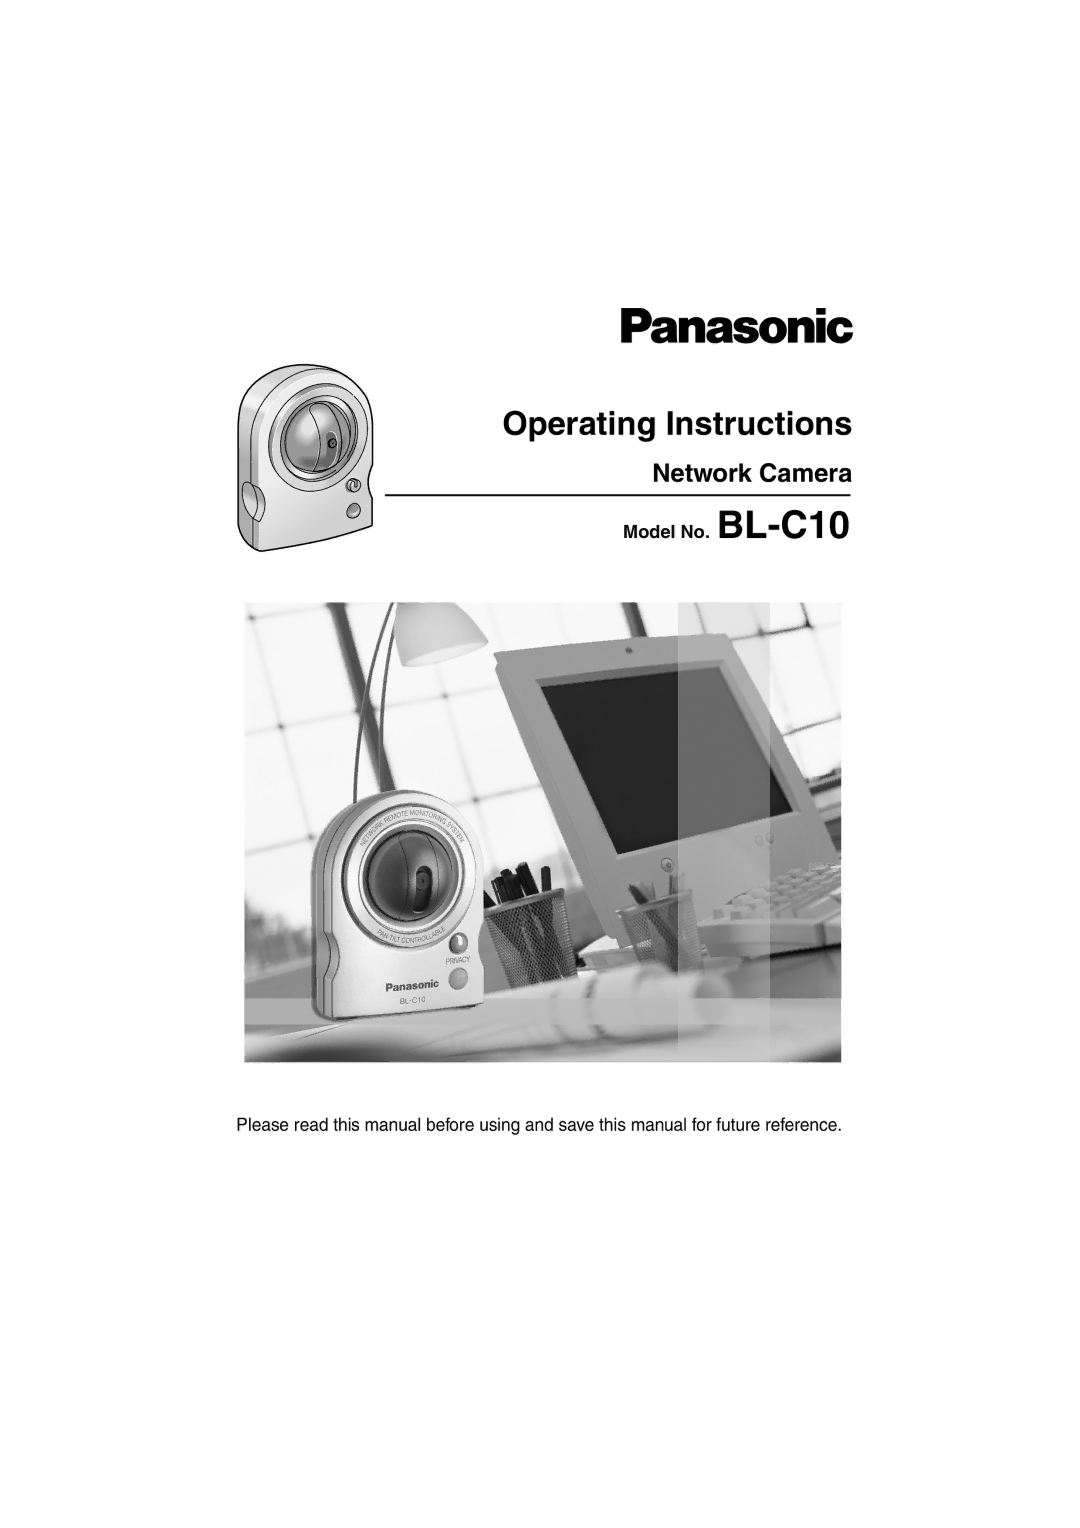
Operating Instructions
Network Camera
Model No.
BL-C10
Please read this manual before using and save this manual for future reference.
Page 1
Page 2
Page 1
Image 1
Page 1
Page 2
Contents
Network Camera
Operating Instructions
Protecting privacy
Privacy Monitoring Purpose Privacy mode
Monitoring Off
Remote monitoring
Easy installation using UPnPTM Universal Plug and Play
Operating
Description
Protocol
Important Safety Instructions
Table of Contents
Index
Camera Maintenance
Camera Monitoring
Accessing the Camera
Click the following tabs to display each
Viewing Single Camera
Security Warning window
Banner
Image Auto Centering Click to Center
Capturing a Still Image
End Display Preset Pan/Tilt Scan
Using Operation Bar
Home
Position
Pan/Tilt Range
Pan/Tilt Operation
Registering Home Position/Sensor Position
Setting Home Position/Sensor Position/Preset Button
Registering a Preset Button
Viewing the Image
Changing or Deleting the Settings
Viewing Multi-Camera
How to save a still image to your PC
When the image is not displayed on the Multi-Camera
On the Single Camera or Multi-Camera
On the Buffered Image
Viewing Buffered Image
Deleting Buffered Images
Viewing Still Images on Your Mobile Phone
Stopping E-mail Transfer by the Mobile Phone Operation
Using Camera Features
Various Camera Features
Basic Network
Indicator
To connect the camera to the network see
Camera
Automatic Setup
Connecting the Camera to Your Network
Static Setup Dhcp Setup
Setting Description
They usually have two addresses
Using UPnP Universal Plug and Play
Setting Description
Confirming the Internet access
Setting Date and Time
Name by E-mail or FTP transfer uses only 24 h format
Changing Camera Settings
Position and preset buttons
Setting Description
Specifying Pan/Tilt Range
Operating Instructions
Users must enter the user name and password
Items Administrator General Users Guest Users
Administrator/General Users/Guest Users
Logging in to the Camera
Creating, Modifying or Deleting General Users
Access from guest users From guest users
Setting Description
Operating Instructions
Or Japanese. The selected language is displayed as
Operating Instructions
Configuring Multiple Cameras
Setting Description
Buffering or Transferring Images by Timer
Setting Description
Setting Description
FTP
When you set FTP for Transfer Method
When you set E-mail for Transfer Method
Is not available
Buffering or Transferring Images by Sensor
Setting Description
Setting Description
Quality or what object you view
Many E-mails to a mobile phone
FTP
When you set FTP for Transfer Method
When you set E-mail for Transfer Method
Is not available
Minute
Specifying Operation Time
About Operation Time
Changing Indicator Display
Enabling Privacy Mode
Maintenance Status
Maintenance
Default
Restart Restarts the camera see
Restarting the Camera
Confirming the Status
Updating the Camera Firmware
Operating Instructions
Updated version
Creating Configuration File
Loading Settings from a Configuration File
Resetting the Camera to Factory Default
Seeing Help
Support
Seeing Product Information
Seeing Support Information
Factory Default Reset Button
Items Default Required
Default Setting List
Basic
AM/PM
Camera Camera Name
Account
Advanced
Multi Multi-Camera Blank Display
Buffer Status Off Transfer Trigger
Preset Buttons
Cleaning the Main Unit
Cleaning
Cleaning the Lens
Local IP Address
Setting an IP Address on Your PC
Steps
Class Subnet Mask Local IP Address
Finding the camera
Using Setup Program
Operating Instructions
Manual Setup window
Automatic Setup Local or Internet Access or Manual Setup
Setting the Proxy Server Settings on Web Browser
Setting Your PC
How to Set the Proxy Server Settings
See if the check
Operating Instructions
Setting the Internet Temporary File Setting on Web Browser
Setting UPnP to Display Camera Shortcut in My Network Places
Ascii Character Table
File Size and Number of Buffered Images
Network Camera Items Specifications
Specifications
Other Specifications Items
Other Specifications Items
106
Index
Operating Instructions
Top Update Firmware UPnP Web Browser 109
Copyright
Top
Page
Image
Contents