Operating Instructions
2.2Connecting the Camera to Your Network
The Network page offers three options to configure the camera.
•[Automatic Setup] automatically assigns an unused IP address to the camera, and uses UPnPTM to configure your router.
•[Static] allows the user to use a specific IP address.
•[DHCP] is offered for ISPs who require this option.
1.Click [Network] on the Setup page.
2.Select a connection mode.
Normally sets Automatic Setup.
Uses a static IP address.
Uses ISP DHCP server function.
• Each page is displayed (see page
3.Enter each parameter in the proper data field.
Automatic Setup
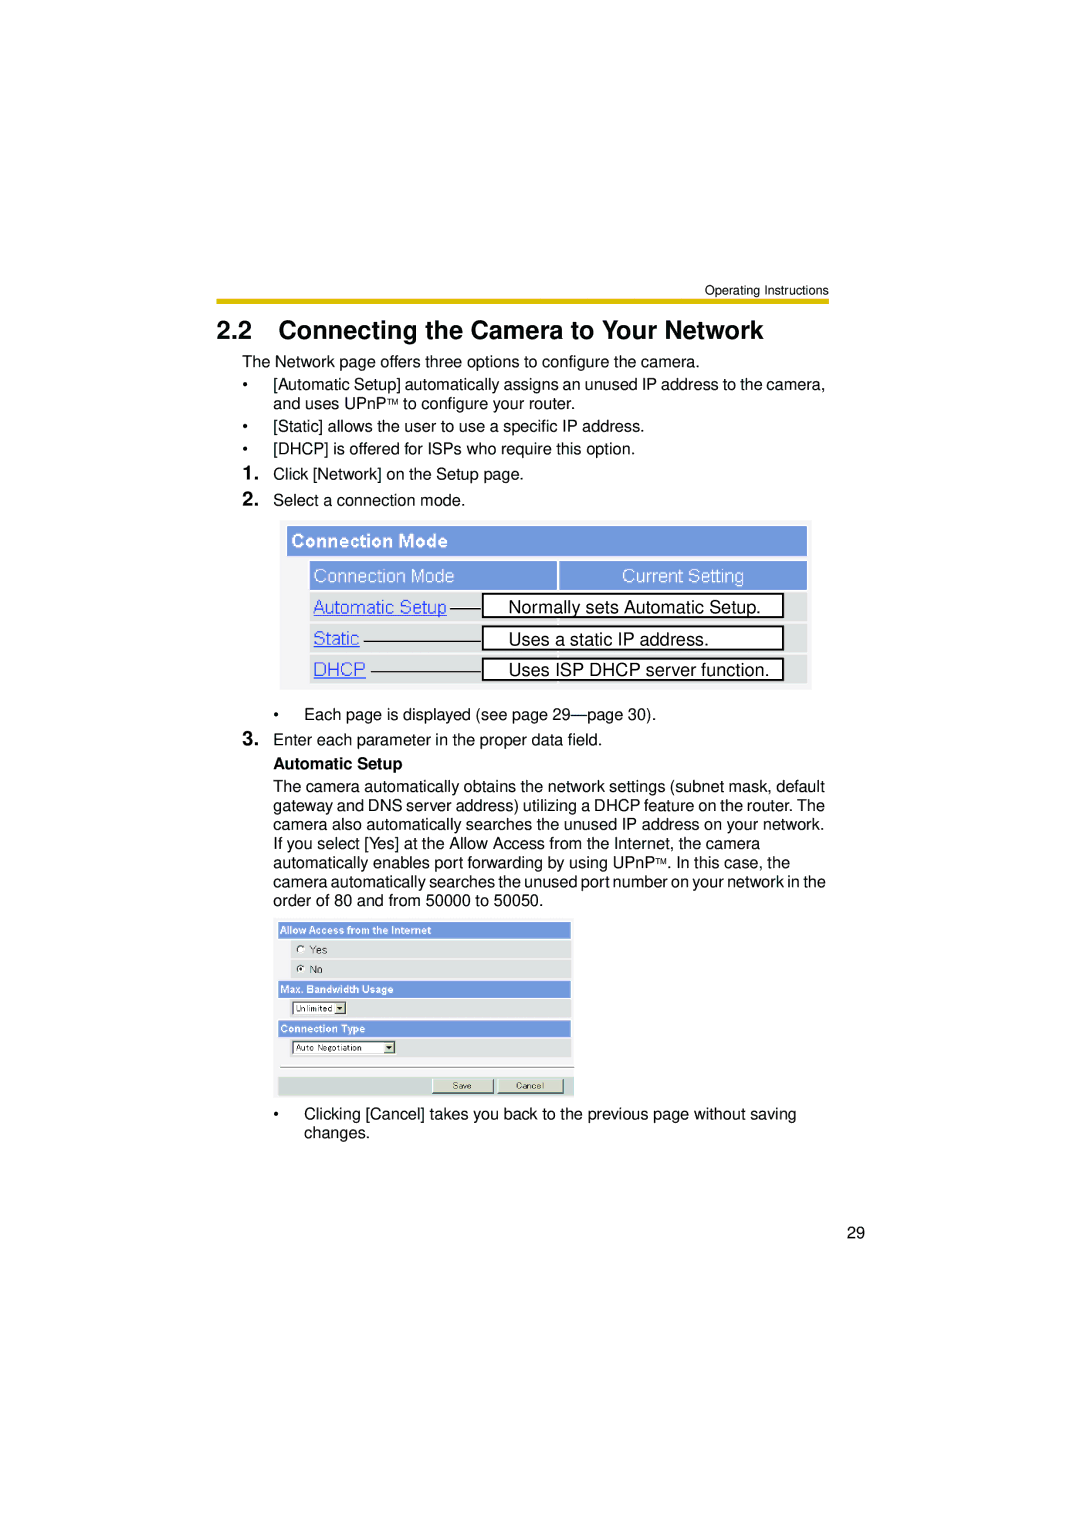
The camera automatically obtains the network settings (subnet mask, default gateway and DNS server address) utilizing a DHCP feature on the router. The camera also automatically searches the unused IP address on your network. If you select [Yes] at the Allow Access from the Internet, the camera automatically enables port forwarding by using UPnPTM. In this case, the camera automatically searches the unused port number on your network in the order of 80 and from 50000 to 50050.
•Clicking [Cancel] takes you back to the previous page without saving changes.
29
