|
| Operating Instructions |
|
|
|
| Setting | Description |
|
|
|
| General | Authentication has 2 phases. |
| Authentication | • If you set [Permit access from guest users], the camera |
|
| does not display the authentication window in camera |
|
| access. All guest users can view the image without user |
|
| name and password. |
|
| Note |
|
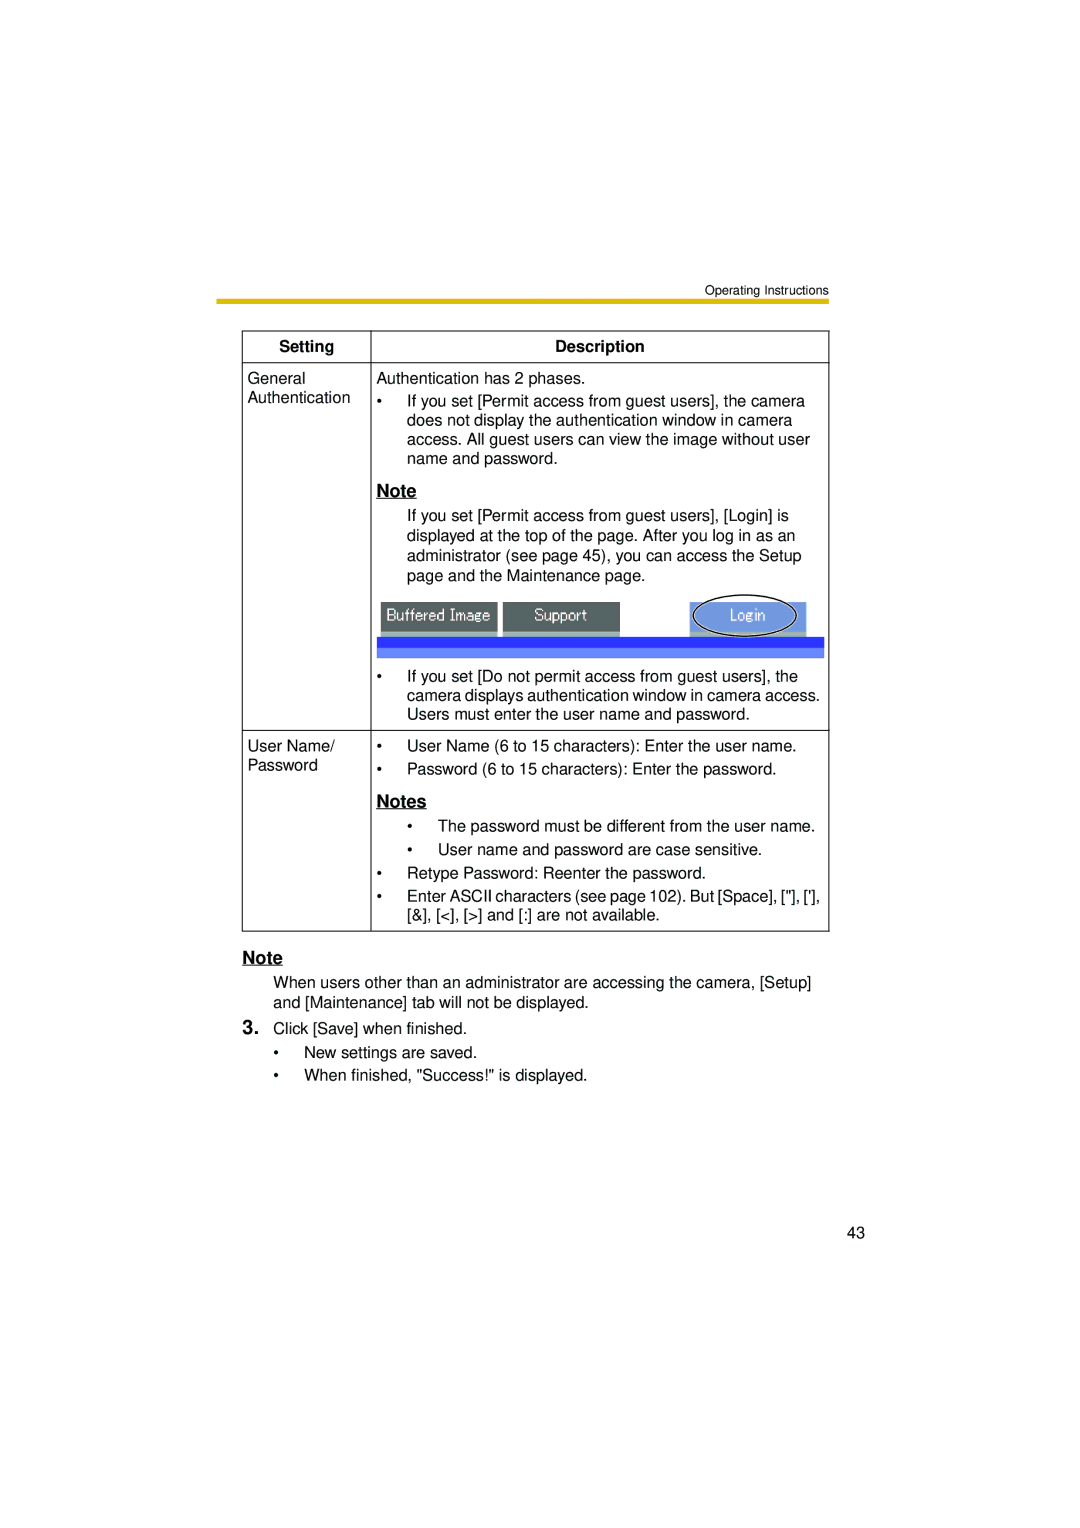
| If you set [Permit access from guest users], [Login] is |
|
| displayed at the top of the page. After you log in as an |
|
| administrator (see page 45), you can access the Setup |
|
| page and the Maintenance page. |
| • If you set [Do not permit access from guest users], the | |
|
| camera displays authentication window in camera access. |
|
| Users must enter the user name and password. |
|
|
|
User Name/ | • | User Name (6 to 15 characters): Enter the user name. |
Password | • | Password (6 to 15 characters): Enter the password. |
Notes
•The password must be different from the user name.
•User name and password are case sensitive.
•Retype Password: Reenter the password.
•Enter ASCII characters (see page 102). But [Space], ["], ['], [&], [<], [>] and [:] are not available.
Note
When users other than an administrator are accessing the camera, [Setup] and [Maintenance] tab will not be displayed.
3.Click [Save] when finished.
•New settings are saved.
•When finished, "Success!" is displayed.
43
