Remote Monitoring Network Setup
c Go to step 6.
6Scroll to the bottom of the page and click Confirm and apply new network settings to receive the Confirm Network Change page.
7Review the settings to make sure they are correct. Click OK, apply changes now to receive the Applying Network Changes page. This shows the network settings that will be used.
Note: If you have changed the static IP address or changed from static to DHCP setup, you may need to point your browser at the new address.
8You may have to click the Refresh button on your browser to see the new name in the upper left corner of the page.
Remote Monitoring Date and Time
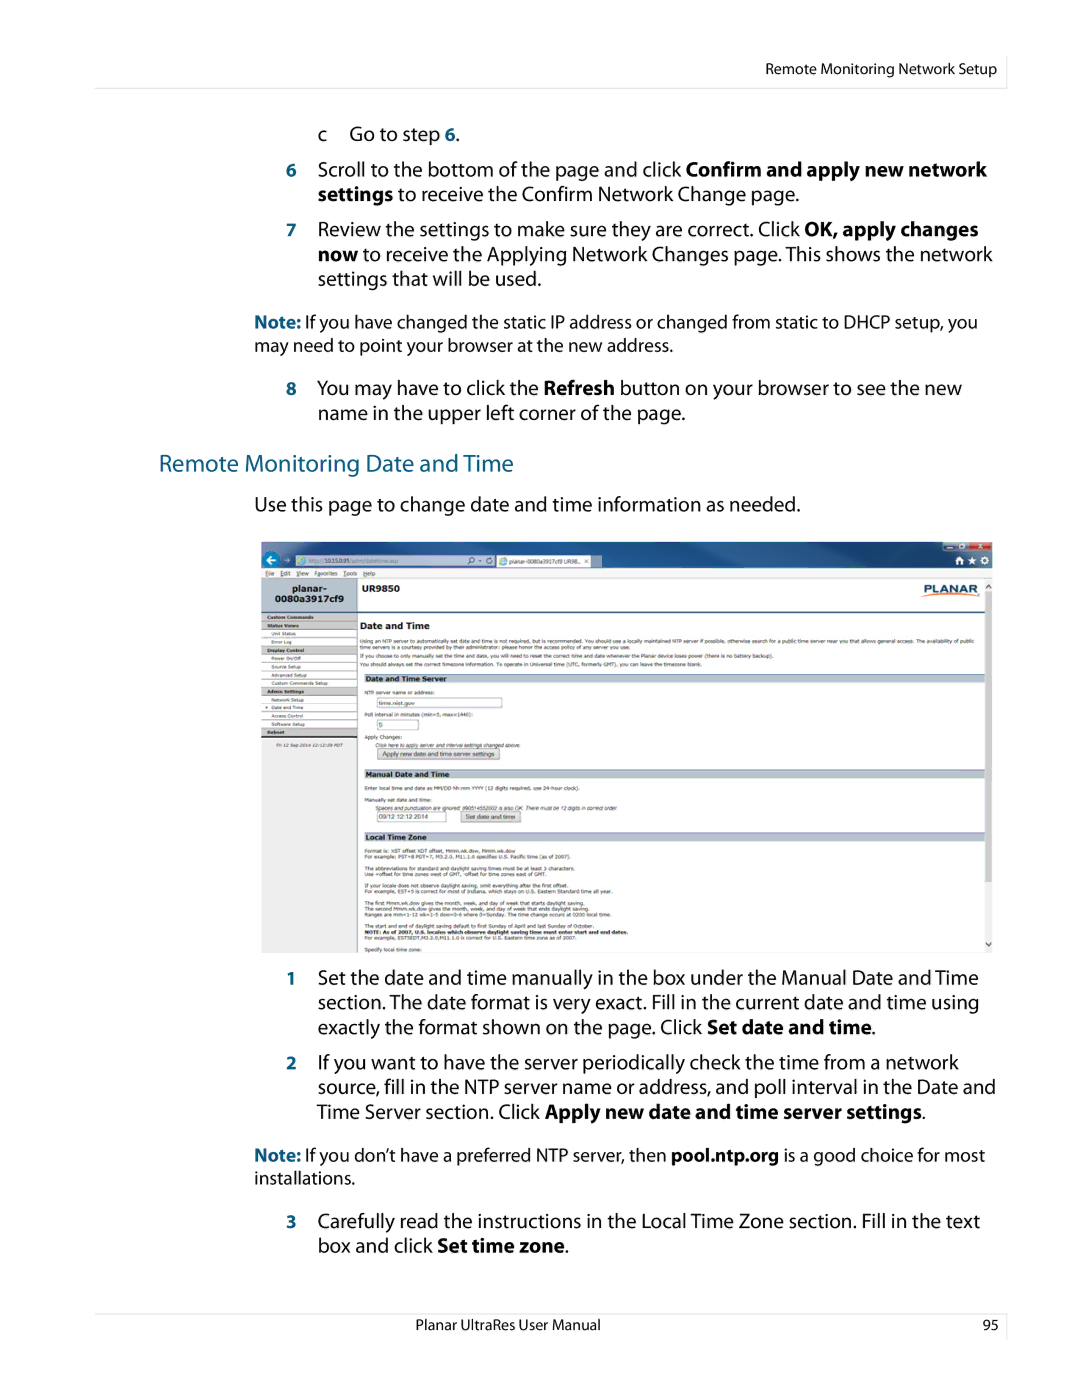
Use this page to change date and time information as needed.
1Set the date and time manually in the box under the Manual Date and Time section. The date format is very exact. Fill in the current date and time using exactly the format shown on the page. Click Set date and time.
2If you want to have the server periodically check the time from a network source, fill in the NTP server name or address, and poll interval in the Date and Time Server section. Click Apply new date and time server settings.
Note: If you don’t have a preferred NTP server, then pool.ntp.org is a good choice for most installations.
3Carefully read the instructions in the Local Time Zone section. Fill in the text box and click Set time zone.
Planar UltraRes User Manual | 95 |