Remote Monitoring Network Setup
Remote Monitoring Network Setup
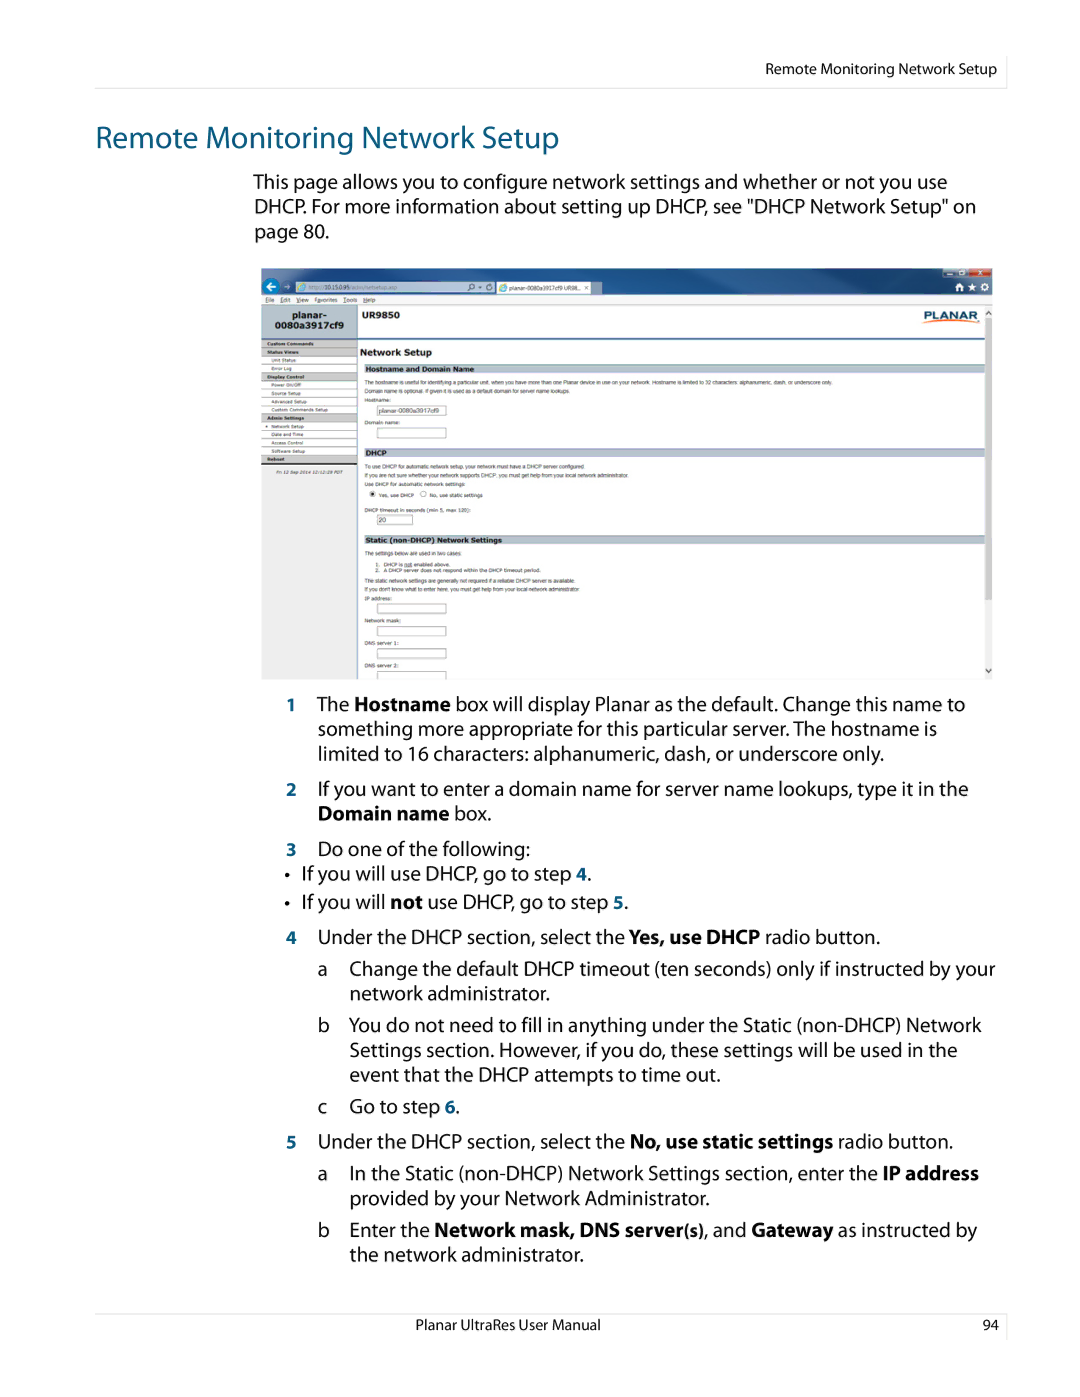
This page allows you to configure network settings and whether or not you use DHCP. For more information about setting up DHCP, see "DHCP Network Setup" on page 80.
1The Hostname box will display Planar as the default. Change this name to something more appropriate for this particular server. The hostname is limited to 16 characters: alphanumeric, dash, or underscore only.
2If you want to enter a domain name for server name lookups, type it in the Domain name box.
3Do one of the following:
•If you will use DHCP, go to step 4.
•If you will not use DHCP, go to step 5.
4Under the DHCP section, select the Yes, use DHCP radio button.
a Change the default DHCP timeout (ten seconds) only if instructed by your network administrator.
b You do not need to fill in anything under the Static
c Go to step 6.
5Under the DHCP section, select the No, use static settings radio button.
a In the Static
b Enter the Network mask, DNS server(s), and Gateway as instructed by the network administrator.
Planar UltraRes User Manual | 94 |
