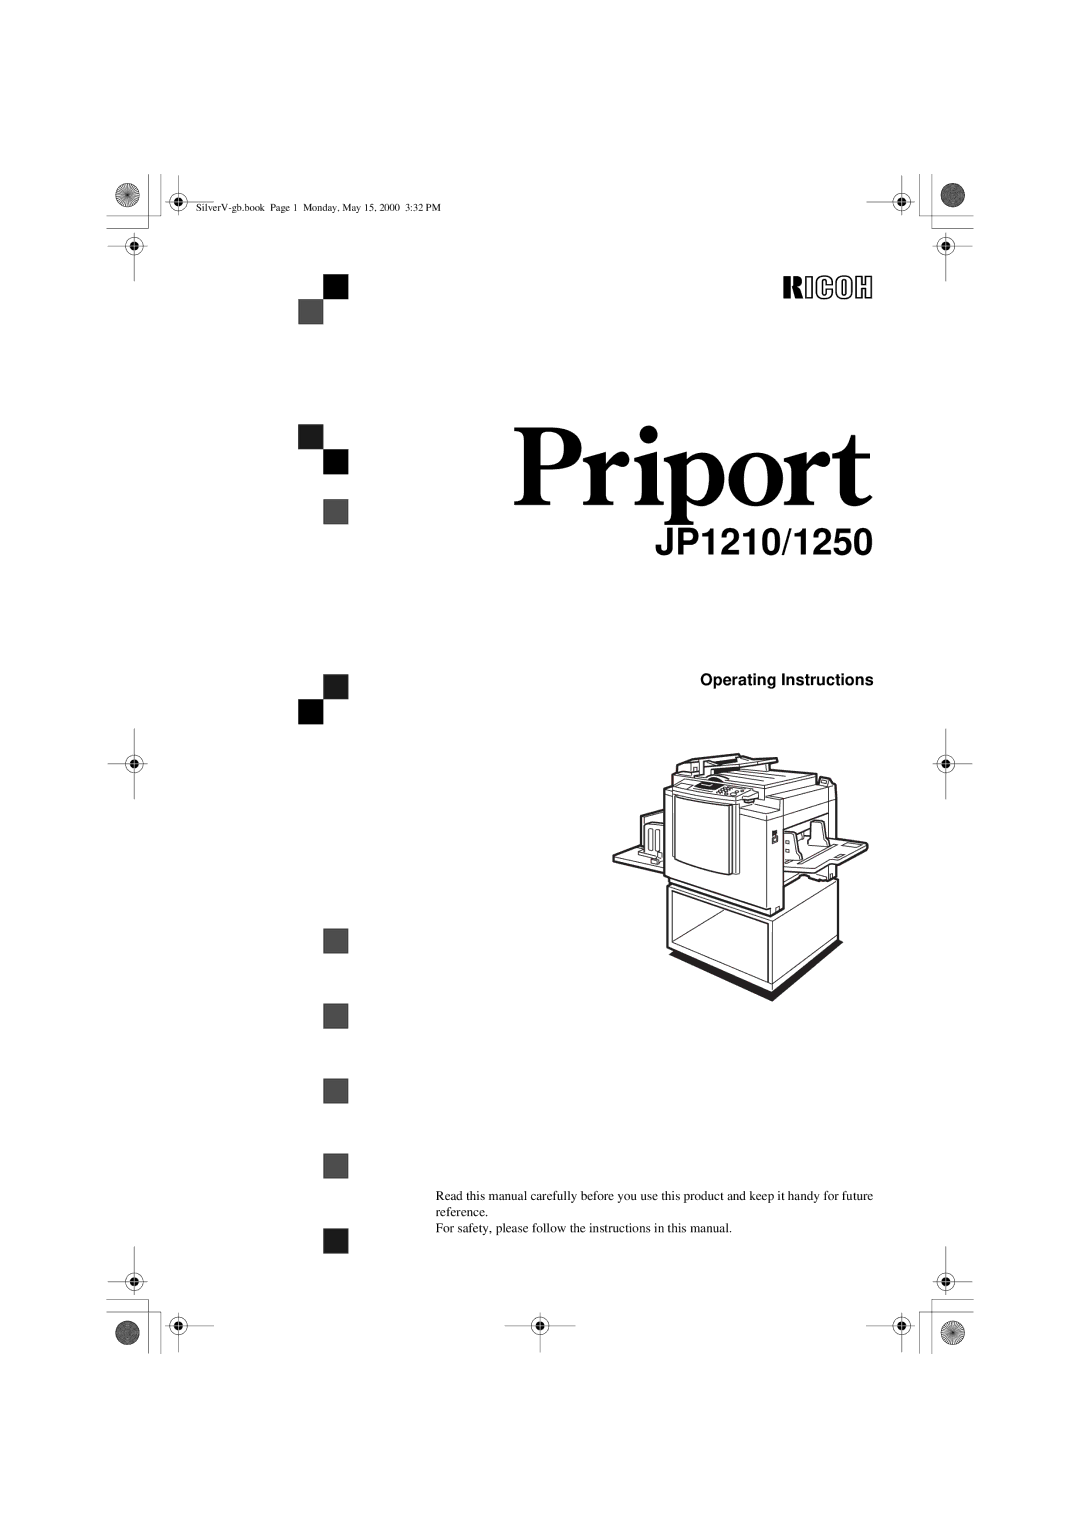
Operating Instructions
JP1210/1250
Overseas Affiliates
Introduction
Means Power ON. b means Power OFF
Safety During Operation
Safety Information
SilverV-gb.book Page ii Monday, May 15, 2000 332 PM
Symbols
How to Read this Manual
Iii
What You Can Do with this Machine
Erasing Edge Margins
Erasing Centre and Edge Margins
Erasing the Shadow of Pasted Originals
Printing on Thick or Thin Paper
Group Printing from Different Originals
Storing Your Print Settings in Memory
Combining Originals onto One Print
Skip Feed Printing
Vii
Machine Exterior
Viii
Machine Interior
Originals document feeder
Options
Keys
Operation Panel
Image Position key
Fine key
Program key
Clear Modes/Energy Saver key
Xii
Indicators
Table of Contents
Xiv
101
100
102
107
Xvi
Printing Paper
Operation
Originals
Loading Paper
Preparation for Printing
Carefully open the paper feed tray
Place the paper on the paper feed tray
Turn on the main switch
Setting Up the Paper Delivery Tray
Open the paper delivery tray
Printing
Standard Printing
Lower the platen cover Press the Start key
SilverV-gb.book Page 6 Monday, May 15, 2000 332 PM
Restoring Paper Feed and Paper Delivery Trays
Energy Saver Mode Saving Energy
Shifting the Image Position Forward or Backward
Adjusting the Print Image Position
Shifting the Image Position to the Right or Left
Shifting the Print Image Position Forward or Backward
Shifting the image to the right
Shifting the Print Image Position to the Right or Left
Shifting the image to the left
Before Making a Master
Adjusting the Print Image Density
Before Making a Master
After Making a Master
Tint Mode-Halftone Printing
Fine Mode-Making Clear Prints
Changing the Printing Speed
Press the Clear/Stop key
Stopping the Machine during the Multi- print Run
Change the number of prints or check the completed prints
Reduction Inch version
Reduction Metric version
Enlargement Inch version
Enlargement Metric version
Make your prints
Centre/Edge Erase-Erasing centre and Edge Margins
Check Indicator is blinking
Center/Edge Erase key again
Press the or key to se- lect the paper size and direction
Set the book on the exposure glass
Edge Erase-Erasing Edge Margins
Press the Center/Edge Erase key to select Edge Erase mode
Center/Edge Erase key twice
Edge Erase-Erasing Edge Margins
Set the original on the exposure glass
Paste Shadow Erase-Erasing the Shadow of Pasted Originals
Press the Paste Shadow Erase key
Pressure Lever Position
Printing on Thick or Thin Paper
Letter mode
Photo mode
Letter/Photo mode
Selecting Original Type
Economy Mode-Saving Ink
Enter the number of prints re- quired with the number keys
Auto Cycle-Printing from Several Originals at Once
Press the Auto Cycle key
If you use the optional tape dis
Power switch
Penser, turn on the tape dispenser
Class Mode-Group Printing from the Same Original
Press the Memory/Class key to light the Class indicator
Press the q key
With the number keys, enter the desired number of sets
Turn on the optional tape dis- penser power switch
Memory Mode-Group Printing from Different Originals
Set the first original face down on the exposure glass
Press the q key again
Repeat this step until you have finished printing
Press the Auto Cycle key Press the Print key
Metric version
Combine-Combining 2 Originals onto One Print
Inch version
Set the first original face down
Reproduction Ratio
To Choose a Custom
Press the Center/Edge Erase
Enter the number of prints with the number keys
Skip Feed Printing
Storing Your Settings
Program-Storing Your Print Settings in Memory
Recalling a Program
Press the Start key Press the q key
Protecting a Program
Press the q key Enter 1 with the number keys
Select the program number you
Removing Program Protection
Want to remove protection from
Security Mode-Printing Secret Documents
Document Feeder Exterior
Printing Using the Optional 30 Originals Document Feeder
Originals
Adjust the guide to the original size
Setting Originals in the Document Feeder
Combine Copies with the Document Feeder
Set the desired settings and press the Start key
Check the print paper size and the reproduction ratio
Press the Combine key to select your desired mode
Memory Mode with the Document Feeder
Set your originals face up into the document feeder
Livered
Turn on the optional tape dispenser power switch
SilverV-gb.book Page 51 Monday, May 15, 2000 332 PM
Making Colour Prints
Colour Printing Using the Optional Colour Drum
Changing the colour Drum Unit
Open the front door
Insert the colour drum unit along the guide rail
Pull out the drum unit handle
Slide in the drum unit until it locks in position
Lower the drum unit lock lever
Printing in Two colours
Set the second original and press the Start key
Exchange the drum unit. See ⇒
Check the image position Press the Print key
SilverV-gb.book Page 56 Monday, May 15, 2000 332 PM
Press the Clear Modes/Energy Sav
Accessing Service Programs
Er key Hold down the Clear/Stop key for at least 3 seconds
Press the Clear Modes/Energy Saver key Reference
Enter the desired value or mode with the number keys
Changing the Settings of Service Programs
Press the q key to store the desired value or mode
After entering the desired SP No., press the q key
Press the Clear Modes/Energy Saver key
Service Program Menu
SilverV-gb.book Page 60 Monday, May 15, 2000 332 PM
Combine-Combining 2 Originals onto One Print
SilverV-gb.book Page 62 Monday, May 15, 2000 332 PM
Memory Mode-Group Printing from Different
Default 3 Min. minutes
SilverV-gb.book Page 65 Monday, May 15, 2000 332 PM
User Codes
How to Set User Code Mode #
Er key Enter 120 with the number keys and press the q key
Enter 1 Yes with the number keys and then press the q key
Down the Clear Modes/Energy Sav
How to Use User Code Mode
Er key
Press the Clear Modes/Energy Sav- er key
How to Check the User Code Counter #
Er key Enter 122 with the number keys and press the q key
How to Clear the User Code Counter #
Enter 1 Yes with the number keys and press the q key
Enter 123 with the number keys and press the q key
Enter 124 with the number keys and press the q key
How to Clear the User Code Total Counter #
SilverV-gb.book Page 72 Monday, May 15, 2000 332 PM
Replenishing Paper
Loading Paper on the Paper Feed Tray
Press the Paper Feed Tray Down
Load paper on the paper feed tray
Changing the Paper Size
Adjust the side plates and the end plate
Place the paper on the paper feed
Pull out the ink holder and remove the used ink cartridge
When the Add Ink Indicator j Lights
Insert the new cartridge into the ink holder
Remove the cap of the new ink cartridge
Open the original tray
Master Roll Replacement
Open the right side cover Open the plotter cover
Close the plotter cover
Set the paper edge of the master roll as shown
Placing a New Roll of Tape in the Tape Dispenser Option
Turn on the power switch of the tape dispenser
Open the cover of the tape dis- penser
As shown, put the roll in the dis- penser
SilverV-gb.book Page 80 Monday, May 15, 2000 332 PM
If Your Machine does not Operate as You Want
When the misfeed indicator x lights
When other indicators light
When the open cover/unit indicator M lights
Guidance Display Meaning
+ Original JAM. Remove Original
Clearing Misfeeds
After clearing misfeeds
Press the ADF unit open lever and open the ADF unit
Close the ADF unit until it locks in position
Pull out the original gently
To prevent original misfeeds
Slowly but firmly pull out the paper
+PAPER Feed JAM. Remove Jammed Paper
Pull out the drum unit
Remove the misfed paper
To prevent paper misfeeds
SilverV-gb.book Page 89 Monday, May 15, 2000 332 PM
+ Master Feed JAM. Remove Jammed Master
Return the original tray to its original position
+PAPER Wrap JAM. Remove Jammed Paper
SilverV-gb.book Page 93 Monday, May 15, 2000 332 PM
Pull out the master eject box
+MASTER Eject JAM. Remove Jammed Master
Return the master eject box to its original position
Remove the misfed master
Pull the master out of the master clamp
+DELIVERY JAM. Remove Jammed Paper
Original Tray
When the Open Cover/Unit Indicator M Lights
Front Door
ADF Unit Option
SilverV-gb.book Page 98 Monday, May 15, 2000 332 PM
Take out the master eject box and remove the used masters
When the Master Eject Indicator k Lights
100
When Other Indicators Light
101
When the Prints are Thrown Over the Paper Delivery Tray
Reduce the printing speed by pressing the W key
Dirt on the Back Side of Paper
Poor Printing
102
103
Clean the pressure roller with a clean cloth
104
Dirt on the Front Side of Paper Black Line/Stain
105
White Prints or Incomplete Prints
Remove the master from the drum
106
Remove paper that is stuck to the drum
General Cautions
Operation Notes
107
108
109
Print Paper
110
Environmental Conditions
Where to Put Your Machine
Optimum environmental conditions
Environments to avoid
Access to Machine
Power Connection
Main Frame
112
Main Frame
Maintaining Your Machine
Exposure Glass
Platen Cover
Separation Roller
Optional Document Feeder
114
115
Combination Chart
116
Main Frame
Printing Paper Size
Print Paper Weight
Leading Edge Margin
Print Speed
Weight
Dimensions W × D × H
Power Source
Noise Emission *1
Optional Equipment
Power Consumption
120
Originals Document Feeder
Original Weight
Original Capacity
121
122
Consumables
123
Index
Reduce key
124