Effect
■By using the camera’s digital processor, it is possible to add special effects to your images.
1. Press the play mode button and press the menu button. |
|
|
|
|
|
|
|
|
|
|
| |
|
|
|
|
|
|
|
|
|
|
| ||
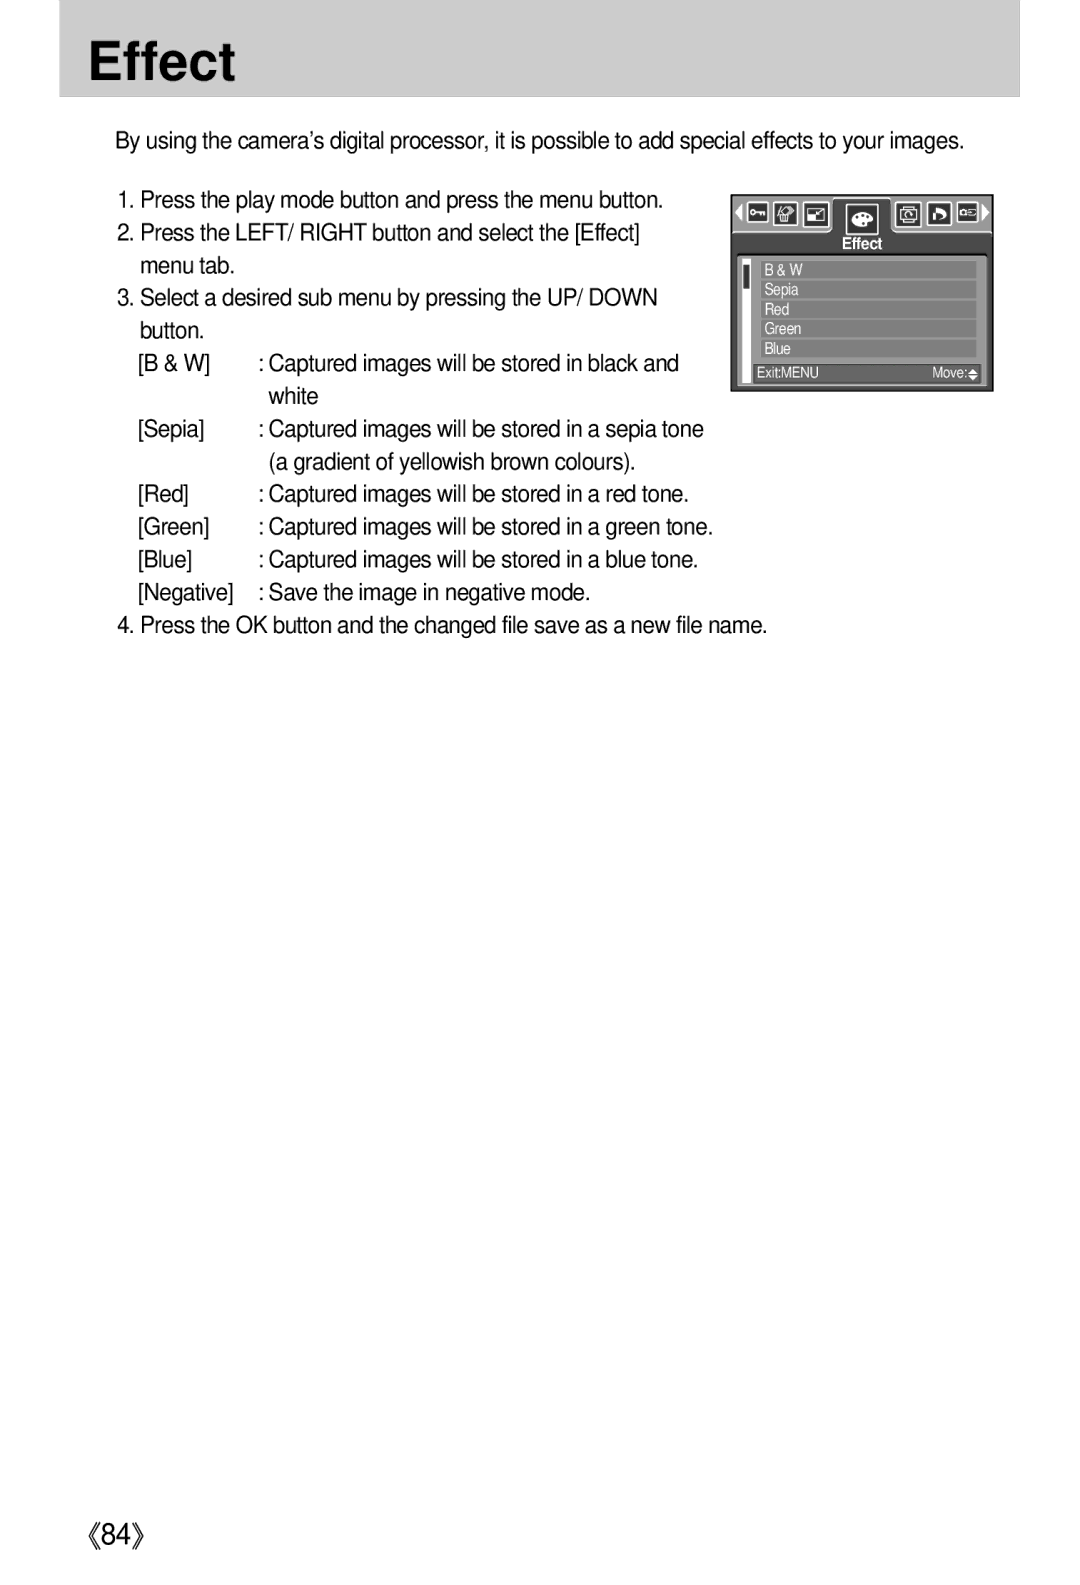
2. Press the LEFT/ RIGHT button and select the [Effect] |
|
|
|
|
|
|
|
|
|
|
| |
|
|
|
| Effect | ||||||||
menu tab. |
|
|
|
|
| |||||||
|
| B & W |
|
|
|
|
|
|
| |||
|
|
|
|
|
|
|
|
| ||||
3. Select a desired sub menu by pressing the UP/ DOWN |
| Sepia |
|
|
|
|
|
|
| |||
|
|
|
|
|
|
|
| |||||
| Red |
|
|
|
|
|
|
| ||||
button. |
|
|
|
|
|
|
|
|
| |||
|
| Green |
|
|
|
|
|
|
| |||
[B & W] | : Captured images will be stored in black and |
| Blue |
|
|
|
|
|
|
| ||
| Exit:MENU |
|
|
|
| Move: |
| |||||
| white |
|
|
|
|
|
|
|
|
|
|
|
[Sepia] | : Captured images will be stored in a sepia tone |
|
|
|
|
|
|
|
|
|
|
|
| (a gradient of yellowish brown colours). |
|
|
|
|
|
|
|
|
|
|
|
[Red] | : Captured images will be stored in a red tone. |
|
|
|
|
|
|
|
|
|
|
|
[Green] | : Captured images will be stored in a green tone. |
|
|
|
|
|
|
|
|
|
|
|
[Blue] | : Captured images will be stored in a blue tone. |
|
|
|
|
|
|
|
|
|
|
|
[Negative] | : Save the image in negative mode. |
|
|
|
|
|
|
|
|
|
|
|
4. Press the OK button and the changed file save as a new file name.
《84》
