ENGLISH
ESPAÑOL
Initial Setting : Display Menu Setting Ajuste inicial: ajuste del menú Pantalla
Displaying the Date/Time (Date/Time)
✤The Date/Time function works in <Camera>/<Player>/<M.Cam>/ <M.Player> modes. ➥page 19
✤The date and time are automatically recorded on a special data area of the tape.
Visualización de la fecha y hora <Date/Time> (Fecha/Hora)
✤La función Date/Time está operativa en los modos <Camera>/ <Player>/<M.Cam>/<M.Player>. ➥pág. 19
✤La fecha y hora se graban automáticamente en un área de datos especial de la cinta.
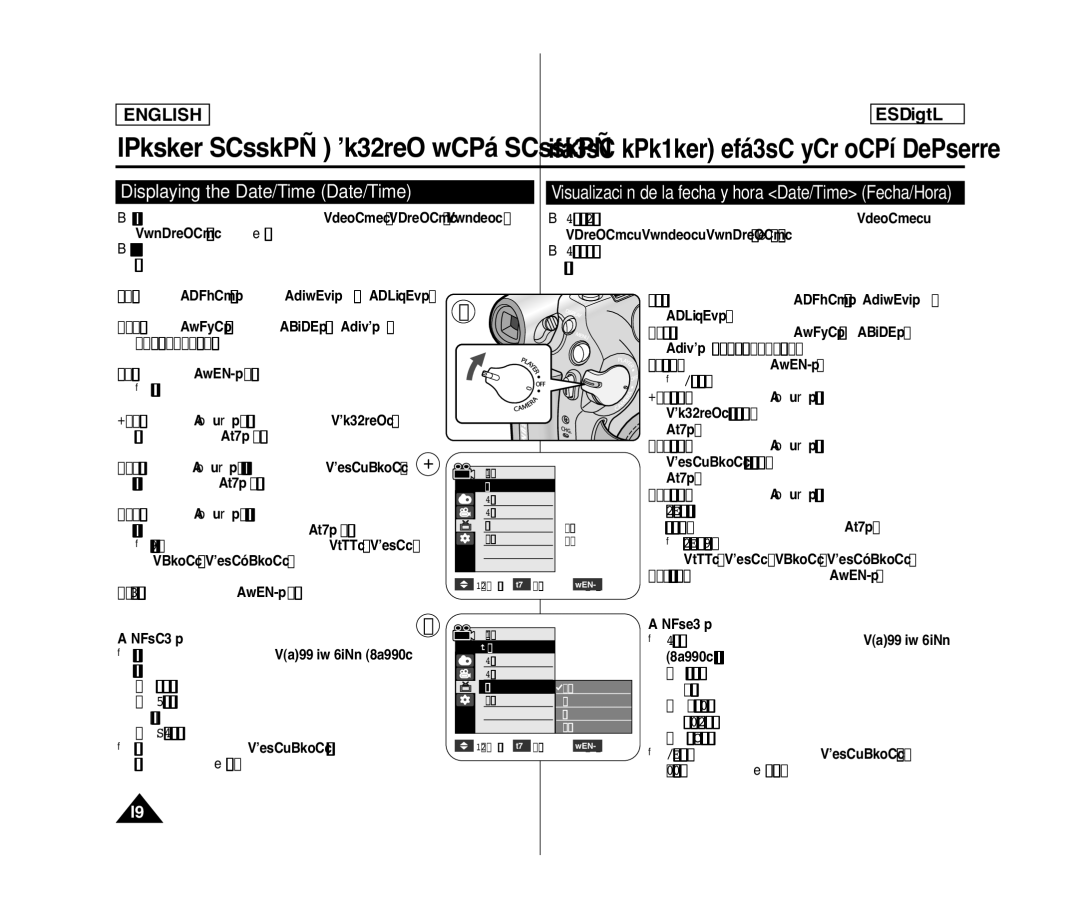
1. Set the [Power] switch to [CAMERA] or [PLAYER].
1
2. Set the [Mode] switch to [TAPE] or [CARD].
3. Press the [MENU] button.
■ The menu list will appear.
4. Press the [▲ / ▼] button to select <Display>, then press the [OK] button.
5. | Press the [▲ / ▼] button to select <Date/Time>, | 4 | Camera Mode |
| |
| then press the [OK] button. |
|
| ||
|
| √Display |
|
| |
| Press the [▲ / ▼] button to select the display type of | LCD Bright |
| ||
6. | LCD Color |
| |||
| the Date/Time, then press the [OK] button. |
| Date/Time | √Off | |
| ■ Display type of the Date/Time: <Off>, <Date>, |
| TV Display | √On | |
|
|
|
| ||
| <Time>, <Date&Time>. |
|
|
|
|
7. | To exit, press the [MENU] button. |
| Move | OK Select | MENU Exit |
|
|
|
| ||
[ Notes ] | 6 | Camera Mode |
| ||
|
| ||||
| Back |
|
| ||
■ | The Date/Time will read <12:00 AM JAN. 1,2007> |
|
|
| |
| LCD Bright |
| |||
| in the following conditions. |
|
| ||
|
| LCD Color |
| ||
| - During playback of a blank section of a tape. |
| Date/Time | Off | |
| - If the tape was recorded before setting the clock | TV Display | Date | ||
| function in the Camcorder. |
|
|
| Time |
| - When the Lithium Battery becomes weak or dead. |
|
| Date&Time | |
|
|
|
| ||
■ Before you use the <Date/Time> function, you must |
| Move | OK | Select | MENU | Exit |
|
|
| ||||
set the clock. ➥page 23 |
|
|
|
|
|
|
1.Coloque el interruptor [Power] en [CAMERA] o [PLAYER].
2.Coloque el interruptor [Mode] en [TAPE] o [CARD]. (sólo
3.Presione el botón [MENU].
■Aparecerá la lista de menús.
4.Presione el botón [▲ / ▼] para seleccionar <Display> y, a continuación, presione el botón [OK].
5.Presione el botón [▲ / ▼] para seleccionar <Date/Time> y, a continuación, presione el botón [OK].
6.Presione el botón [▲ / ▼] para seleccionar el tipo de visualización de la fecha y hora y, a continuación presione el botón [OK].
■Tipo de visualización de la fecha y hora: <Off>, <Date>, <Time>, <Date&Time>.
7.Para salir, presione el botón [MENU].
[ Notas ]
■La fecha y hora aparecerán como <12:00 AM JAN. 1,2007> en las siguientes situaciones.
-Durante la reproducción de una sección en blanco de una cinta.
-Si la cassette fue grabada antes de ajustar la función del reloj en la videocámara.
-Cuando la batería de litio se debilita o se agota.
■Antes de utilizar la función <Date/Time>, debe ajustar el reloj. ➥pág. 23
30