5-4. Connecting Tubing between Indoor and Outdoor Units
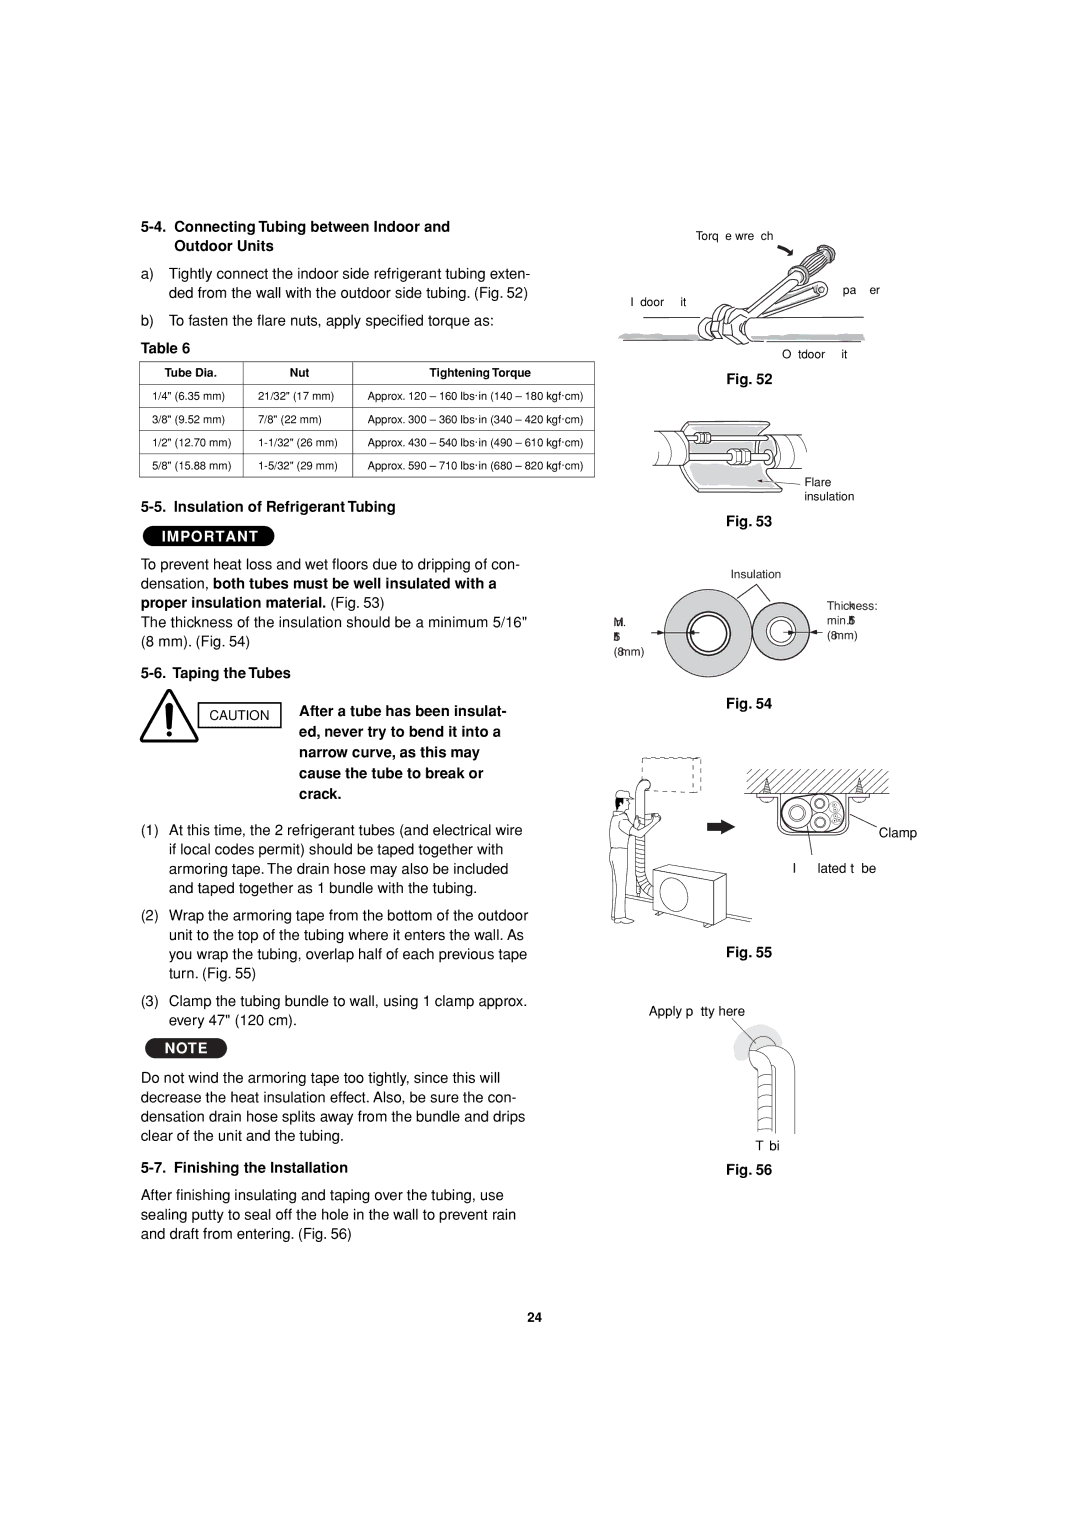
a)Tightly connect the indoor side refrigerant tubing exten- ded from the wall with the outdoor side tubing. (Fig. 52)
b)To fasten the flare nuts, apply specified torque as:
Table 6
Tube Dia. | Nut | Tightening Torque |
|
|
|
1/4" (6.35 mm) | 21/32" (17 mm) | Approx. 120 – 160 lbs·in (140 – 180 kgf·cm) |
|
|
|
3/8" (9.52 mm) | 7/8" (22 mm) | Approx. 300 – 360 lbs·in (340 – 420 kgf·cm) |
|
|
|
1/2" (12.70 mm) | Approx. 430 – 540 lbs·in (490 – 610 kgf·cm) | |
|
|
|
5/8" (15.88 mm) | Approx. 590 – 710 lbs·in (680 – 820 kgf·cm) | |
|
|
|
5-5. Insulation of Refrigerant Tubing
IMPORTANT
To prevent heat loss and wet floors due to dripping of con-
densation, both tubes must be well insulated with a proper insulation material. (Fig. 53)
The thickness of the insulation should be a minimum 5/16" (8 mm). (Fig. 54)
5-6. Taping the Tubes
Torque wrench
Spanner
Indoor unit
Outdoor unit
Fig. 52
| Flare |
| insulation |
| Fig. 53 |
| Insulation |
| Thickness: |
Min. | min. 5/16" |
5/16" | (8 mm) |
(8 mm) |
|
CAUTION | After a tube has been insulat- |
| ed, never try to bend it into a |
| |
| narrow curve, as this may |
| cause the tube to break or |
| crack. |
(1)At this time, the 2 refrigerant tubes (and electrical wire if local codes permit) should be taped together with armoring tape. The drain hose may also be included and taped together as 1 bundle with the tubing.
(2)Wrap the armoring tape from the bottom of the outdoor unit to the top of the tubing where it enters the wall. As you wrap the tubing, overlap half of each previous tape turn. (Fig. 55)
(3)Clamp the tubing bundle to wall, using 1 clamp approx. every 47" (120 cm).
NOTE
Do not wind the armoring tape too tightly, since this will decrease the heat insulation effect. Also, be sure the con- densation drain hose splits away from the bundle and drips clear of the unit and the tubing.
5-7. Finishing the Installation
After finishing insulating and taping over the tubing, use sealing putty to seal off the hole in the wall to prevent rain and draft from entering. (Fig. 56)
Fig. 54
Clamp
Insulated tubes
Fig. 55
Apply putty here
Tubing
Fig. 56
24