<P=003>
(Continued)
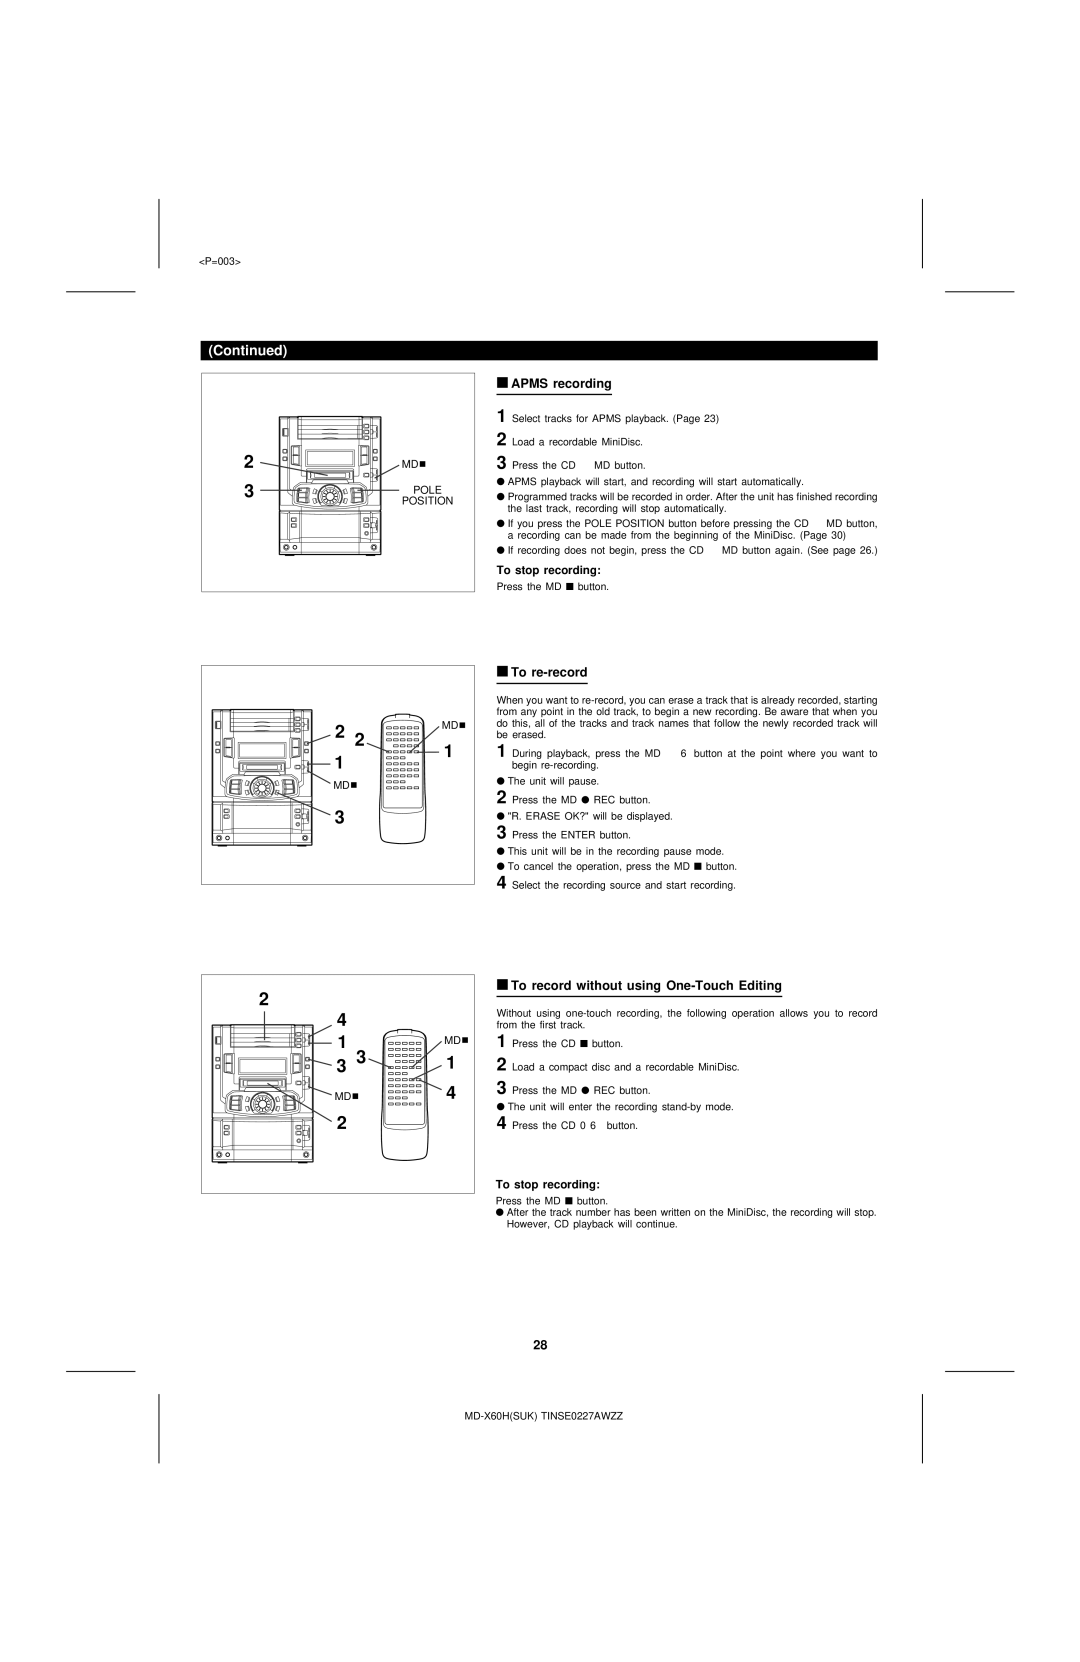
2 | MD |
3 | POLE |
| POSITION |
■APMS recording
1 Select tracks for APMS playback. (Page 23)
2 Load a recordable MiniDisc.
3 Press the CD 0 MD button.
●APMS playback will start, and recording will start automatically.
●Programmed tracks will be recorded in order. After the unit has finished recording the last track, recording will stop automatically.
●If you press the POLE POSITION button before pressing the CD 0 MD button, a recording can be made from the beginning of the MiniDisc. (Page 30)
●If recording does not begin, press the CD 0 MD button again. (See page 26.)
To stop recording:
Press the MD ■ button.
■To re-record
2 2
MD
When you want to
1
1
1 During playback, press the MD 0 6 button at the point where you want to begin
MD 
3
2
4
1 | MD |
3 3 | 1 |
MD  4
4
2
●The unit will pause.
2 Press the MD ● REC button.
●"R. ERASE OK?" will be displayed.
3 Press the ENTER button.
●This unit will be in the recording pause mode.
●To cancel the operation, press the MD ■ button.
4 Select the recording source and start recording.
■To record without using One-Touch Editing
Without using
1 Press the CD ■ button.
2 Load a compact disc and a recordable MiniDisc.
3 Press the MD ● REC button.
●The unit will enter the recording
4 Press the CD 0 6 button.
To stop recording:
Press the MD ■ button.
●After the track number has been written on the MiniDisc, the recording will stop. However, CD playback will continue.
28