<P=004>
(Continued)
TIMER/
DELETE
Jog dial | ENTER |
2
3,4
5
6
7
8
9
10
11
12
1
2
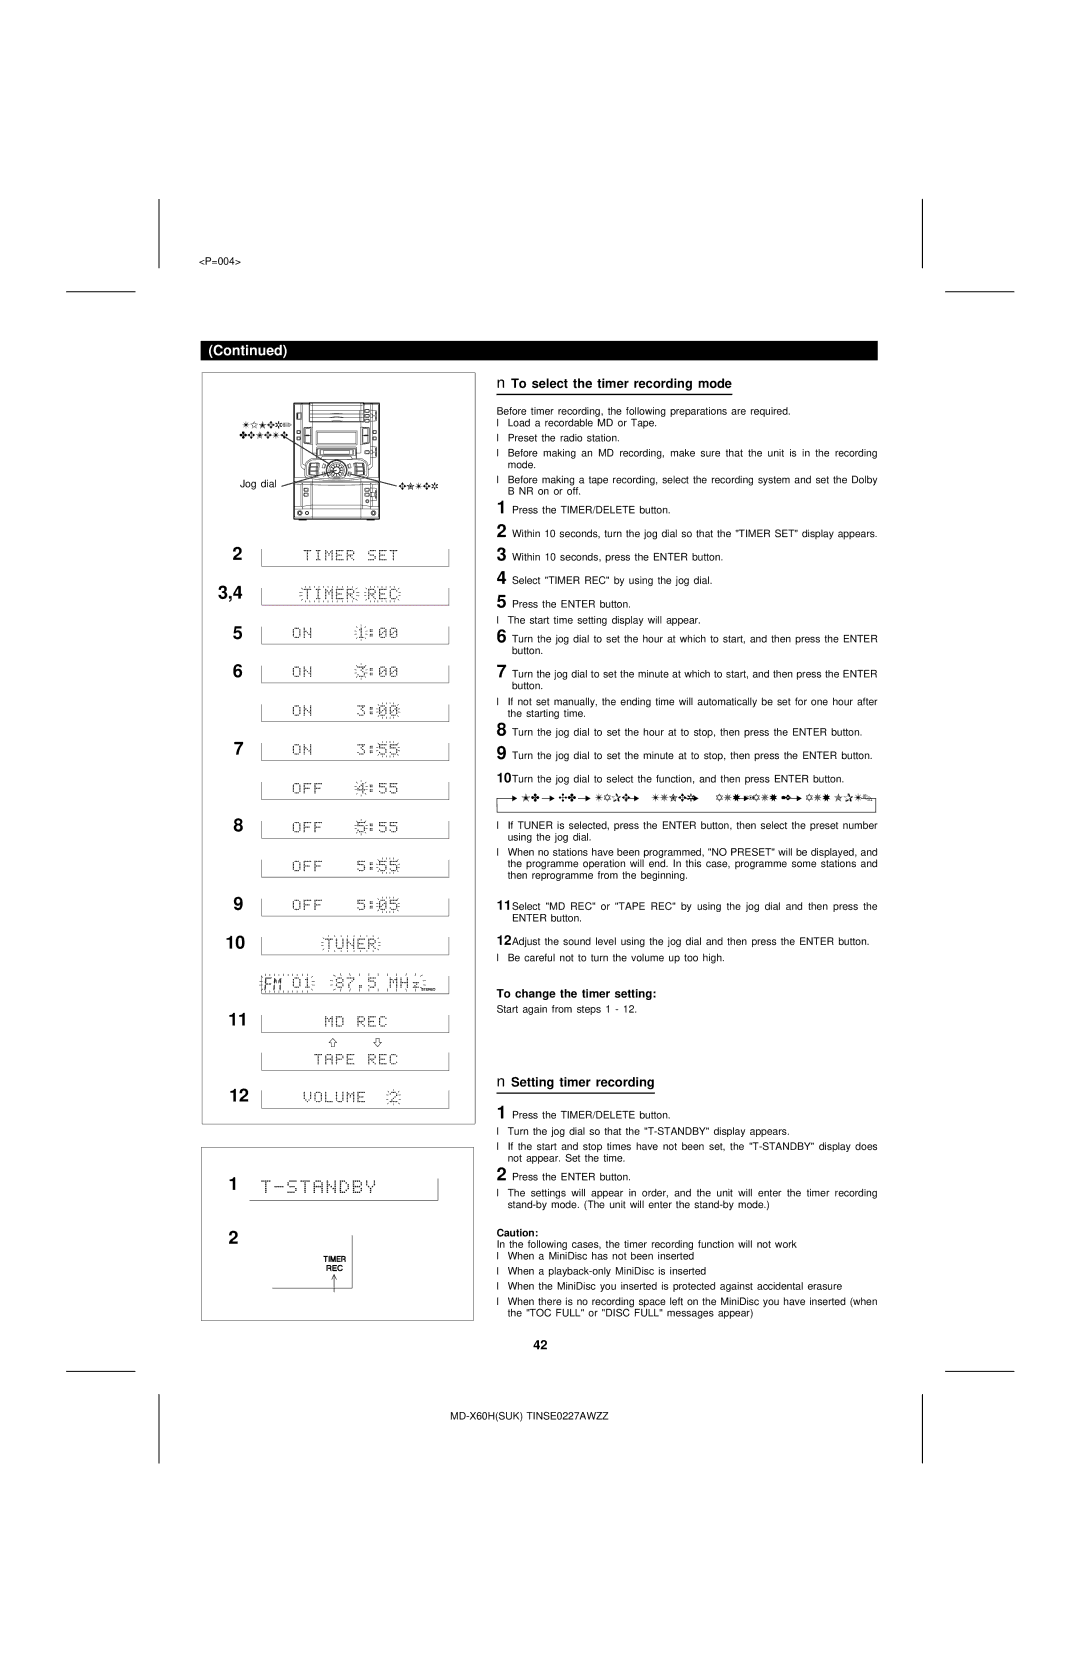
■To select the timer recording mode
Before timer recording, the following preparations are required.
●Load a recordable MD or Tape.
●Preset the radio station.
●Before making an MD recording, make sure that the unit is in the recording mode.
●Before making a tape recording, select the recording system and set the Dolby B NR on or off.
1 Press the TIMER/DELETE button.
2 Within 10 seconds, turn the jog dial so that the "TIMER SET" display appears.
3 Within 10 seconds, press the ENTER button.
4 Select "TIMER REC" by using the jog dial.
5 Press the ENTER button.
●The start time setting display will appear.
6 Turn the jog dial to set the hour at which to start, and then press the ENTER button.
7 Turn the jog dial to set the minute at which to start, and then press the ENTER button.
●If not set manually, the ending time will automatically be set for one hour after the starting time.
8 Turn the jog dial to set the hour at to stop, then press the ENTER button.
9 Turn the jog dial to set the minute at to stop, then press the ENTER button.
10Turn the jog dial to select the function, and then press ENTER button.
 MD
MD  CD
CD  TAPE
TAPE  TUNER
TUNER  AUX 1
AUX 1  AUX 2
AUX 2  AUX OPT.
●If TUNER is selected, press the ENTER button, then select the preset number using the jog dial.
●When no stations have been programmed, "NO PRESET" will be displayed, and the programme operation will end. In this case, programme some stations and then reprogramme from the beginning.
11Select "MD REC" or "TAPE REC" by using the jog dial and then press the ENTER button.
12Adjust the sound level using the jog dial and then press the ENTER button.
●Be careful not to turn the volume up too high.
To change the timer setting:
Start again from steps 1 - 12.
■Setting timer recording
1 Press the TIMER/DELETE button.
●Turn the jog dial so that the
●If the start and stop times have not been set, the
2 Press the ENTER button.
●The settings will appear in order, and the unit will enter the timer recording
Caution:
In the following cases, the timer recording function will not work
●When a MiniDisc has not been inserted
●When a
●When the MiniDisc you inserted is protected against accidental erasure
●When there is no recording space left on the MiniDisc you have inserted (when the "TOC FULL" or "DISC FULL" messages appear)
42