(Continued)
MD recording and playback
SYMPTOM | POSSIBLE CAUSE | REMEDY |
• A recording cannot be made.
•Is the MiniDisc protected against accidental erasure? • Slide the accidental erase prevention tab back to its original position.
•Did you try to record on a
•Can you see the “TOC FULL” message in the dis- play?
•Replace it with a recordable disc.
•Put in another recordable disc with recording space on it.
•Even though a disc has been loaded, “NO DISC” or “ERROR” is displayed.
•Playback sounds are skipped.
•The disc is very dirty.
•Is the unit located near excessive vibrations?
•Has condensation formed inside the unit?
•Clean the disc.
•Place the unit on a firm, level surface free from vibration.
•Remove the disc and leave the power turned on. The unit should function properly in about 1 hour.
Radio reception
SYMPTOM | POSSIBLE CAUSE | REMEDY |
• Radios make unusual noise | • The unit is placed near the TV or computer. | • Place the unit apart from the noise. |
consecutively. | • The antenna direction is not placed properly. | • Correct the antenna direction. |
• The preset channel cannot be | • Did a power failure occur? | • Preset the channel again. |
called.
Remote control
SYMPTOM | POSSIBLE CAUSE | REMEDY |
• The remote control does not | • The batteries (polarity) are not inserted properly. | • Insert properly. |
function or does not operate | • The batteries inside the remote control are dead. | • Replace the batteries. |
properly. | • The remote control is operated from an incorrect | • Operate it within a range of 8" (0.2 m) to 20' (6 m) |
| distance or angle. | and within an angle of 15° to either side of center. |
•The power cannot be turned on from the remote control.
• Is the AC power cord plugged in? | • Connect the AC power cord. |
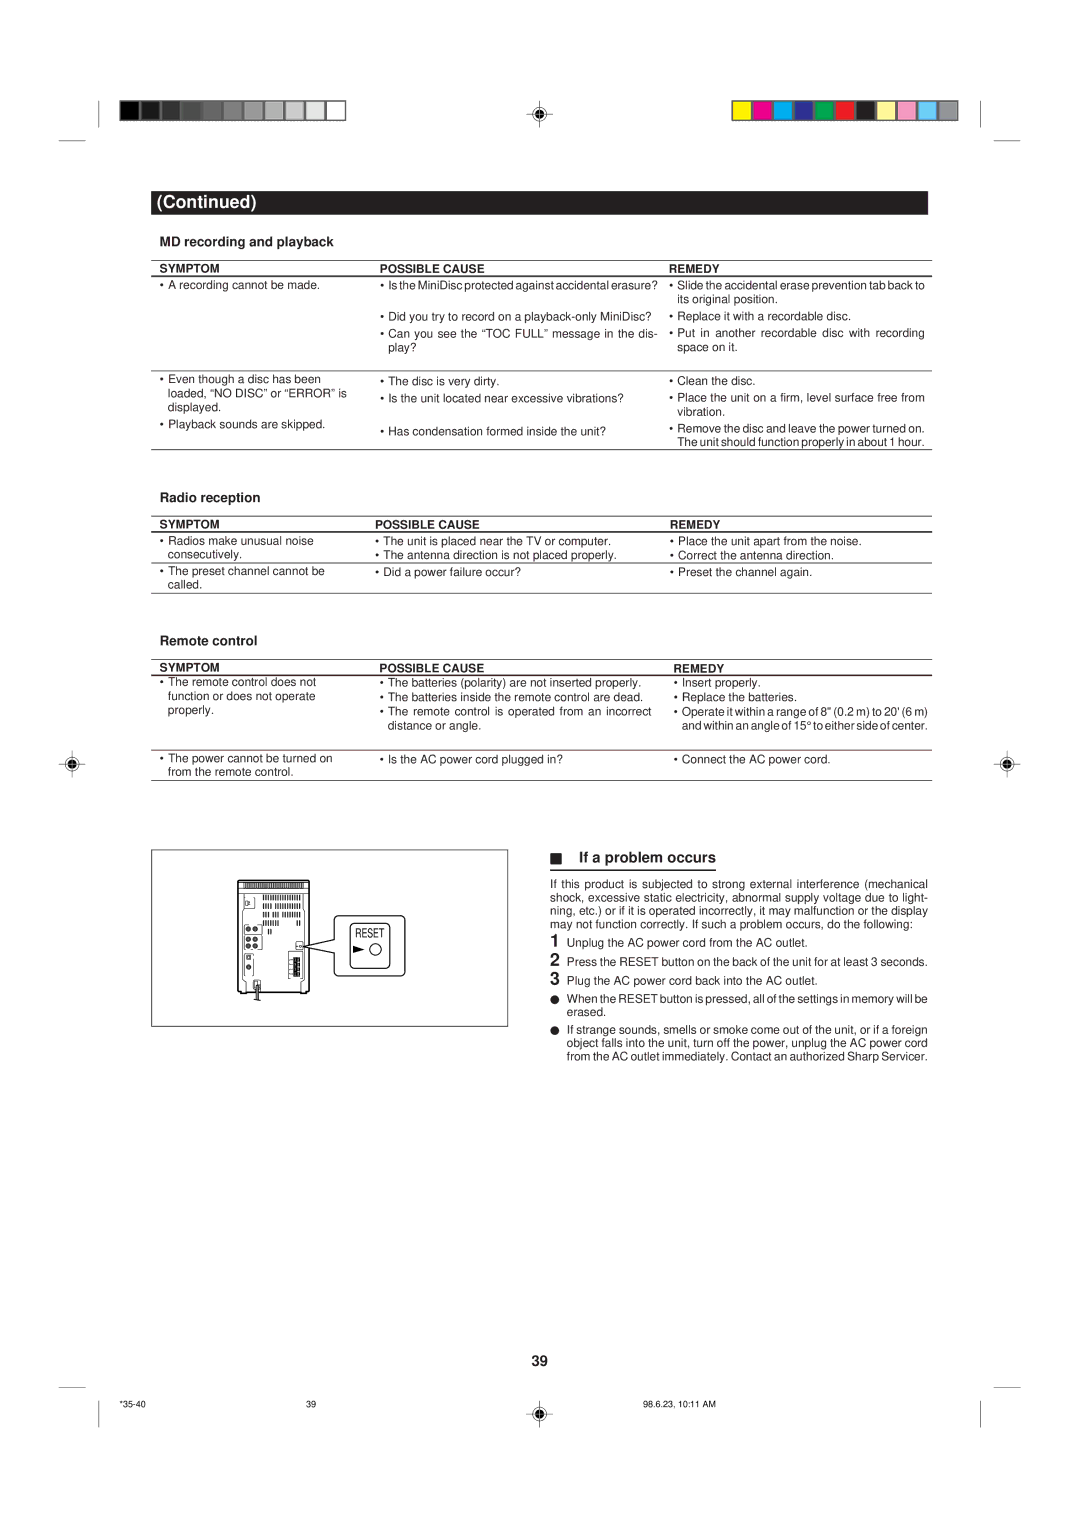
RESET
HIf a problem occurs
If this product is subjected to strong external interference (mechanical shock, excessive static electricity, abnormal supply voltage due to light- ning, etc.) or if it is operated incorrectly, it may malfunction or the display may not function correctly. If such a problem occurs, do the following:
1 Unplug the AC power cord from the AC outlet.
2 Press the RESET button on the back of the unit for at least 3 seconds. 3 Plug the AC power cord back into the AC outlet.
IWhen the RESET button is pressed, all of the settings in memory will be erased.
IIf strange sounds, smells or smoke come out of the unit, or if a foreign object falls into the unit, turn off the power, unplug the AC power cord from the AC outlet immediately. Contact an authorized Sharp Servicer.
39
39 | 98.6.23, 10:11 AM |