User’s Guide
Section 2 – Hardware Installation
Before You Begin
Before installing the print server, make sure you have installed and set up your printer as described in the documentation that came with the printer and that your printer functions properly.
Hardware Installation (wired and wireless versions)
NOTE: Be sure to review the hardware requirements in the previous section to ensure you have the necessary information before installing the print server.
1.Write down the
2.Mount the print server on either the printer or the desktop:
Printer mount – attach the print server to a suitable location on the side or rear of your printer by applying an adhesive Velcro strip (provided in the printer mounting kit) to your printer and at the top of the print server as it is to be attached to your printer.
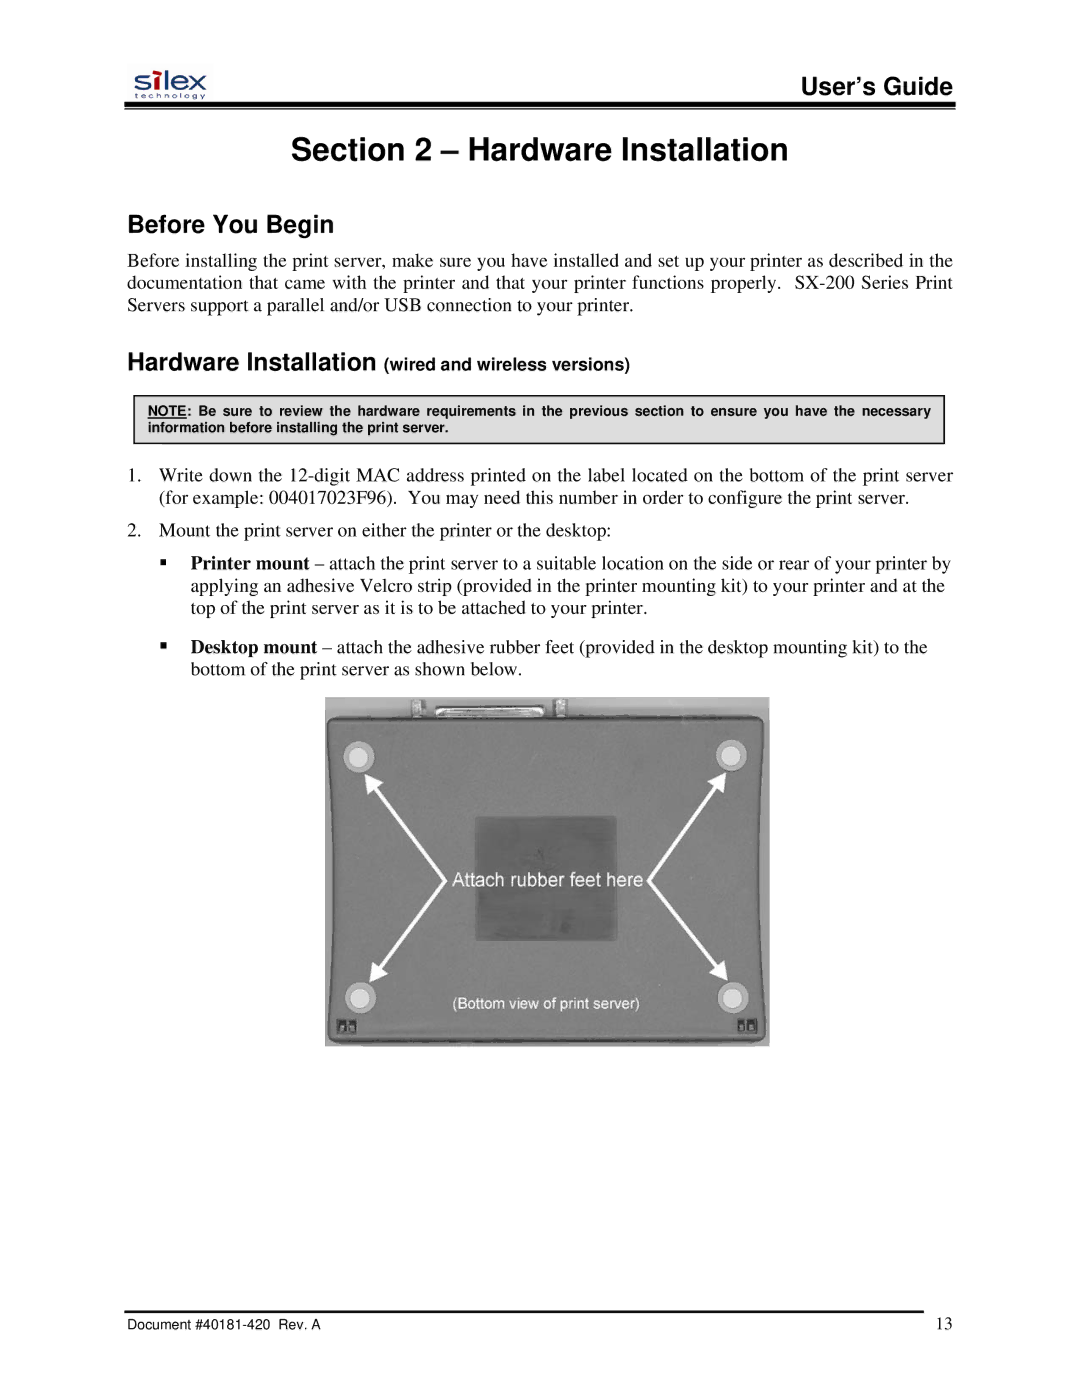
Desktop mount – attach the adhesive rubber feet (provided in the desktop mounting kit) to the bottom of the print server as shown below.
Document | 13 |