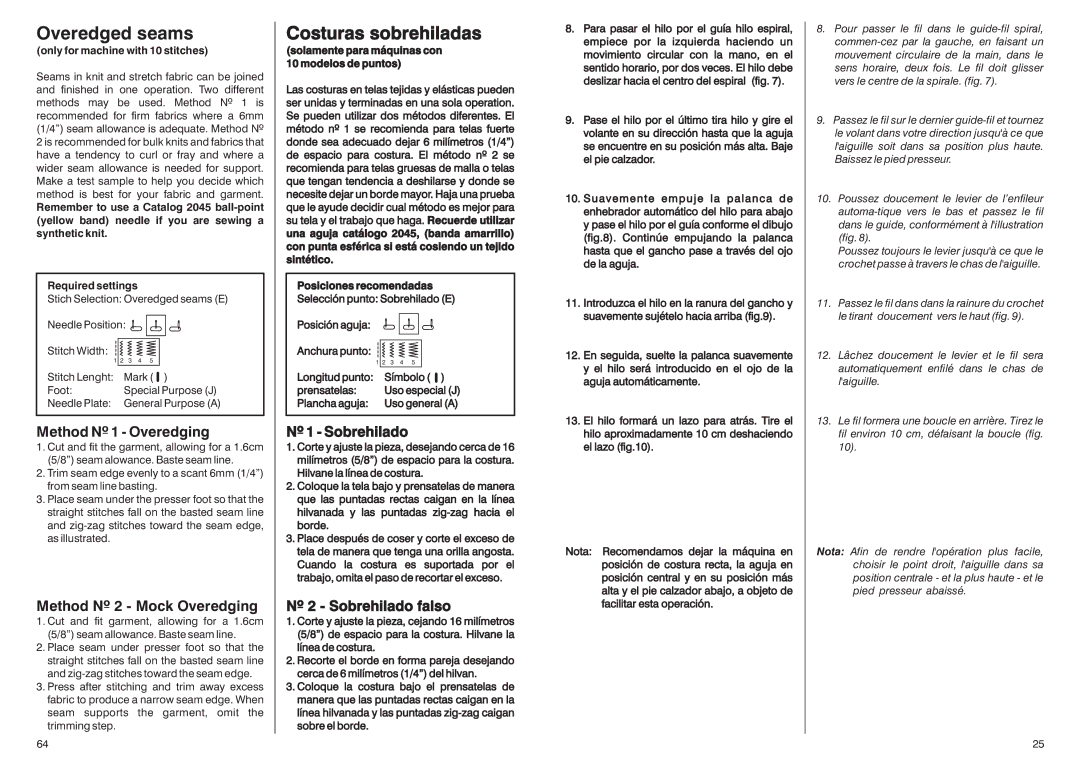
Overedged seams

(only for machine with 10 stitches)

Seams in knit and stretch fabric can be joined and finished in one operation. Two different methods may be used. Method Nº 1 is recommended for firm fabrics where a 6mm (1/4”) seam allowance is adequate. Method Nº 2 is recommended for bulk knits and fabrics that have a tendency to curl or fray and where a wider seam allowance is needed for support. Make a test sample to help you decide which method is best for your fabric and garment.

Remember to use a Catalog 2045 ball-point (yellow band) needle if you are sewing a synthetic knit.

Required settings

Stich Selection: Overedged seams (E)

Needle Position:

Stitch Width:


1 2

3

4

5

Stitch Lenght:

Mark ( )

Foot:

Special Purpose (J)

Needle Plate:

General Purpose (A)

Method Nº 1 - Overedging

1.Cut and fit the garment, allowing for a 1.6cm (5/8”) seam alowance. Baste seam line.

2.Trim seam edge evenly to a scant 6mm (1/4”) from seam line basting.

3.Place seam under the presser foot so that the straight stitches fall on the basted seam line and zig-zag stitches toward the seam edge, as illustrated.

Method Nº 2 - Mock Overedging

1.Cut and fit garment, allowing for a 1.6cm (5/8”) seam allowance. Baste seam line.

2.Place seam under presser foot so that the straight stitches fall on the basted seam line and zig-zag stitches toward the seam edge.

3.Press after stitching and trim away excess fabric to produce a narrow seam edge. When seam supports the garment, omit the trimming step.

64

Costuras sobrehiladas

(solamente para máquinas con 10 modelos de puntos)

Las costuras en telas tejidas y elásticas pueden ser unidas y terminadas en una sola operation. Se pueden utilizar dos métodos diferentes. El método nº 1 se recomienda para telas fuerte donde sea adecuado dejar 6 milímetros (1/4”) de espacio para costura. El método nº 2 se recomienda para telas gruesas de malla o telas que tengan tendencia a deshilarse y donde se necesite dejar un borde mayor. Haja una prueba que le ayude decidir cual método es mejor para su tela y el trabajo que haga. Recuerde utilizar una aguja catálogo 2045, (banda amarrillo) con punta esférica si está cosiendo un tejido sintético.

Posiciones recomendadas

Selección punto: Sobrehilado (E)

Posición aguja:

Anchura punto:


1 2

3

4

5

Longitud punto:

Símbolo ( )

prensatelas:

Uso especial (J)

Plancha aguja:

Uso general (A)

Nº 1 - Sobrehilado

1.Corte y ajuste la pieza, desejando cerca de 16 milímetros (5/8”) de espacio para la costura. Hilvane la línea de costura.

2.Coloque la tela bajo y prensatelas de manera que las puntadas rectas caigan en la línea hilvanada y las puntadas zig-zag hacia el borde.

3.Place después de coser y corte el exceso de tela de manera que tenga una orilla angosta. Cuando la costura es suportada por el trabajo, omita el paso de recortar el exceso.

Nº 2 - Sobrehilado falso

1.Corte y ajuste la pieza, cejando 16 milímetros (5/8”) de espacio para la costura. Hilvane la línea de costura.

2.Recorte el borde en forma pareja desejando cerca de 6 milímetros (1/4”) del hilvan.

3.Coloque la costura bajo el prensatelas de manera que las puntadas rectas caigan en la línea hilvanada y las puntadas zig-zag caigan sobre el borde.

8.Para pasar el hilo por el guía hilo espiral, empiece por la izquierda haciendo un movimiento circular con la mano, en el sentido horario, por dos veces. El hilo debe deslizar hacia el centro del espiral (fig. 7).

9.Pase el hilo por el último tira hilo y gire el volante en su dirección hasta que la aguja se encuentre en su posición más alta. Baje el pie calzador.

10.Suavemente empuje la palanc a d e enhebrador automático del hilo para abajo y pase el hilo por el guía conforme el dibujo (fig.8). Continúe empujando la palanca hasta que el gancho pase a través del ojo de la aguja.

11.Introduzca el hilo en la ranura del gancho y suavemente sujételo hacia arriba (fig.9).

12.En seguida, suelte la palanca suavemente y el hilo será introducido en el ojo de la aguja automáticamente.

13.El hilo formará un lazo para atrás. Tire el hilo aproximadamente 10 cm deshaciendo el lazo (fig.10).

Nota: Recomendamos dejar la máquina en posición de costura recta, la aguja en posición central y en su posición más alta y el pie calzador abajo, a objeto de facilitar esta operación.

8.Pour passer le fil dans le guide-fil spiral, commen-cez par la gauche, en faisant un mouvement circulaire de la main, dans le sens horaire, deux fois. Le fil doit glisser vers le centre de la spirale. (fig. 7).

9.Passez le fil sur le dernier guide-fil et tournez le volant dans votre direction jusqu'à ce que l'aiguille soit dans sa position plus haute. Baissez le pied presseur.

10.Poussez doucement le levier de l’enfileur automa-tique vers le bas et passez le fil dans le guide, conformément à l'illustration (fig. 8).

Poussez toujours le levier jusqu'à ce que le crochet passe à travers le chas de l'aiguille.

11.Passez le fil dans dans la rainure du crochet le tirant doucement vers le haut (fig. 9).

12.Lâchez doucement le levier et le fil sera automatiquement enfilé dans le chas de l'aiguille.

13.Le fil formera une boucle en arrière. Tirez le fil environ 10 cm, défaisant la boucle (fig. 10).

Nota: Afin de rendre l'opération plus facile, choisir le point droit, l'aiguille dans sa position centrale - et la plus haute - et le pied presseur abaissé.

25

Page 27
Image 27
Singer HD-110 manual Overedged seams, Costuras sobrehiladas

HD-110 specifications

The Singer HD-110 is a versatile and robust sewing machine designed to meet the needs of both beginners and experienced sewists alike. This machine is part of Singer's Heavy Duty collection, known for its durability and performance under a variety of sewing conditions. With a mix of traditional and modern features, the HD-110 is an ideal choice for those looking to tackle various sewing projects, from basic mending to more complex garments.

One of the standout features of the Singer HD-110 is its powerful motor. This machine boasts a high-speed capability, allowing users to sew at speeds up to 1,100 stitches per minute. This efficiency is particularly beneficial for those who need to complete projects quickly without sacrificing quality. The heavy-duty metal frame of the HD-110 ensures stability and strength, reducing vibrations during operation and providing a secure sewing experience.

The HD-110 comes equipped with a selection of built-in stitch options to accommodate various sewing techniques and styles. Users can choose from 11 different stitches, including essential straight and zigzag stitches, as well as decorative stitches. The easy-to-use stitch selector dial makes it easy to switch between stitches, making the sewing process smooth and enjoyable.

Another notable feature of the Singer HD-110 is its automatic needle threader. This technology simplifies the threading process, saving time and reducing eye strain, particularly for those who may struggle with manual threading. Additionally, the top drop-in bobbin system is designed for ease of use, allowing users to monitor thread levels easily and change bobbins without hassle.

The Singer HD-110 also offers adjustable stitch length and width, giving users greater control over their sewing projects. This customization is essential for achieving the desired results, whether sewing seams, hems, or decorative elements. The machine’s presser foot is another highlight, accommodating various fabric types, including thicker layers such as denim or canvas, making it suitable for diverse sewing tasks.

In terms of usability, the Singer HD-110 features a clear LED workspace, ensuring optimal visibility while sewing. This is especially useful for intricate projects requiring close attention to detail. The included accessories, such as different presser feet, a seam ripper, and a dust cover, further enhance the user experience.

Overall, the Singer HD-110 is a reliable, efficient, and user-friendly sewing machine, perfect for tackling a wide range of projects. Its blend of power, versatility, and innovative features makes it an excellent choice for anyone looking to enhance their sewing skills and broaden their creative horizons. Whether you are a novice or an experienced sewist, the HD-110 promises to deliver exceptional results with each project.