HD-110 specifications
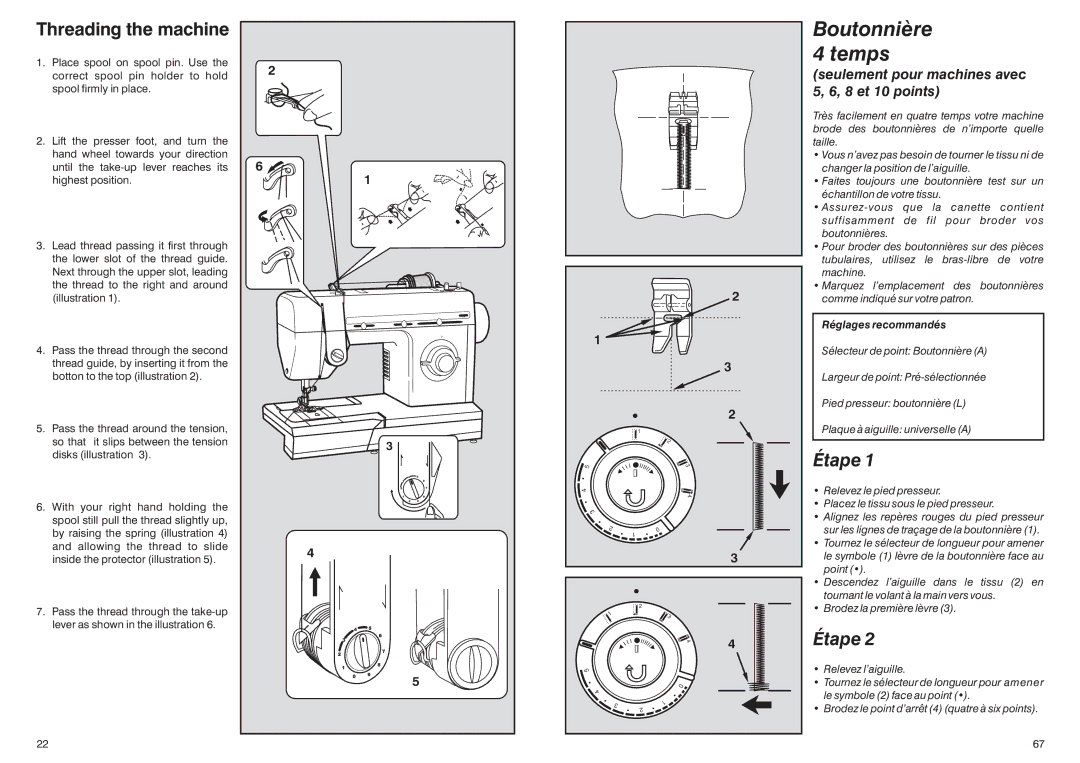
The Singer HD-110 is a versatile and robust sewing machine designed to meet the needs of both beginners and experienced sewists alike. This machine is part of Singer's Heavy Duty collection, known for its durability and performance under a variety of sewing conditions. With a mix of traditional and modern features, the HD-110 is an ideal choice for those looking to tackle various sewing projects, from basic mending to more complex garments.One of the standout features of the Singer HD-110 is its powerful motor. This machine boasts a high-speed capability, allowing users to sew at speeds up to 1,100 stitches per minute. This efficiency is particularly beneficial for those who need to complete projects quickly without sacrificing quality. The heavy-duty metal frame of the HD-110 ensures stability and strength, reducing vibrations during operation and providing a secure sewing experience.
The HD-110 comes equipped with a selection of built-in stitch options to accommodate various sewing techniques and styles. Users can choose from 11 different stitches, including essential straight and zigzag stitches, as well as decorative stitches. The easy-to-use stitch selector dial makes it easy to switch between stitches, making the sewing process smooth and enjoyable.
Another notable feature of the Singer HD-110 is its automatic needle threader. This technology simplifies the threading process, saving time and reducing eye strain, particularly for those who may struggle with manual threading. Additionally, the top drop-in bobbin system is designed for ease of use, allowing users to monitor thread levels easily and change bobbins without hassle.
The Singer HD-110 also offers adjustable stitch length and width, giving users greater control over their sewing projects. This customization is essential for achieving the desired results, whether sewing seams, hems, or decorative elements. The machine’s presser foot is another highlight, accommodating various fabric types, including thicker layers such as denim or canvas, making it suitable for diverse sewing tasks.
In terms of usability, the Singer HD-110 features a clear LED workspace, ensuring optimal visibility while sewing. This is especially useful for intricate projects requiring close attention to detail. The included accessories, such as different presser feet, a seam ripper, and a dust cover, further enhance the user experience.
Overall, the Singer HD-110 is a reliable, efficient, and user-friendly sewing machine, perfect for tackling a wide range of projects. Its blend of power, versatility, and innovative features makes it an excellent choice for anyone looking to enhance their sewing skills and broaden their creative horizons. Whether you are a novice or an experienced sewist, the HD-110 promises to deliver exceptional results with each project.

