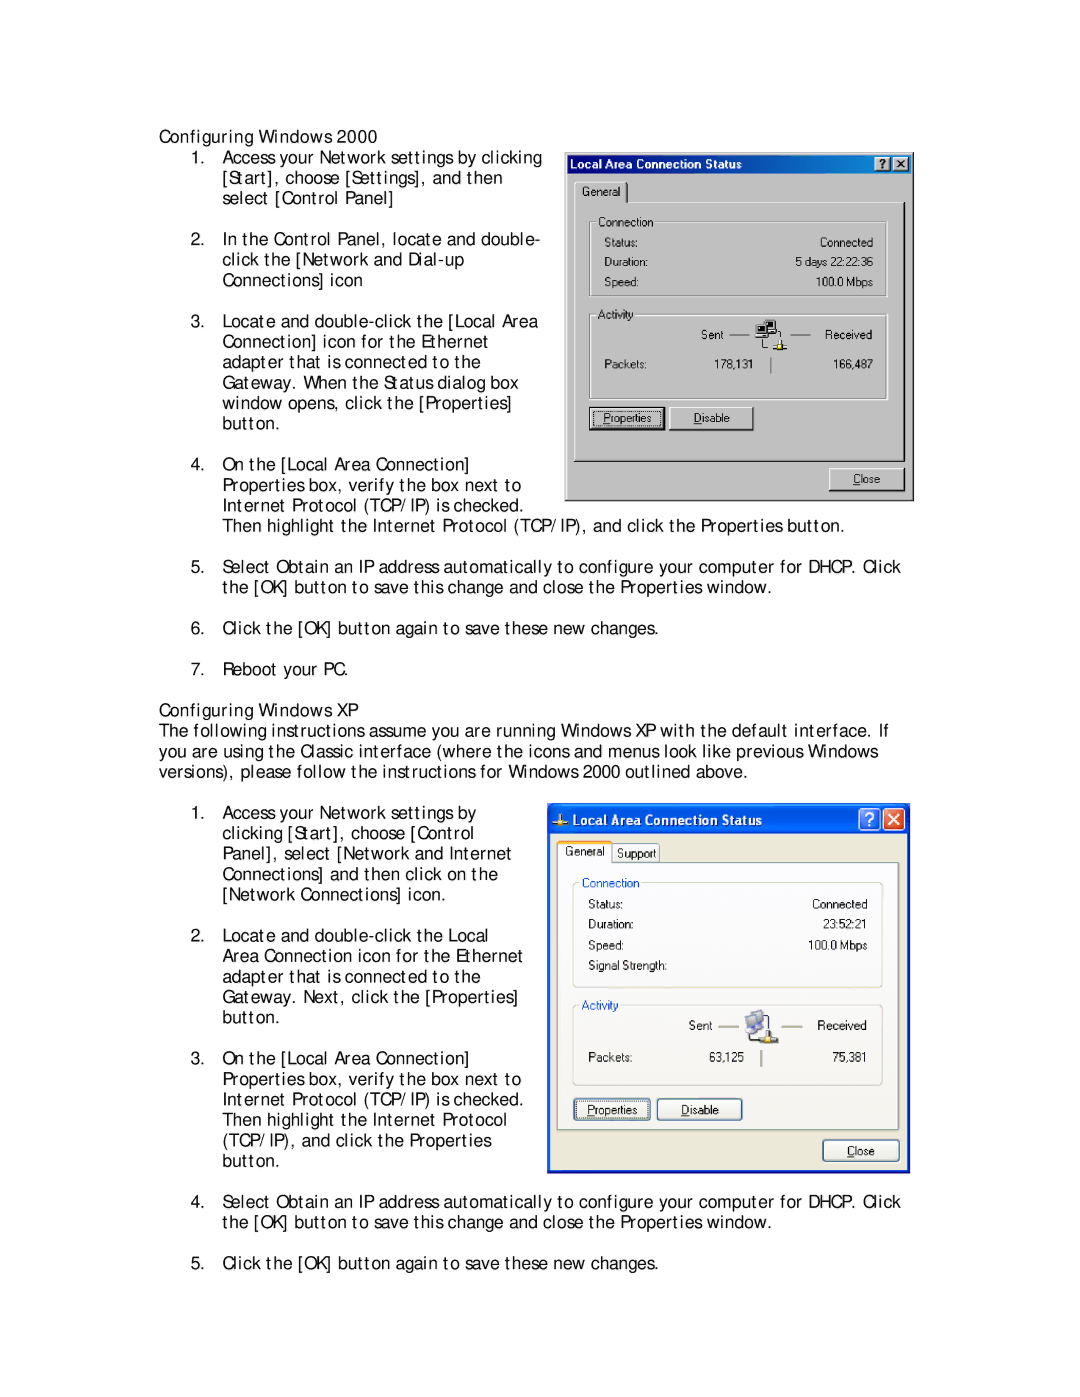
Configuring Windows 2000
1.Access your Network settings by clicking [Start], choose [Settings], and then select [Control Panel]
2.In the Control Panel, locate and double- click the [Network and
3.Locate and
4.On the [Local Area Connection] Properties box, verify the box next to Internet Protocol (TCP/IP) is checked.
Then highlight the Internet Protocol (TCP/IP), and click the Properties button.
5.Select Obtain an IP address automatically to configure your computer for DHCP. Click the [OK] button to save this change and close the Properties window.
6.Click the [OK] button again to save these new changes.
7.Reboot your PC.
Configuring Windows XP
The following instructions assume you are running Windows XP with the default interface. If you are using the Classic interface (where the icons and menus look like previous Windows versions), please follow the instructions for Windows 2000 outlined above.
1.Access your Network settings by clicking [Start], choose [Control Panel], select [Network and Internet Connections] and then click on the [Network Connections] icon.
2.Locate and
3.On the [Local Area Connection] Properties box, verify the box next to Internet Protocol (TCP/IP) is checked. Then highlight the Internet Protocol (TCP/IP), and click the Properties button.
4.Select Obtain an IP address automatically to configure your computer for DHCP. Click the [OK] button to save this change and close the Properties window.
5.Click the [OK] button again to save these new changes.
