Cyber-shot User Guide
Before Use
Shooting
Viewing
Using MENU items (Shooting)
Using MENU items (Viewing)
Changing settings
Viewing images on a TV
Using with your computer
Printing
Troubleshooting
Precautions/About this camera
![]() Contents list
Contents list
Search | |
|
|
Top page > Shooting > Functions that can be selected using the Fn button > DRO/Auto HDR
DRO/Auto HDR

D-Range Optimizer
 Auto HDR
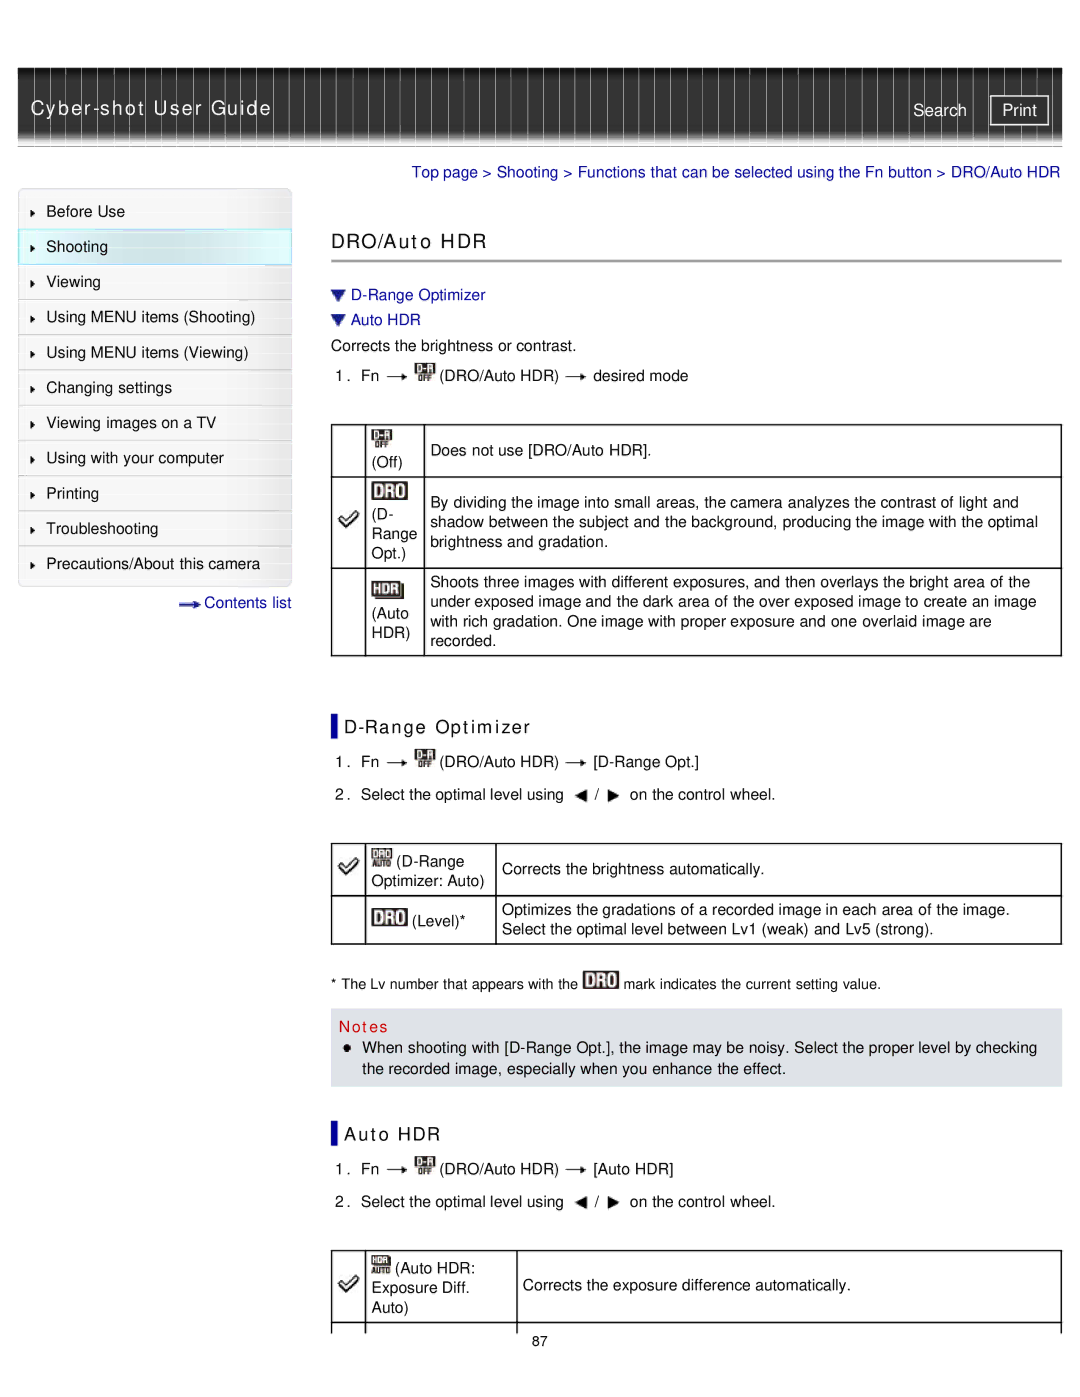
Corrects the brightness or contrast.
1.Fn ![]()
![]() (DRO/Auto HDR)
(DRO/Auto HDR) ![]() desired mode
desired mode
| (Off) | Does not use [DRO/Auto HDR]. |
|
| |
|
|
|
| (D- | By dividing the image into small areas, the camera analyzes the contrast of light and |
| shadow between the subject and the background, producing the image with the optimal | |
| Range | |
| brightness and gradation. | |
| Opt.) |
|
|
| Shoots three images with different exposures, and then overlays the bright area of the |
| (Auto | under exposed image and the dark area of the over exposed image to create an image |
| with rich gradation. One image with proper exposure and one overlaid image are | |
| HDR) | |
| recorded. | |
|
| |
|
|
|

D-Range Optimizer
1.Fn ![]()
![]() (DRO/Auto HDR)
(DRO/Auto HDR) ![]()
2.Select the optimal level using ![]() /
/![]() on the control wheel.
on the control wheel.
| Corrects the brightness automatically. | |
| Optimizer: Auto) | |
|
|
|
| (Level)* | Optimizes the gradations of a recorded image in each area of the image. |
| Select the optimal level between Lv1 (weak) and Lv5 (strong). | |
|
| |
|
|
|
* The Lv number that appears with the ![]() mark indicates the current setting value.
mark indicates the current setting value.
Notes
When shooting with
 Auto HDR
1.Fn ![]()
![]() (DRO/Auto HDR)
(DRO/Auto HDR) ![]() [Auto HDR]
[Auto HDR]
2.Select the optimal level using ![]() /
/![]() on the control wheel.
on the control wheel.
| (Auto HDR: | Corrects the exposure difference automatically. |
|
| Exposure Diff. |
| |
| Auto) |
|
|
|
|
|
|
|
| 87 |
|
|
|
|
