EVS Toolroom Lathes | TR O U B L E S H O OTI N G | For Machines Mfg. Since 7/09 |
Symptom
Possible Cause
Possible Solution
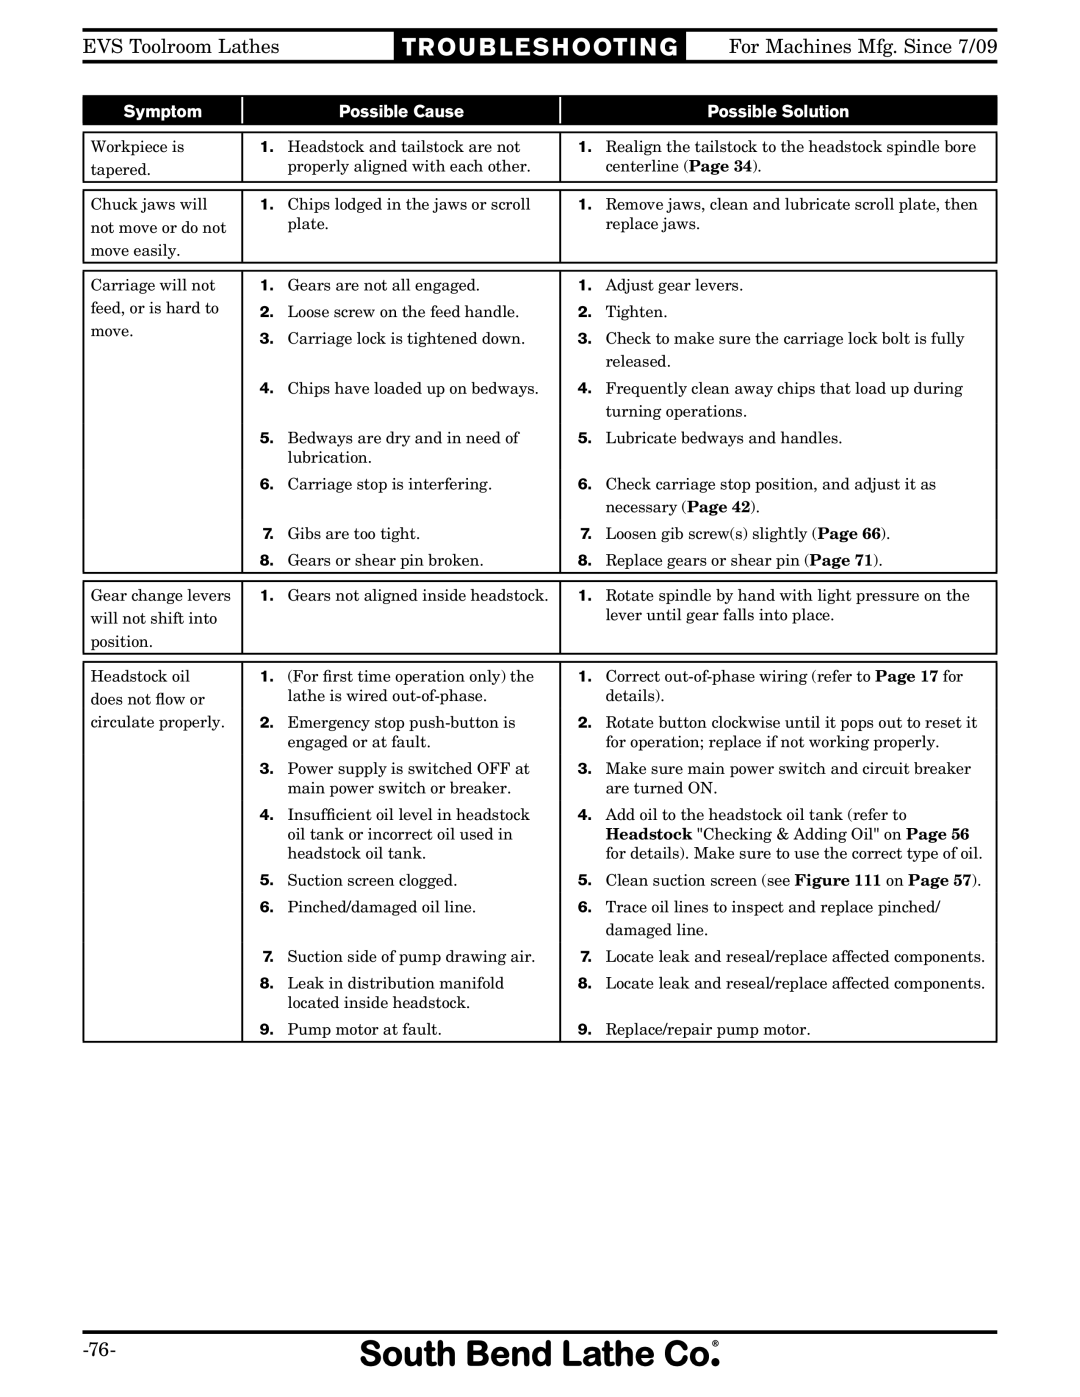
Workpiece is | 1. | Headstock and tailstock are not | 1. | Realign the tailstock to the headstock spindle bore |
tapered. |
| properly aligned with each other. |
| centerline (Page 34). |
|
|
|
|
|
|
|
|
|
|
Chuck jaws will | 1. | Chips lodged in the jaws or scroll | 1. | Remove jaws, clean and lubricate scroll plate, then |
not move or do not |
| plate. |
| replace jaws. |
move easily. |
|
|
|
|
|
|
|
|
|
|
|
|
|
|
Carriage will not | 1. | Gears are not all engaged. | 1. | Adjust gear levers. |
feed, or is hard to | 2. | Loose screw on the feed handle. | 2. | Tighten. |
move. | 3. | Carriage lock is tightened down. | 3. | Check to make sure the carriage lock bolt is fully |
| ||||
|
|
|
| released. |
4.Chips have loaded up on bedways. 4. Frequently clean away chips that load up during turning operations.
5. Bedways are dry and in need of | 5. Lubricate bedways and handles. |
lubrication. |
|
6.Carriage stop is interfering.6. Check carriage stop position, and adjust it as necessary (Page 42).
7. Gibs are too tight. | 7. Loosen gib screw(s) slightly (Page 66). |
8.Gears or shear pin broken.8. Replace gears or shear pin (Page 71).
Gear change levers | 1. Gears not aligned inside headstock. | 1. Rotate spindle by hand with light pressure on the |
will not shift into |
| lever until gear falls into place. |
position. |
|
|
Headstock oil does not flow or circulate properly.
1.(For first time operation only) the lathe is wired
2.Emergency stop
3.Power supply is switched OFF at main power switch or breaker.
4.Insufficient oil level in headstock oil tank or incorrect oil used in headstock oil tank.
5.Suction screen clogged.
6.Pinched/damaged oil line.
7.Suction side of pump drawing air.
8.Leak in distribution manifold located inside headstock.
9.Pump motor at fault.
1.Correct
2.Rotate button clockwise until it pops out to reset it for operation; replace if not working properly.
3.Make sure main power switch and circuit breaker are turned ON.
4.Add oil to the headstock oil tank (refer to Headstock "Checking & Adding Oil" on Page 56 for details). Make sure to use the correct type of oil.
5.Clean suction screen (see Figure 111 on Page 57).
6.Trace oil lines to inspect and replace pinched/ damaged line.
7.Locate leak and reseal/replace affected components.
8.Locate leak and reseal/replace affected components.
9.Replace/repair pump motor.
