For Machines Mfg. Since 7/09 | P R E P A R A T I O N | EVS Toolroom Lathes |
|
| Locking |
|
Power Source | Disconnect Switch | Machine | |
Conduit | Conduit |
| |
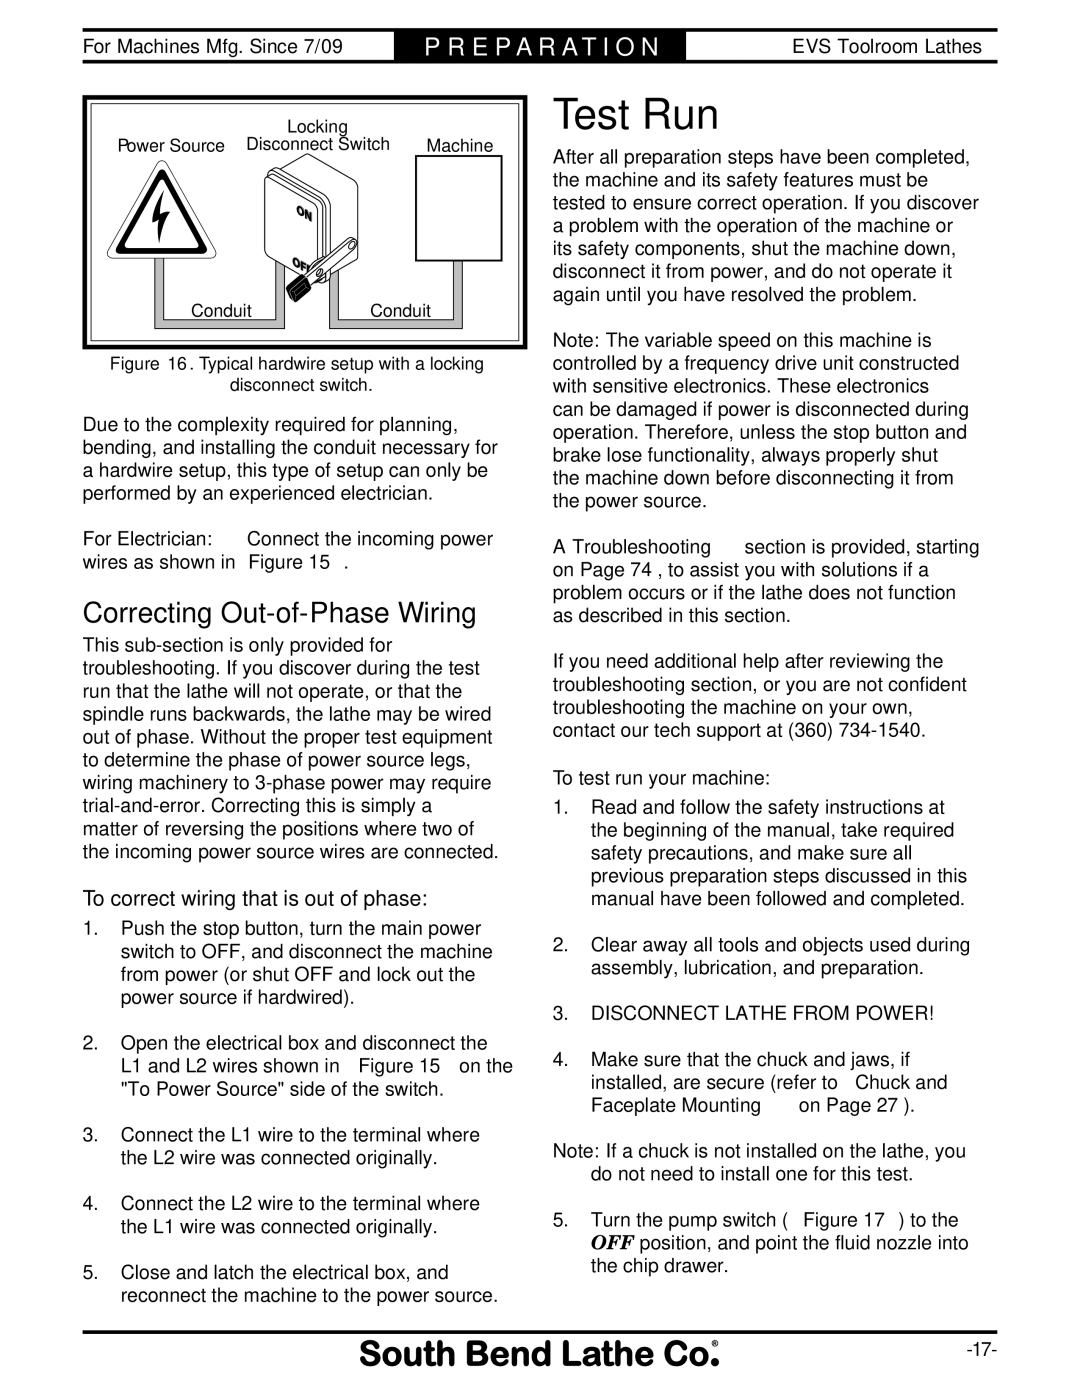
Figure 16. Typical hardwire setup with a locking
disconnect switch.
Due to the complexity required for planning, bending, and installing the conduit necessary for a hardwire setup, this type of setup can only be performed by an experienced electrician.
For Electrician: Connect the incoming power wires as shown in Figure 15.
Correcting Out-of-Phase Wiring
This
To correct wiring that is out of phase:
1.Push the stop button, turn the main power switch to OFF, and disconnect the machine from power (or shut OFF and lock out the power source if hardwired).
2.Open the electrical box and disconnect the L1 and L2 wires shown in Figure 15 on the "To Power Source" side of the switch.
3.Connect the L1 wire to the terminal where the L2 wire was connected originally.
4.Connect the L2 wire to the terminal where the L1 wire was connected originally.
5.Close and latch the electrical box, and reconnect the machine to the power source.
Test Run
After all preparation steps have been completed, the machine and its safety features must be tested to ensure correct operation. If you discover a problem with the operation of the machine or its safety components, shut the machine down, disconnect it from power, and do not operate it again until you have resolved the problem.
Note: The variable speed on this machine is controlled by a frequency drive unit constructed with sensitive electronics. These electronics can be damaged if power is disconnected during operation. Therefore, unless the stop button and brake lose functionality, always properly shut the machine down before disconnecting it from the power source.
A Troubleshooting section is provided, starting on Page 74, to assist you with solutions if a problem occurs or if the lathe does not function as described in this section.
If you need additional help after reviewing the troubleshooting section, or you are not confident troubleshooting the machine on your own, contact our tech support at (360)
To test run your machine:
1.Read and follow the safety instructions at the beginning of the manual, take required safety precautions, and make sure all previous preparation steps discussed in this manual have been followed and completed.
2.Clear away all tools and objects used during assembly, lubrication, and preparation.
3.DISCONNECT LATHE FROM POWER!
4.Make sure that the chuck and jaws, if installed, are secure (refer to Chuck and Faceplate Mounting on Page 27).
Note: If a chuck is not installed on the lathe, you do not need to install one for this test.
5.Turn the pump switch (Figure 17) to the OFF position, and point the fluid nozzle into the chip drawer.
