SETUP
Press MENU to enter the SETUP menu. Press one more time to exit.
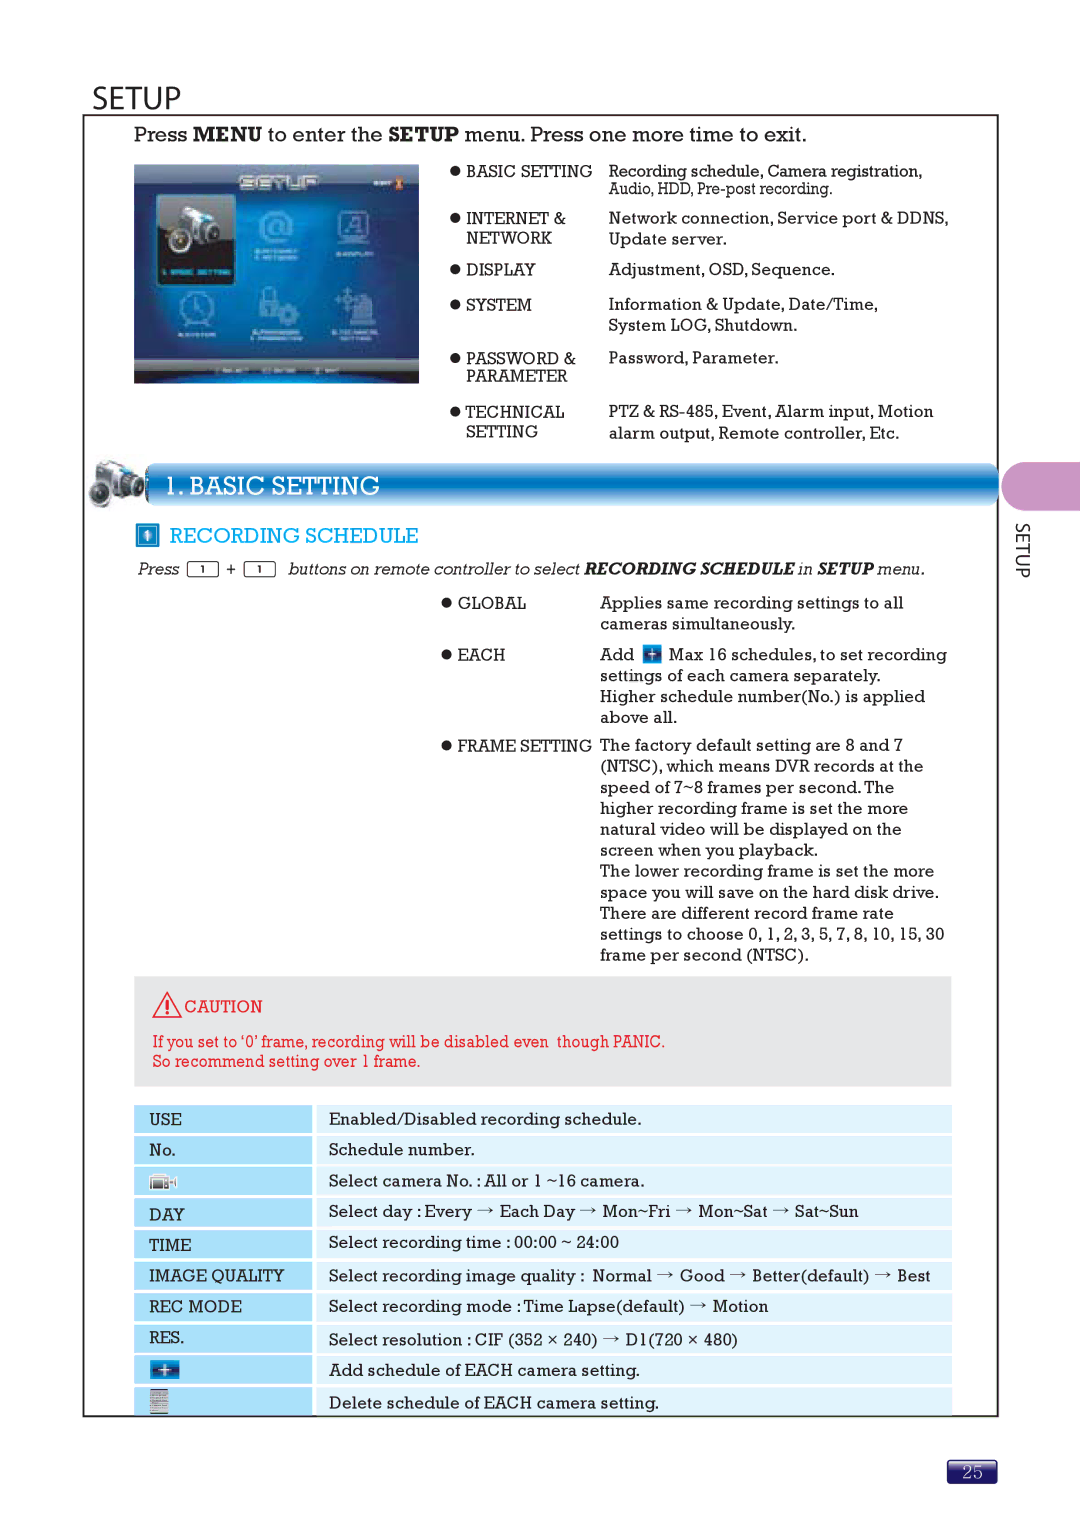
zBASIC SETTING Recording schedule, Camera registration, Audio, HDD,
zINTERNET & Network connection, Service port & DDNS,
NETWORK Update server.
z DISPLAY | Adjustment, OSD, Sequence. |
z SYSTEM | Information & Update, Date/Time, |
| System LOG, Shutdown. |
zPASSWORD & Password, Parameter.
PARAMETER
z TECHNICAL | PTZ & |
SETTING | alarm output, Remote controller, Etc. |
1. BASIC SETTING
 RECORDING SCHEDULE
Press ![]() +
+ ![]() buttons on remote controller to select RECORDING SCHEDULE in SETUP menu.
buttons on remote controller to select RECORDING SCHEDULE in SETUP menu.
z GLOBAL | Applies same recording settings to all | |
| cameras simultaneously. | |
z EACH | Add | Max 16 schedules, to set recording |
| settings of each camera separately. | |
Higher schedule number(No.) is applied above all.
zFRAME SETTING The factory default setting are 8 and 7 (NTSC), which means DVR records at the speed of 7~8 frames per second. The higher recording frame is set the more natural video will be displayed on the screen when you playback.
The lower recording frame is set the more space you will save on the hard disk drive. There are different record frame rate settings to choose 0, 1, 2, 3, 5, 7, 8, 10, 15, 30 frame per second (NTSC).
![]() CAUTION
CAUTION
If you set to ‘0’ frame, recording will be disabled even though PANIC.
So recommend setting over 1 frame.
SETUP
USE
No.
DAY
TIME
IMAGE QUALITY
REC MODE
RES.
Enabled/Disabled recording schedule.
Schedule number.
Select camera No. : All or 1 ~16 camera.
Select day : Every → Each Day → Mon~Fri → Mon~Sat → Sat~Sun
Select recording time : 00:00 ~ 24:00
Select recording image quality : Normal → Good → Better(default) → Best
Select recording mode : Time Lapse(default) → Motion
Select resolution : CIF (352 × 240) → D1(720 × 480)
Add schedule of EACH camera setting.
Delete schedule of EACH camera setting.
25