Installation | TANDBERG Videoconferencing System |
|
|
System configuration
•Switch the system on by activating the power switch on the codec (located on the right hand side at the rear of the codec). A green light is shown (located in the center on the front of the codec).
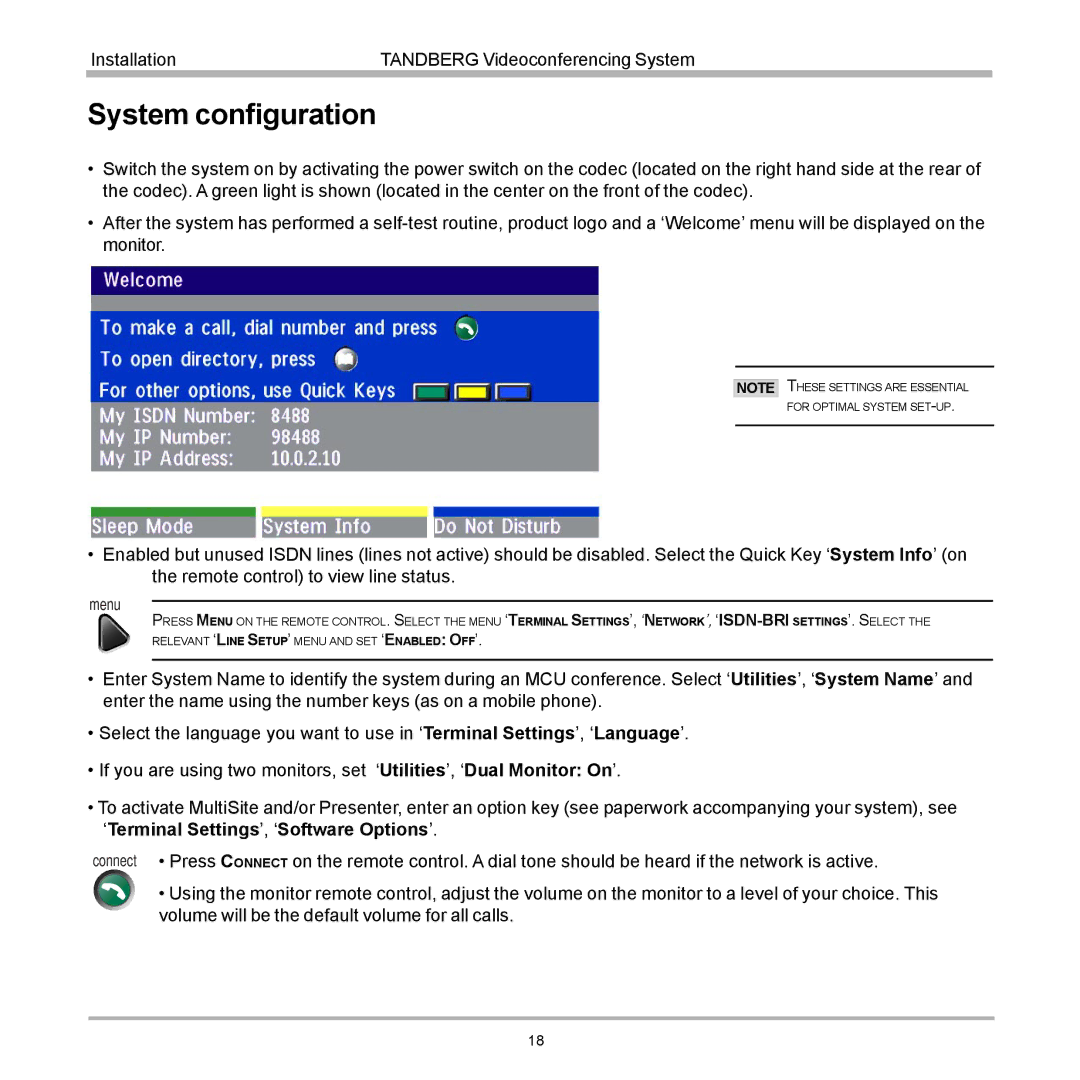
•After the system has performed a
NOTE
THESE SETTINGS ARE ESSENTIAL FOR OPTIMAL SYSTEM
•Enabled but unused ISDN lines (lines not active) should be disabled. Select the Quick Key ‘System Info’ (on the remote control) to view line status.
menu
PRESS MENU ON THE REMOTE CONTROL. SELECT THE MENU ‘TERMINAL SETTINGS’, ‘NETWORK’,
•Enter System Name to identify the system during an MCU conference. Select ‘Utilities’, ‘System Name’ and enter the name using the number keys (as on a mobile phone).
•Select the language you want to use in ‘Terminal Settings’, ‘Language’.
•If you are using two monitors, set ‘Utilities’, ‘Dual Monitor: On’.
•To activate MultiSite and/or Presenter, enter an option key (see paperwork accompanying your system), see
‘Terminal Settings’, ‘Software Options’.
connect • Press CONNECT on the remote control. A dial tone should be heard if the network is active.
• Using the monitor remote control, adjust the volume on the monitor to a level of your choice. This volume will be the default volume for all calls.
18
