)Note:
Windows 2000 does not support UPnP feature.
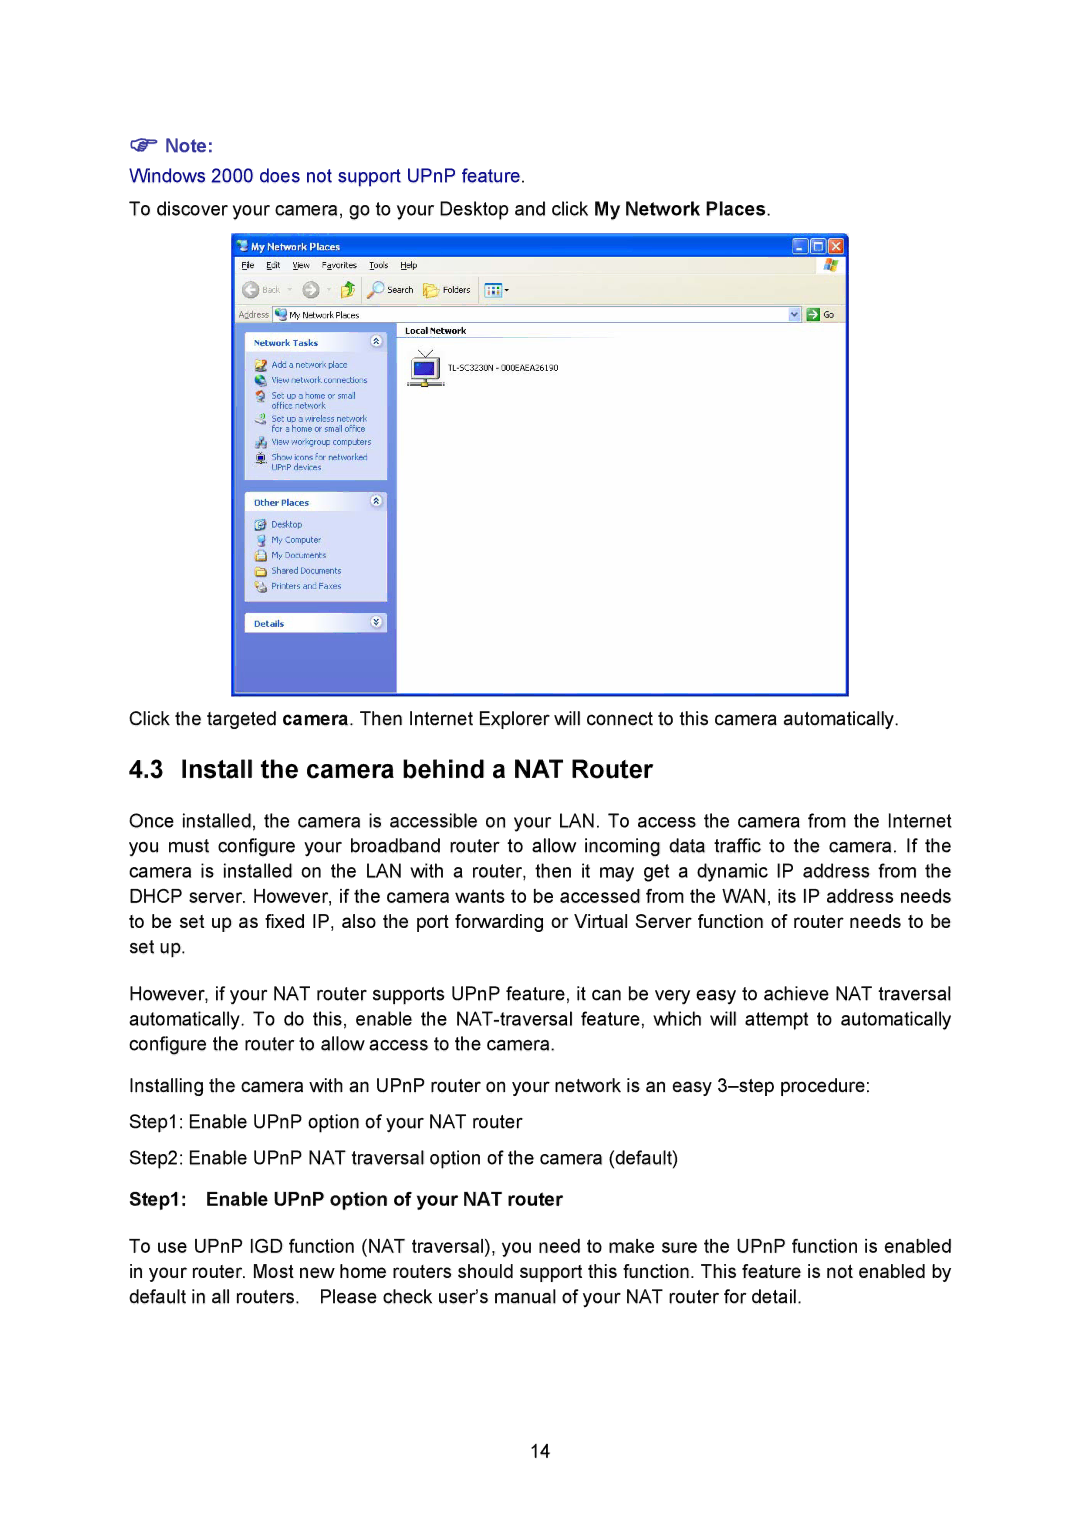
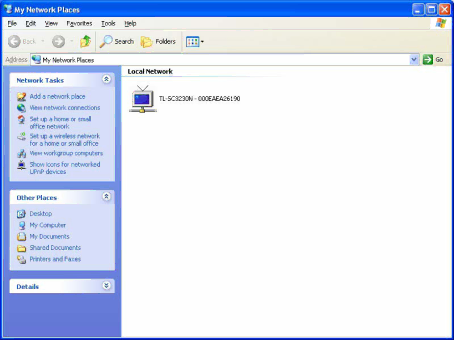
To discover your camera, go to your Desktop and click My Network Places.
Click the targeted camera. Then Internet Explorer will connect to this camera automatically.
4.3 Install the camera behind a NAT Router
Once installed, the camera is accessible on your LAN. To access the camera from the Internet you must configure your broadband router to allow incoming data traffic to the camera. If the camera is installed on the LAN with a router, then it may get a dynamic IP address from the DHCP server. However, if the camera wants to be accessed from the WAN, its IP address needs to be set up as fixed IP, also the port forwarding or Virtual Server function of router needs to be set up.
However, if your NAT router supports UPnP feature, it can be very easy to achieve NAT traversal automatically. To do this, enable the
Installing the camera with an UPnP router on your network is an easy
Step1: Enable UPnP option of your NAT router
Step2: Enable UPnP NAT traversal option of the camera (default)
Step1: Enable UPnP option of your NAT router
To use UPnP IGD function (NAT traversal), you need to make sure the UPnP function is enabled in your router. Most new home routers should support this function. This feature is not enabled by default in all routers. Please check user’s manual of your NAT router for detail.
14