Manuals
/
TP-Link
/
Household Appliance
/
Home Security System
TP-Link
TL-SC323ON, TL-SC3230N
manual
10About
Models:
TL-SC323ON
TL-SC3230N
1
29
94
94
Download
94 pages
34.51 Kb
26
27
28
29
30
31
32
33
Specifications
Install
Logging in as an Administrator
Wireless
Dimension
Maintenance
Video Configure profile
Access this camera
Search and Set up by IP Search
Dialing procedure
Page 29
Image 29
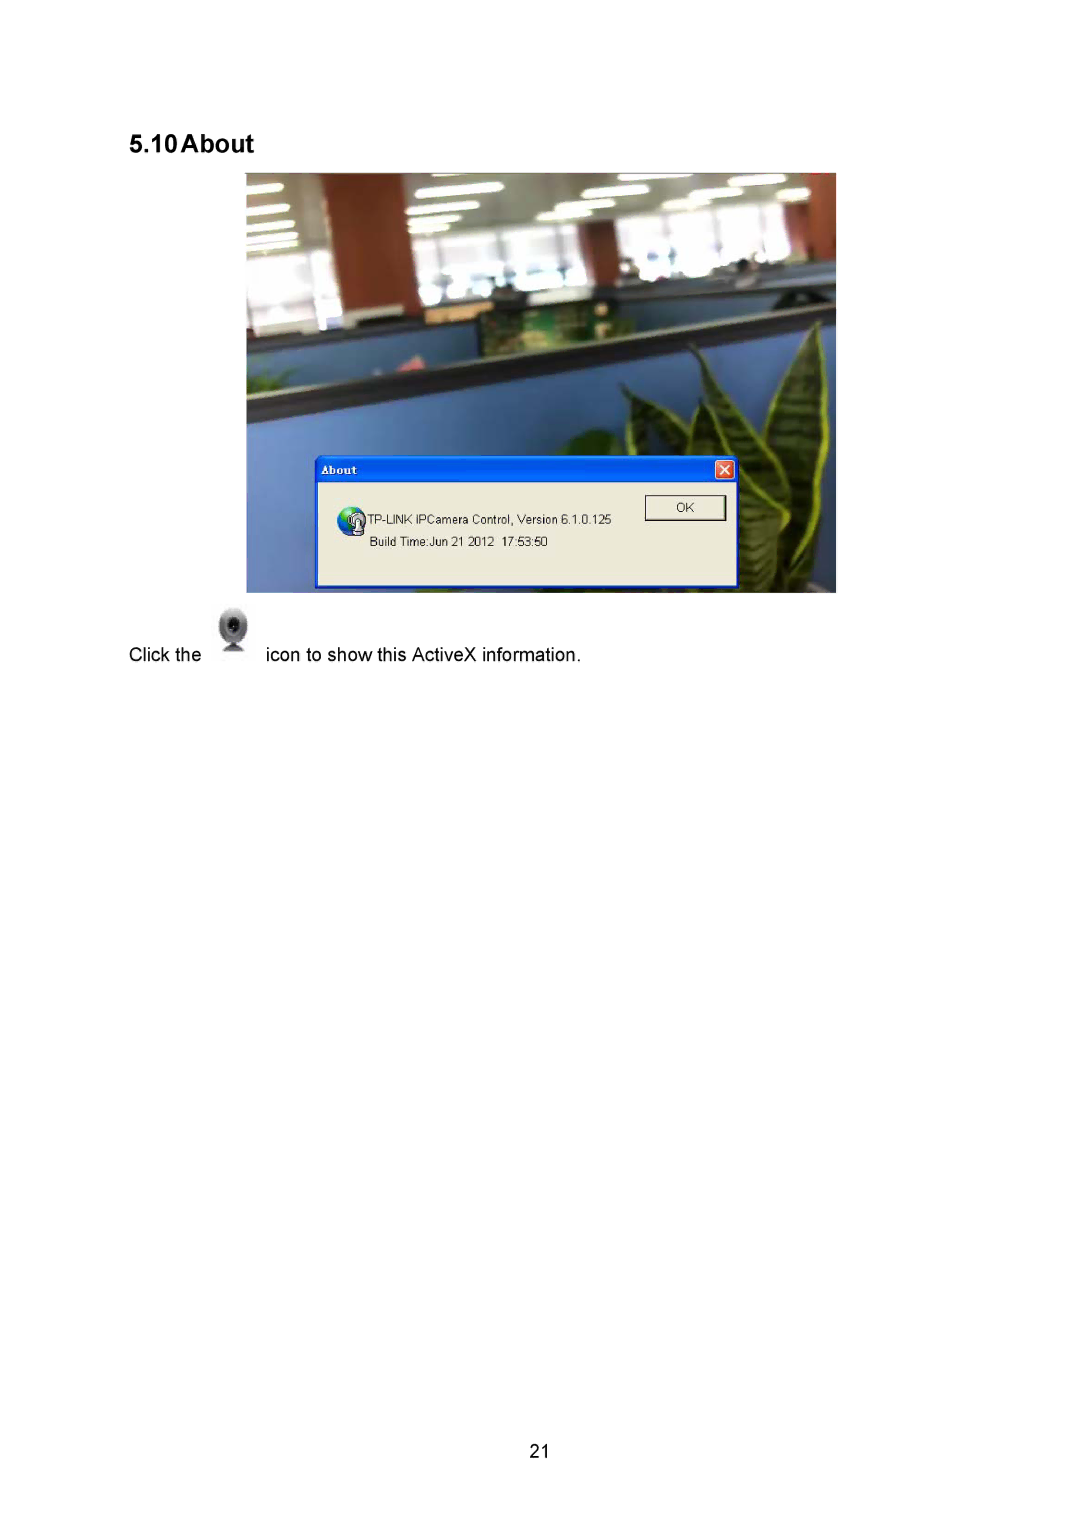
5.10About
Click the
icon to show this ActiveX information.
21
Page 28
Page 30
Page 29
Image 29
Page 28
Page 30
Contents
TL-SC3230N Wireless N Megapixel Surveillance Camera
Copyright & Trademarks
CE Mark Warning
FCC RF Radiation Exposure Statement
Industry Canada Statement
Canadian Compliance Statement
Korea Warning Statements
NCC Notice
Safety Information
Yang Hongliang Product Manager of International Business
Product Description Wireless N Megapixel Surveillance Camera
Chapter Hardware Installation Preparation
Contents Package Contents Chapter Overview
Administrating the Camera
Chapter Physical Description
ROI
Package Contents
Introduction
Features
Chapter Overview
Qvga CPU
Minimum System Requirements
Front View
Physical Description
LED
Bottom View
Plug an Ethernet cable into the camera
Hardware Installation
Connect the external power supply to camera
Power Cable
Search
Search and Set up by IP Search
Chapter Preparation
3 LAN
View
Page
Wireless
Page
UPnP of Windows XP, Vista or
Enable UPnP option of your NAT router
Install the camera behind a NAT Router
Enable UPnP NAT traversal option of the camera
Logging in as a User
Logging in as an Administrator
Monitor Image Section
Operating the Camera
Video Profile
Streaming Protocol
2-Way Audio
Full Screen
Digital Zoom
Record
Snapshot
10About
Action
Administrating the Camera
Network Configure Network settings
Network
Click OK to save and enable the setting
Page
WPA settings
WEP settings
Https
Ddns service
Page
PPPoE
UPnP
Streaming
Bonjour
Onvif
IP Filter
IP Notification
Page
Picture
Camera Adjust camera parameters
Privacy Mask
System
System Configure and maintain system
Manual setting
¾ Adjust Synchronize with PC
Date & Time
Synchronize with NTP
Maintenance
Video Configure profile
Common
Video Profile
3 ROI
Audio Audio parameters
User Manage user name, password and login privilege
Mail Set up E-Mail configuration
Object detection Set up Object detection
Storage Status and configuration of SD card
Samba Server
SD Card
10Continuous Recording
11Recording List Files list inside the SD Card/samba server
Page
FTP Server
Event Server Set up FTP/TCP/HTTP/SAMBA server configuration
Http Server
TCP Server
Camera also can send video stream to specified Samba server
Setting
13Event Schedule Configure the event schedule
Example
Example
Example
Record
Page
Install this camera
Appendix a Troubleshooting & FAQ
Question Answer or Resolution Features
UPnP NAT Traversal
Access this camera
Internet Explorer displays Following
Video quality of the camera
Miscellaneous
Appendix B Ping IP Address
Appendix C Bandwidth Estimation
Appendix D Specifications
Power Consumption
Power Supply
Connectors
Temperature Operating Humidity
Assign a local/fixed IP address to your camera
Appendix E Configure Port Forwarding Manually
Access the Router with Your Web browser
Open/set Virtual Server Ports to enable remote image viewing
To set up a virtual server entry
Appendix F Ddns Application
Page
Click these two options
Click to confirm
Page
Set up the Ddns and PPPoE of Camera
Page
Country Voltage Frequency Comments
Appendix G Power Line Frequency
Appendix H 3GPP
Dialing procedure
Rtsp Port
Compatible 3G mobile phone
Appendix I Enable UPnP of Windows XP
Select Networking Services Click Details
Select Universal Plug and Play
Top
Page
Image
Contents