1.Push and hold the Sync button on one of the TRENDnet powerline adapters (i.e. TPL-310AP) for 10 seconds and release it. All LEDs will turn off and turn back on. This will erase the current network name/security key assigned to this powerline adapter.
2.Push and hold the Sync button on the other TRENDnet powerline adapter (i.e. TPL-303E) for 10 seconds and release it. All LEDs will turn off and turn back on. This will erase the current network name/security key assigned to this powerline adapter.
3.Push and hold the Sync button on the first TRENDnet powerline adapter (i.e. TPL-310AP) for 2 seconds and release it. The PWR LED will start blinking. This will initiate sync/connection and generate a random network name/security key assignment to this adapter.
4.Within 2 minutes (120 sec), push and hold the Sync button on the other TRENDnet powerline adapter (i.e. TPL-303E) for 2 seconds and release it. The PWR LED will start blinking. This will establish connectivity between the two powerline adapters by assigning the second powerline adapter’s (i.e. TPL-303E) network name/security key to match the network name/security key of the first powerline adapter (i.e. TPL-310AP).
5.To verify connectivity between the two powerline adapters, make sure that the PL LED (P-Link on TPL-303E/304E) on each powerline adapter is on solid (Green, Amber, Red, Green only – TPL- 303E/304E). Please refer to the LED section 1.4 for details on the LED indicator.
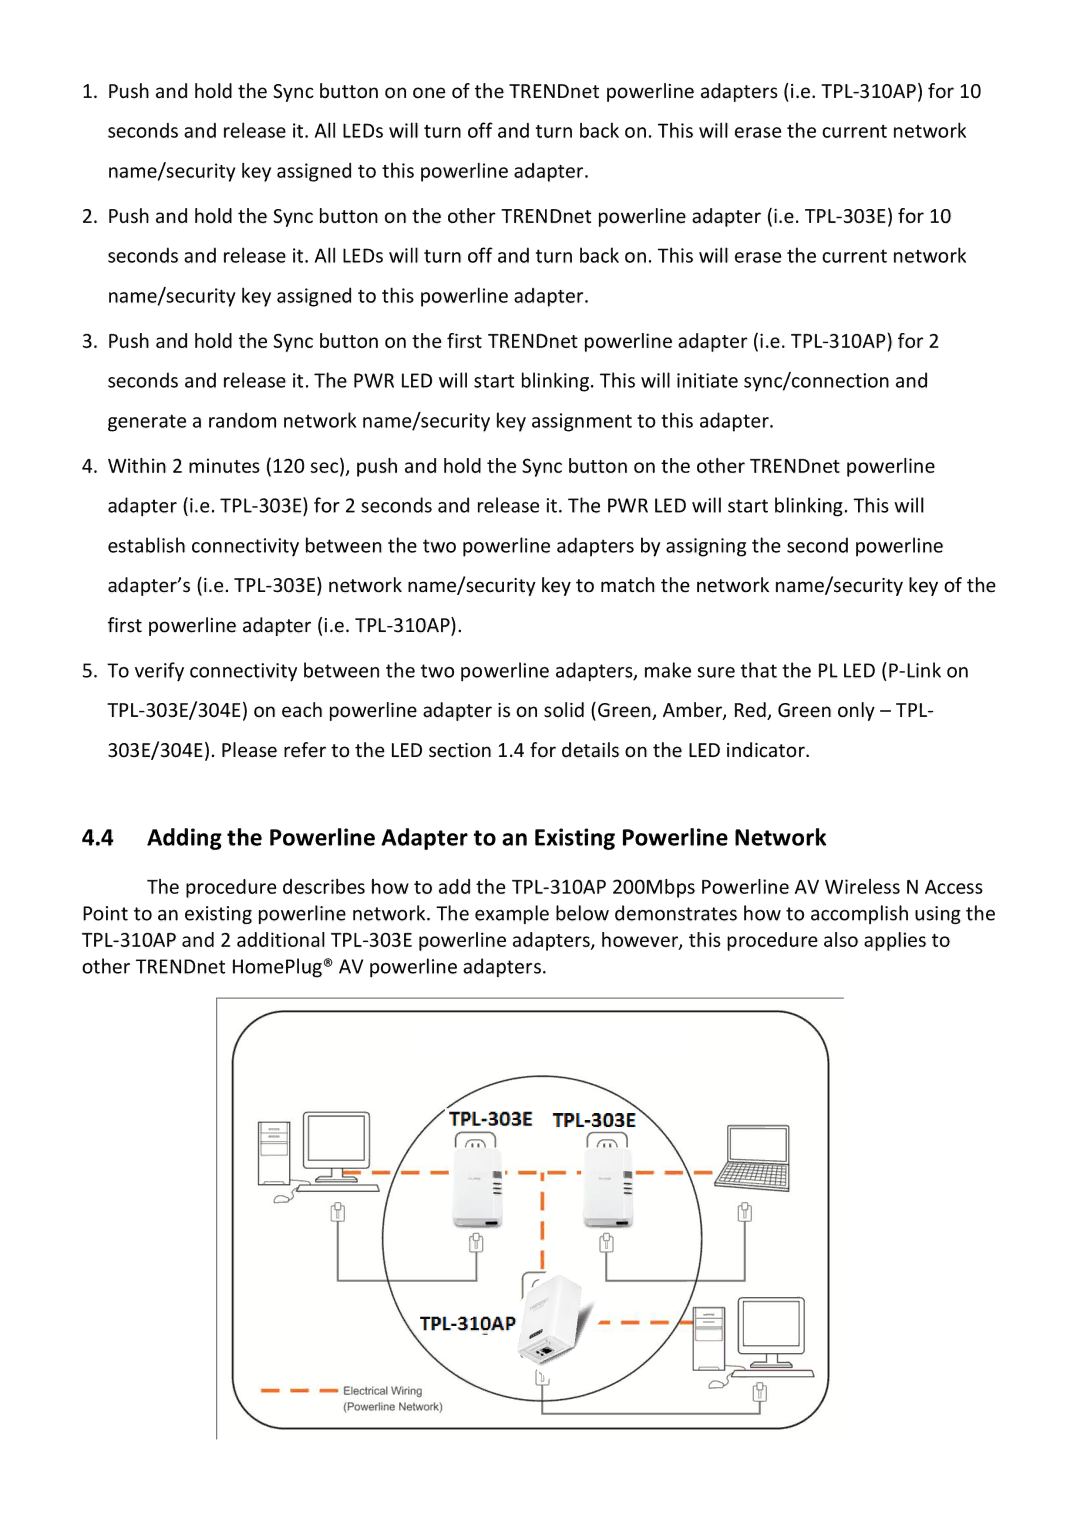
4.4Adding the Powerline Adapter to an Existing Powerline Network
The procedure describes how to add the TPL-310AP 200Mbps Powerline AV Wireless N Access Point to an existing powerline network. The example below demonstrates how to accomplish using the TPL-310AP and 2 additional TPL-303E powerline adapters, however, this procedure also applies to other TRENDnet HomePlug® AV powerline adapters.