5. The next screen allows you to define a new Hostname for the NAS
drive. If you want to keep the current Hostname, simply press Next to advance to the next screen.
6.The next screen allows you to select between automatic and static addresses for the NAS drive’s IP Address and Domain Name System (DNS) address. It is recommended that your network equipment be enabled to provide DHCP service, and that both settings on this screen remain at the factory settings.
Alternatively, if your network requires that you define static addresses, then you may enter them in the form provided.
Press Next to continue.
7.The next screen allows you to manually set the date and time, or to use an available Network Time Protocol (NTP) server. It is useful to set the correct date and time because time stamps are used in the various status logs that are described later in this manual. After filling in your selections, press Next
8. The settings made in the previous steps are summarized on this screen for your review. You may either go back to edit your settings, or press Complete to save the settings as shown.
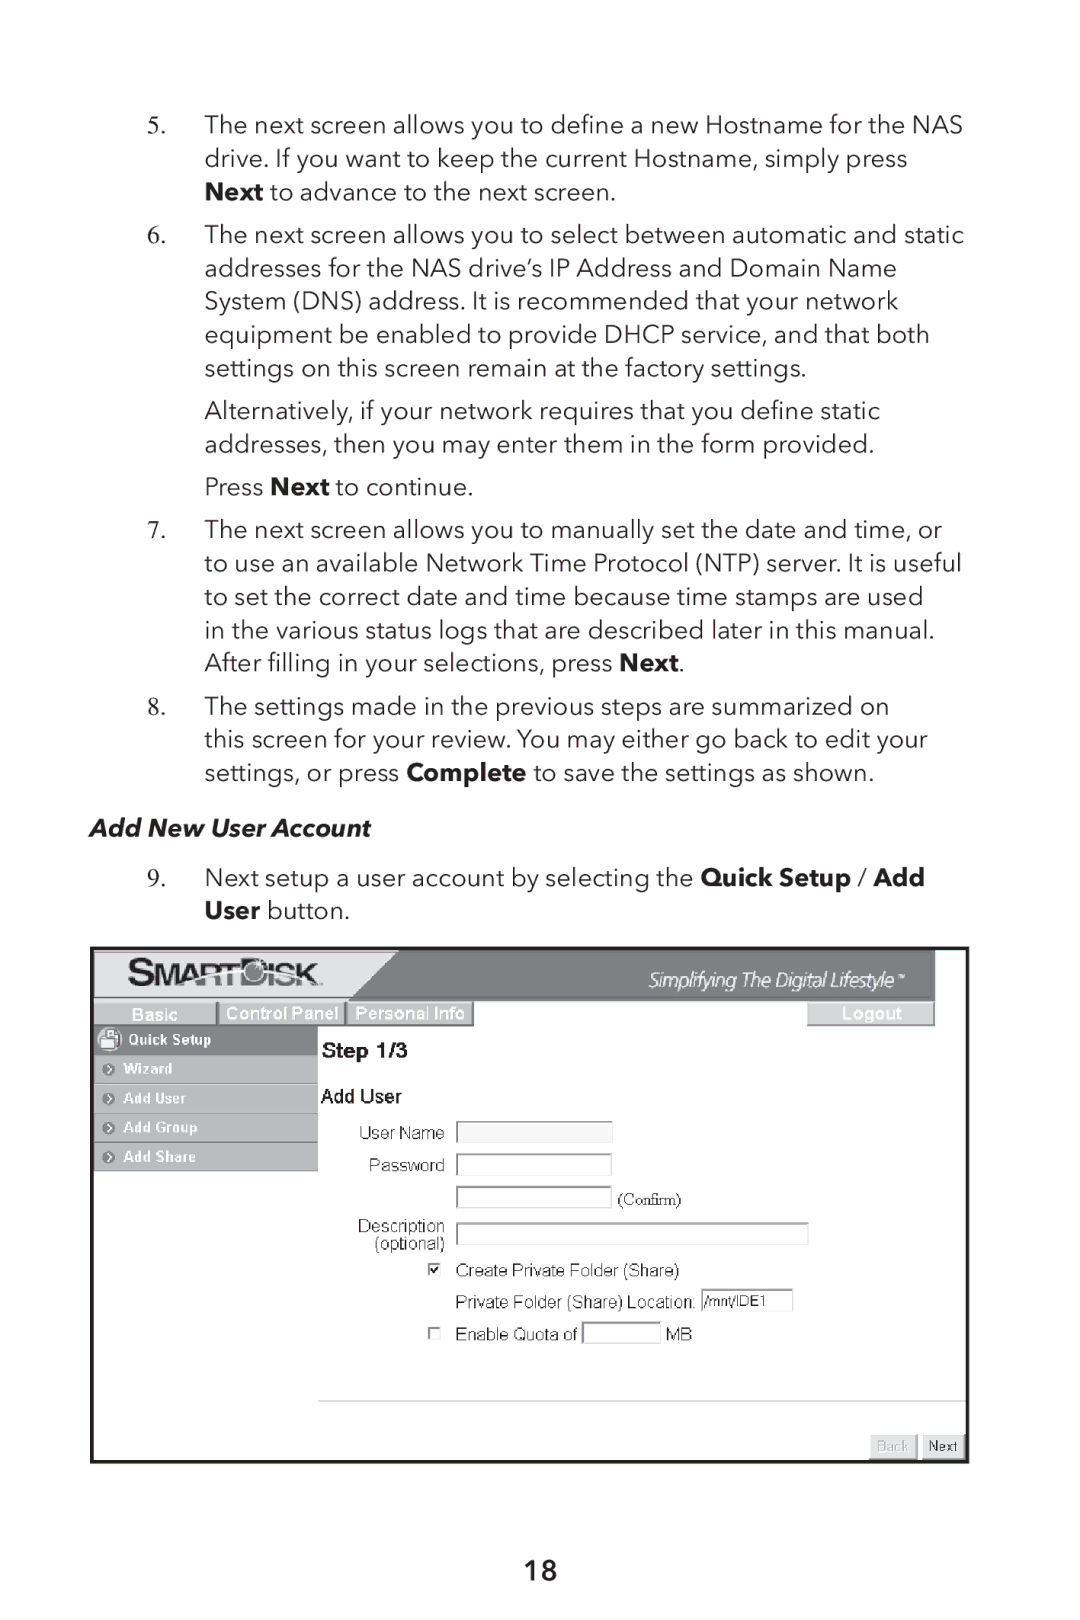
Add New User Account
9. Next setup a user account by selecting the Quick Setup / Add User button.
18