10. The next screen allows you to assign this user to an existing group. As described above, the initial factory setting provides for the default group named
11. The final screen for adding a user allows you to assign access privileges to currently defined shares. Of course, if you checked “Create Private Folder” in step (9), then read/write access has automatically been provided to this user’s private folder.
Though the initial factory setting provides for three default shares (admin,
When done with this form, press Complete
Add New Group
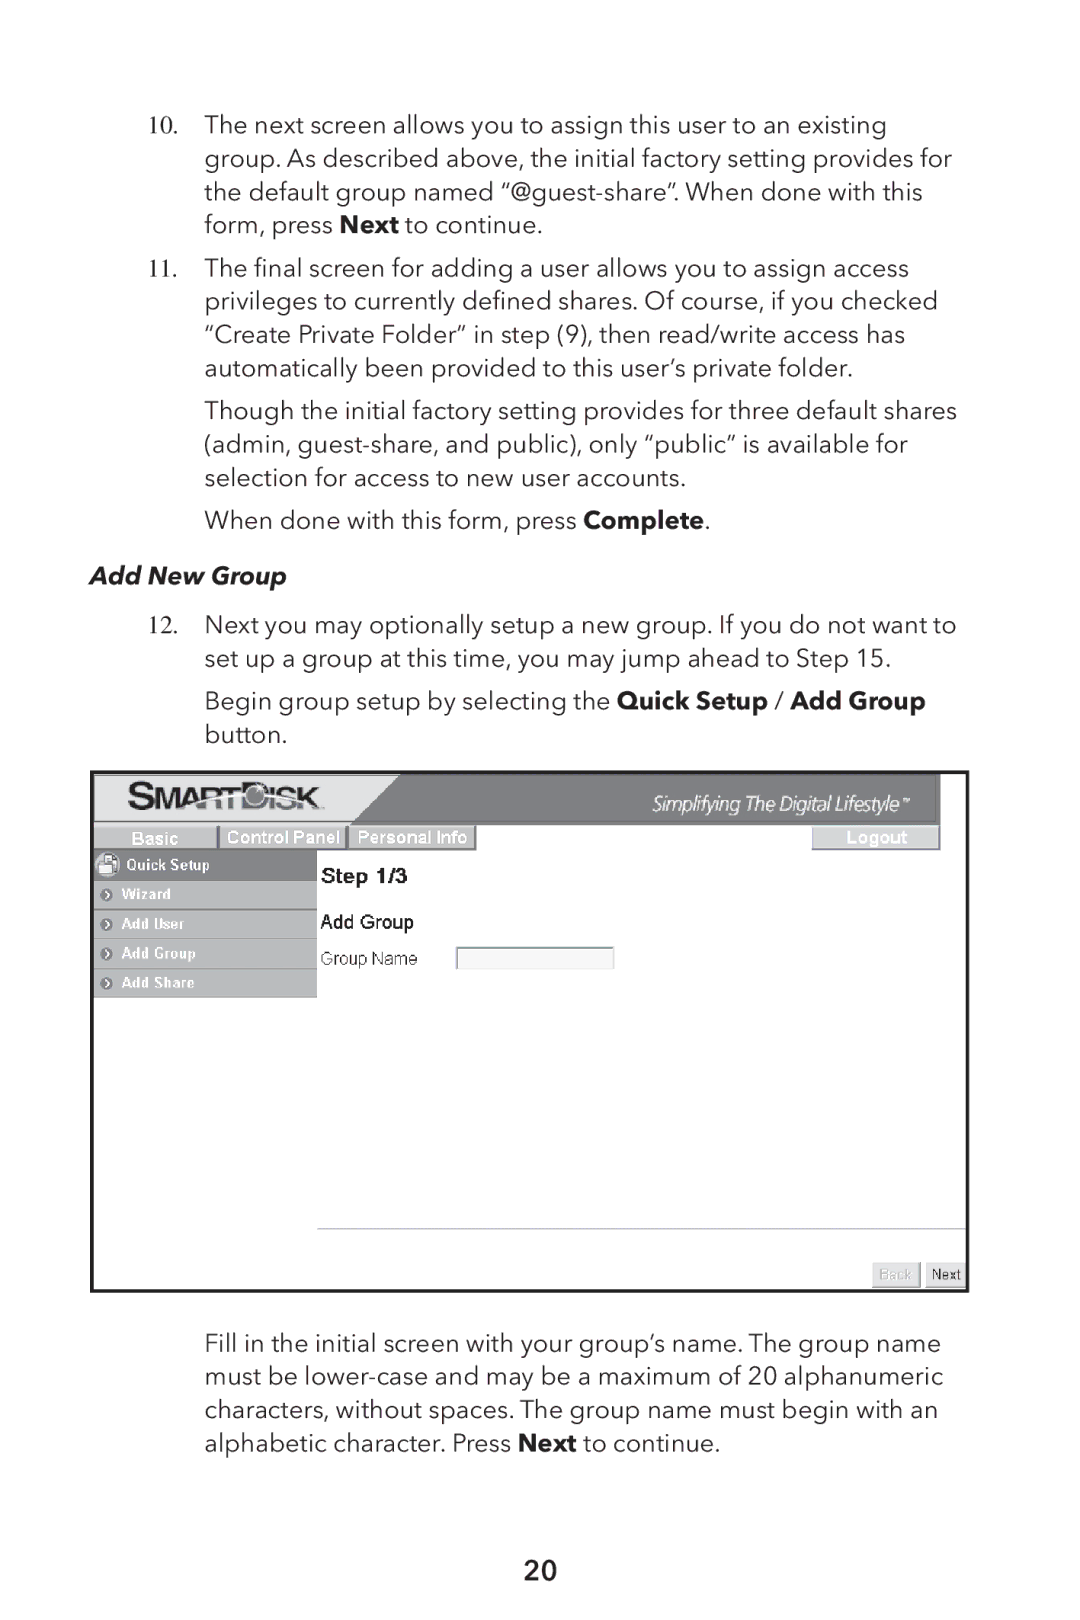
12. Next you may optionally setup a new group. If you do not want to set up a group at this time, you may jump ahead to Step 15.
Begin group setup by selecting the Quick Setup / Add Group button.
Fill in the initial screen with your group’s name. The group name must be
20