Connecting NAS Drive Using Ethernet
Installing the NAS drive using Ethernet requires that you have an available Ethernet port on a router or switch.
Before attempting to establish a connection to the network it would be useful first to review some background information about how the NAS drive handles data over the network. Basic to this understanding are the fundamental concepts of user accounts and shared folders.
About NAS Drive User Accounts
The NAS drive keeps track of data stored by its network users by managing the data’s destination folder (also referred to herein as a “shared folder” or simply a “share”). Furthermore, the NAS drive must keep track of who may read from, and write to, each folder. It does this by setting up user accounts and groups. A group is a collection of specific user accounts. When you assign access privileges to a new share you have the option of either making assignments for individual user accounts, or for an entire group of users at once by referring to the group’s name.
The default factory settings provide for two
•admin
•
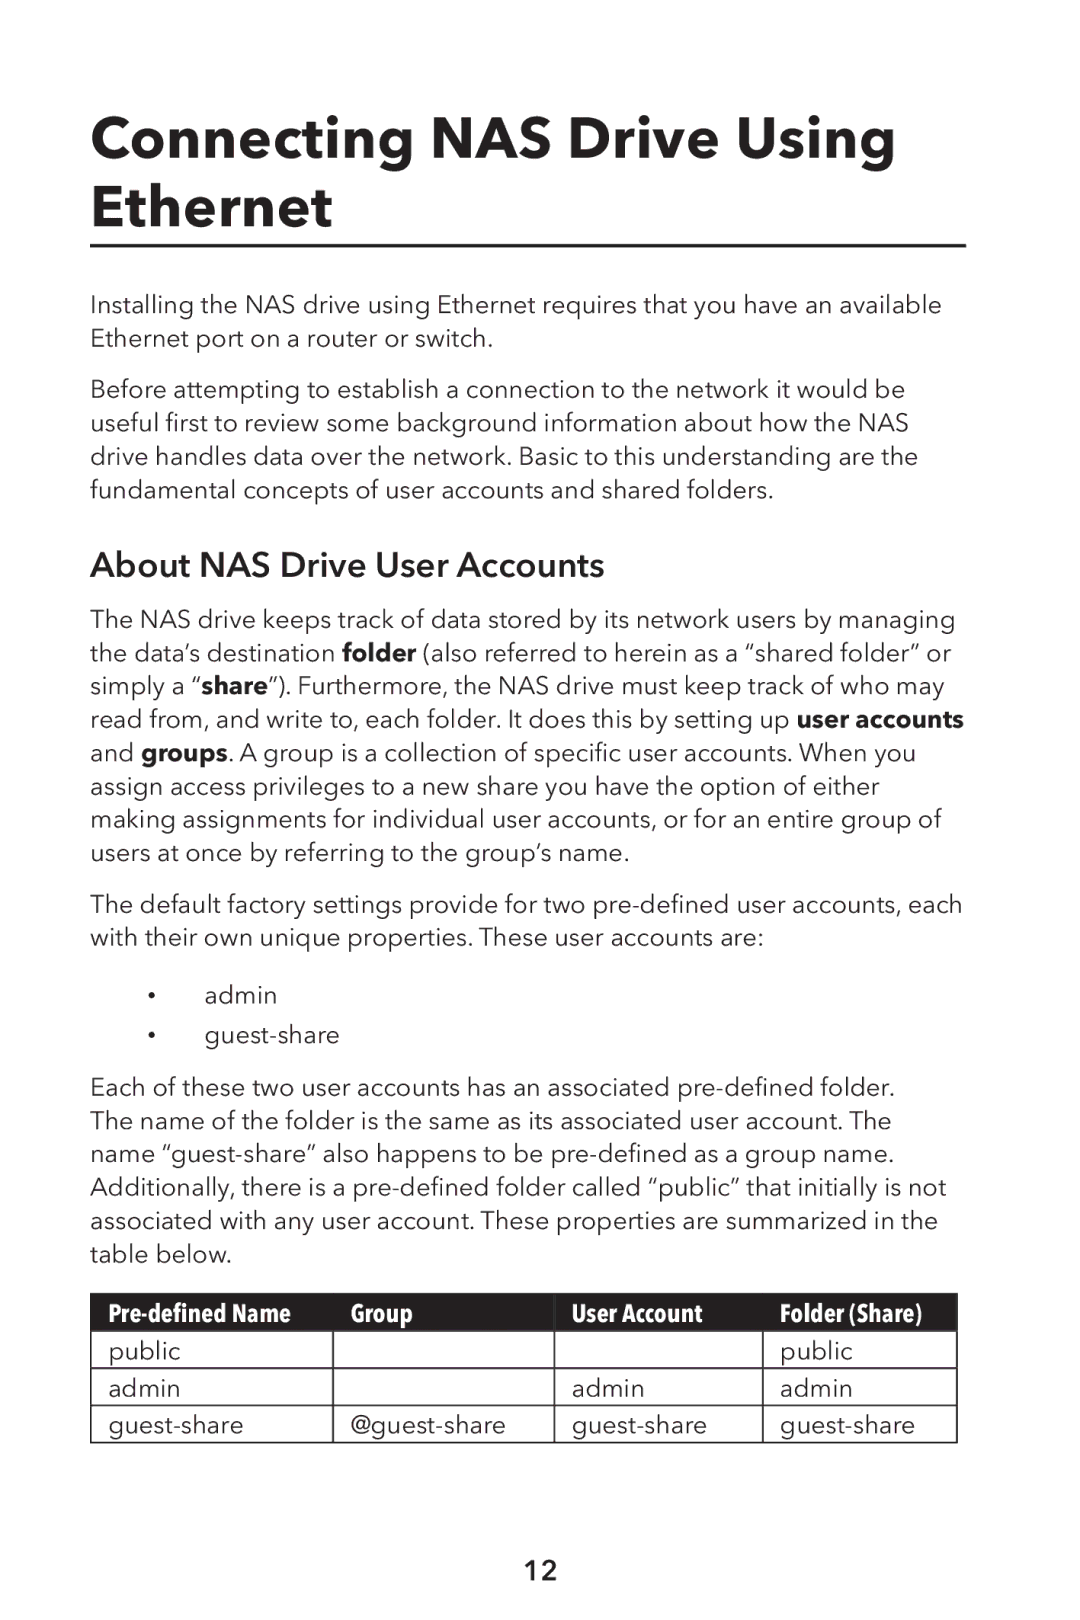
Each of these two user accounts has an associated
Additionally, there is a
Group | User Account | Folder (Share) | |
public |
|
| public |
admin |
| admin | admin |
12