Basic Functions
Turning the Power On and Off
1.Press the POWER button on the front panel to turn the power on. “Initializing........” will appear in the display panel. After three seconds of initializing, the unit will be ready to operate
2.Press the POWER button on the front panel again to turn the receiver off
Turning Standby On and Off
1.When the receiver is on, press the ![]() button on the remote control to enter Standby mode. “POWER OFF....” will appear in the display panel.
button on the remote control to enter Standby mode. “POWER OFF....” will appear in the display panel.
2.Press the ![]() button on the remote control again to exit Standby mode. “Initializing........” will appear in the display panel. After three seconds of initializing, the unit will be ready to operate
button on the remote control again to exit Standby mode. “Initializing........” will appear in the display panel. After three seconds of initializing, the unit will be ready to operate
NOTE: In Standby mode, the
Selecting an Input Channel
Available Input channels
• DVD | • TAPE |
• AUX1 | • OPT1* |
• AUX2 | • OPT2* |
• AUX3 | • COX1* |
• CD | • COX2* |
• TV | • COX3* |
• TUNER | • 7.1 CH* |
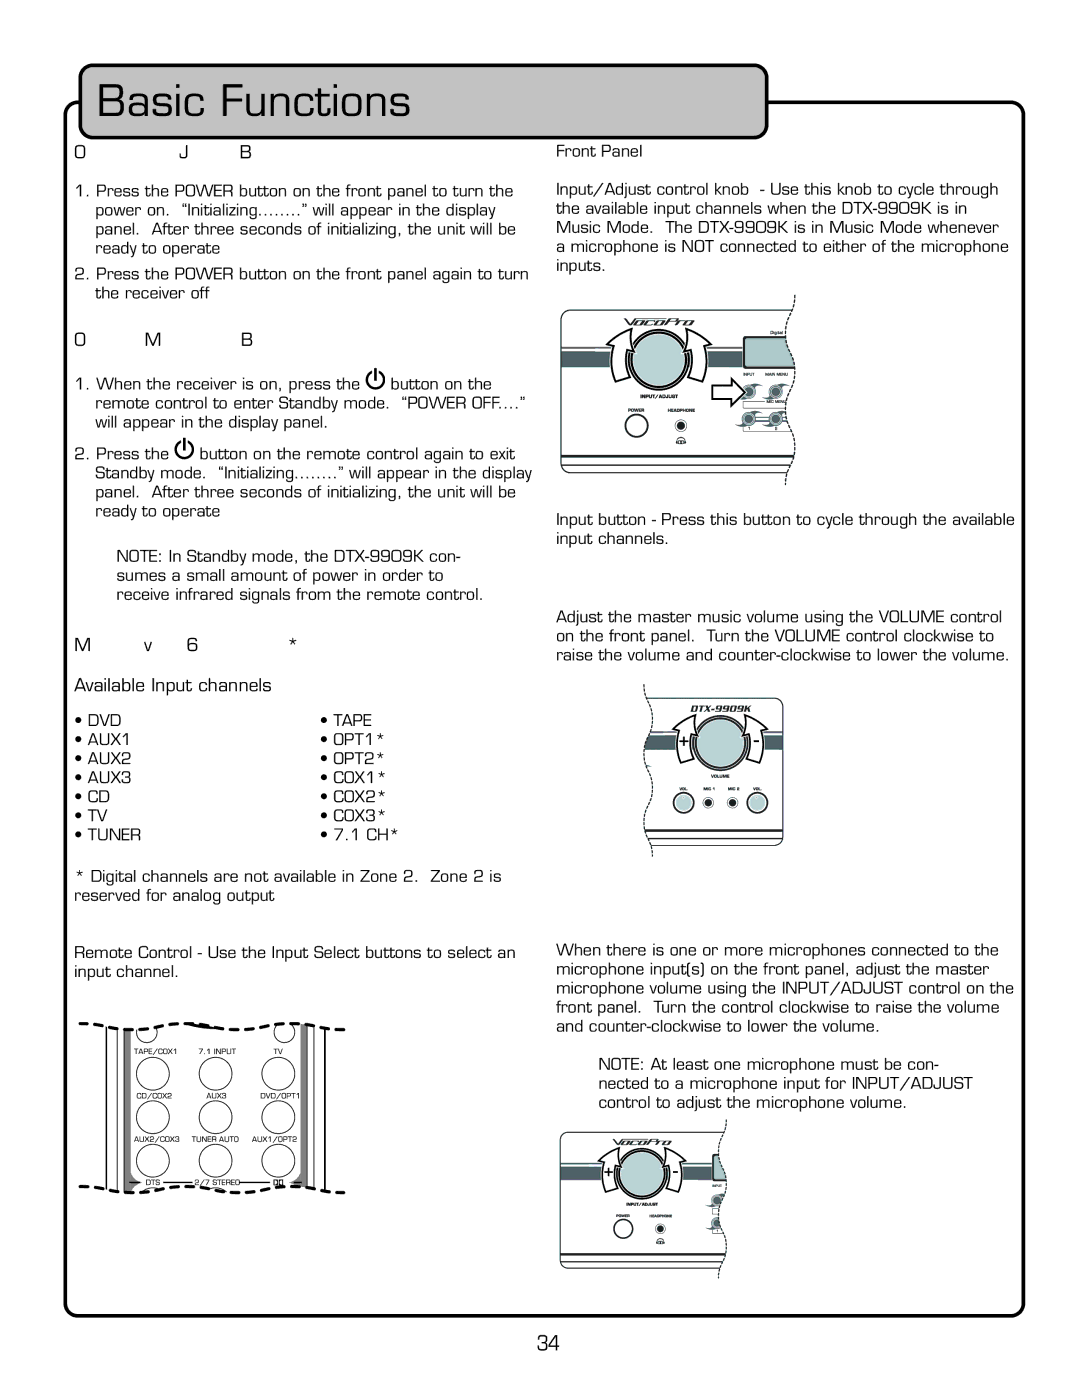
Front Panel
Input/Adjust control knob - Use this knob to cycle through the available input channels when the
Input button - Press this button to cycle through the available input channels.
Adjusting the Music Volume
Adjust the master music volume using the VOLUME control on the front panel. Turn the VOLUME control clockwise to raise the volume and
*Digital channels are not available in Zone 2. Zone 2 is reserved for analog output
Remote Control - Use the Input Select buttons to select an input channel.
Adjusting the Master Microphone Volume
When there is one or more microphones connected to the microphone input(s) on the front panel, a djust the master microphone volume using the INPUT/ADJUST control on the front panel. Turn the control clockwise to raise the volume and
NOTE: At least one microphone must be con- nected to a microphone input for INPUT/ADJUST control to adjust the microphone volume.
34
