VHX SERIES STEAMERS - REMOVAL AND REPLACEMENT OF PARTS
NOTE: It may be necessary to use two clamps to draw the bottom of the heat exchanger close enough to be clamped. Start one clamp at a 3 o’clock position then install other clamp near the bottom. Once the bolts are tight enough, C- Clamp will fall away.
E.Install two bolts at the bottom and two bolts at the top on the heat exchanger flange and tighten the bolts a few turns at a time. Starting with the bottom bolts, tighten the bolts in an alternating pattern between the bottom and top for a flush mounting of the heat exchanger flange and an even compression of the gasket.
NOTE: If a bolt is not threading in properly by hand, clean out the threads with the proper size tap.
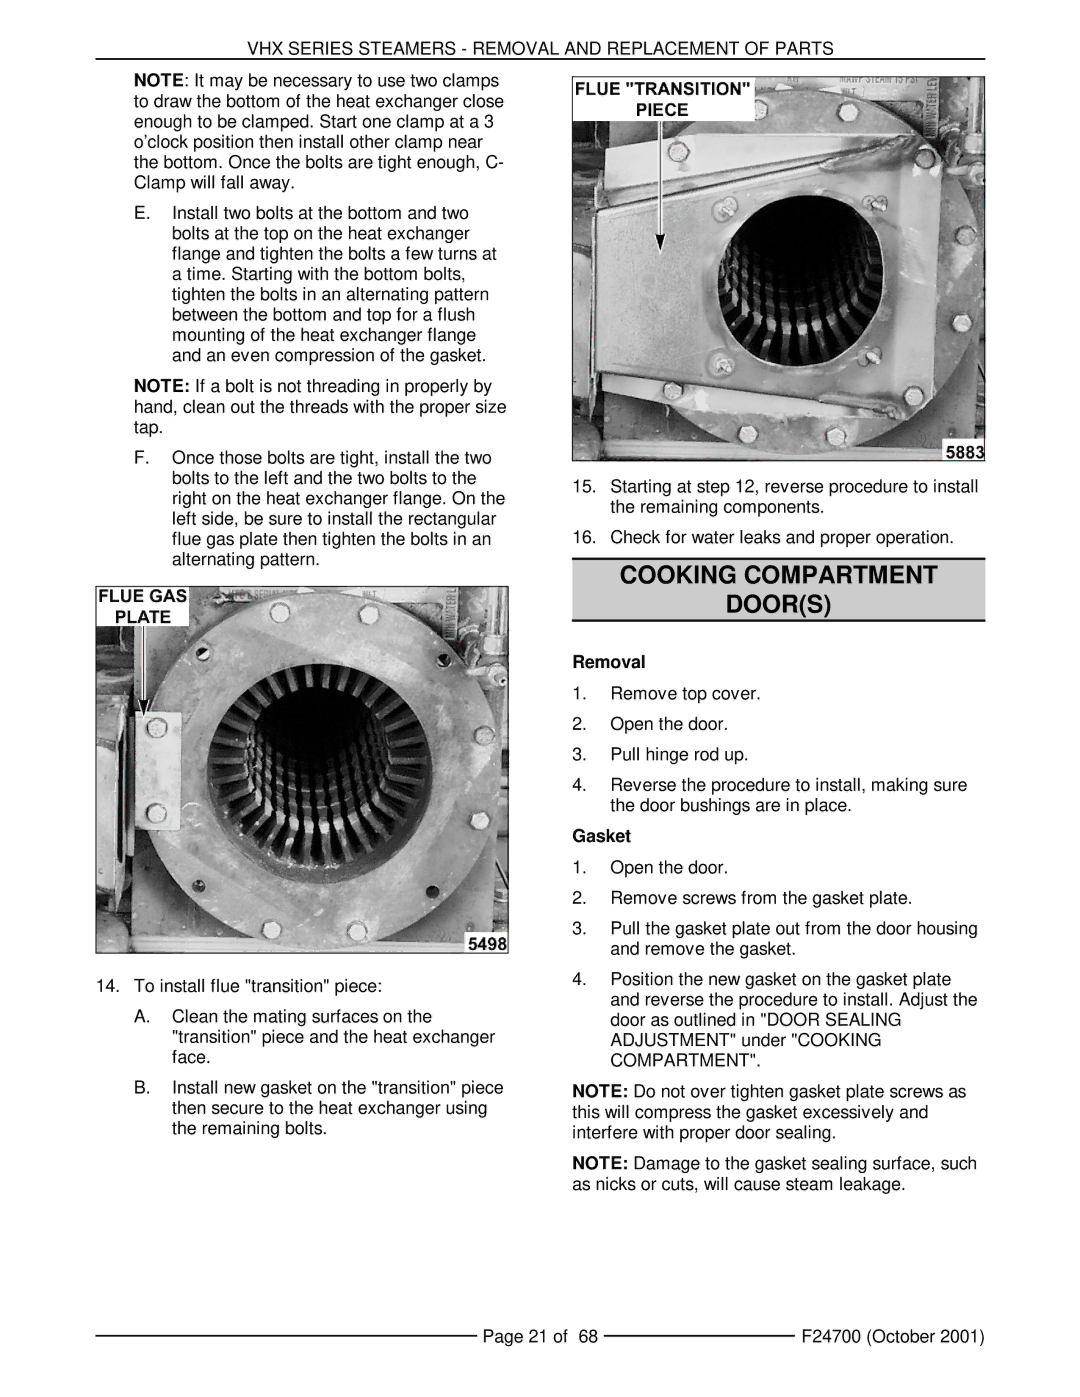
F.Once those bolts are tight, install the two bolts to the left and the two bolts to the right on the heat exchanger flange. On the left side, be sure to install the rectangular flue gas plate then tighten the bolts in an alternating pattern.
14.To install flue "transition" piece:
A.Clean the mating surfaces on the "transition" piece and the heat exchanger face.
B.Install new gasket on the "transition" piece then secure to the heat exchanger using the remaining bolts.
15.Starting at step 12, reverse procedure to install the remaining components.
16.Check for water leaks and proper operation.
COOKING COMPARTMENT
DOOR(S)
Removal
1.Remove top cover.
2.Open the door.
3.Pull hinge rod up.
4.Reverse the procedure to install, making sure the door bushings are in place.
Gasket
1.Open the door.
2.Remove screws from the gasket plate.
3.Pull the gasket plate out from the door housing and remove the gasket.
4.Position the new gasket on the gasket plate and reverse the procedure to install. Adjust the door as outlined in "DOOR SEALING ADJUSTMENT" under "COOKING COMPARTMENT".
NOTE: Do not over tighten gasket plate screws as this will compress the gasket excessively and interfere with proper door sealing.
NOTE: Damage to the gasket sealing surface, such as nicks or cuts, will cause steam leakage.
Page 21 of 68 |
| F24700 (October 2001) |
|