❉ | Customizing the Settings (Continued) |
|
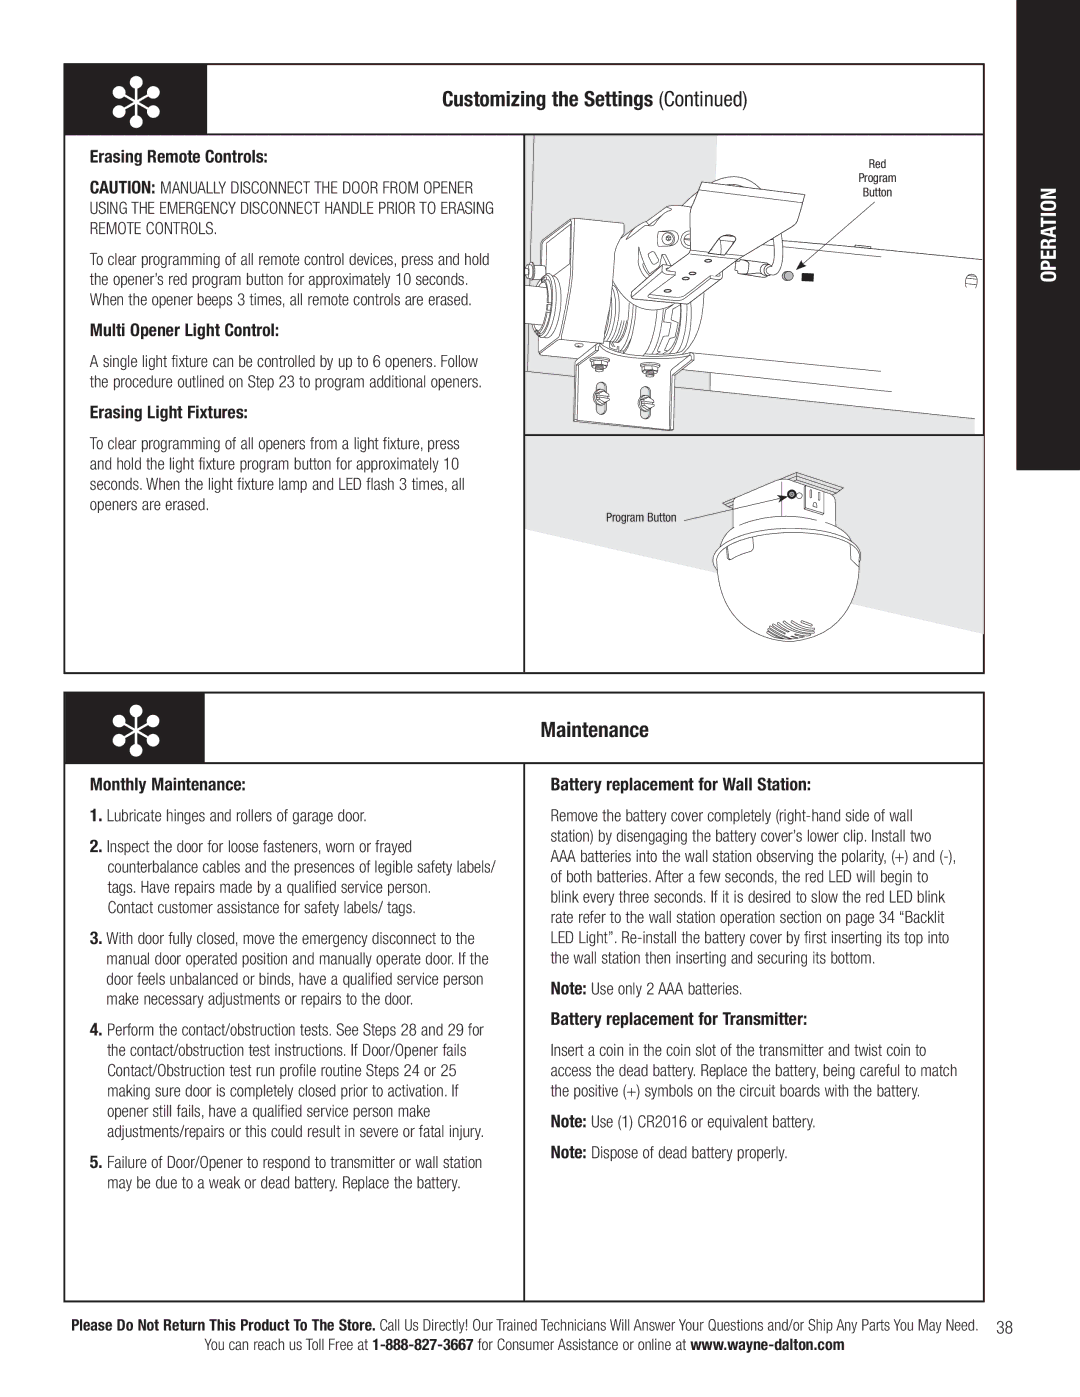
Erasing Remote Controls:
CAUTION: MANUALLY DISCONNECT THE DOOR FROM OPENER USING THE EMERGENCY DISCONNECT HANDLE PRIOR TO ERASING REMOTE CONTROLS.
To clear programming of all remote control devices, press and hold the opener’s red program button for approximately 10 seconds. When the opener beeps 3 times, all remote controls are erased.
Multi Opener Light Control:
A single light fixture can be controlled by up to 6 openers. Follow the procedure outlined on Step 23 to program additional openers.
Erasing Light Fixtures:
To clear programming of all openers from a light fixture, press and hold the light fixture program button for approximately 10 seconds. When the light fixture lamp and LED flash 3 times, all openers are erased.
Red |
Program |
Button |
Program Button |
OPERATION
❉ | Maintenance |
|
Monthly Maintenance:
1.Lubricate hinges and rollers of garage door.
2.Inspect the door for loose fasteners, worn or frayed counterbalance cables and the presences of legible safety labels/ tags. Have repairs made by a qualified service person.
Contact customer assistance for safety labels/ tags.
3.With door fully closed, move the emergency disconnect to the manual door operated position and manually operate door. If the door feels unbalanced or binds, have a qualified service person make necessary adjustments or repairs to the door.
4.Perform the contact/obstruction tests. See Steps 28 and 29 for the contact/obstruction test instructions. If Door/Opener fails Contact/Obstruction test run profile routine Steps 24 or 25 making sure door is completely closed prior to activation. If opener still fails, have a qualified service person make adjustments/repairs or this could result in severe or fatal injury.
5.Failure of Door/Opener to respond to transmitter or wall station may be due to a weak or dead battery. Replace the battery.
Battery replacement for Wall Station:
Remove the battery cover completely
AAAbatteries into the wall station observing the polarity, (+) and
Note: Use only 2 AAA batteries.
Battery replacement for Transmitter:
Insert a coin in the coin slot of the transmitter and twist coin to access the dead battery. Replace the battery, being careful to match the positive (+) symbols on the circuit boards with the battery.
Note: Use (1) CR2016 or equivalent battery.
Note: Dispose of dead battery properly.
Please Do Not Return This Product To The Store. Call Us Directly! Our Trained Technicians Will Answer Your Questions and/or Ship Any Parts You May Need. 38 You can reach us Toll Free at