USING YOUR RANGE
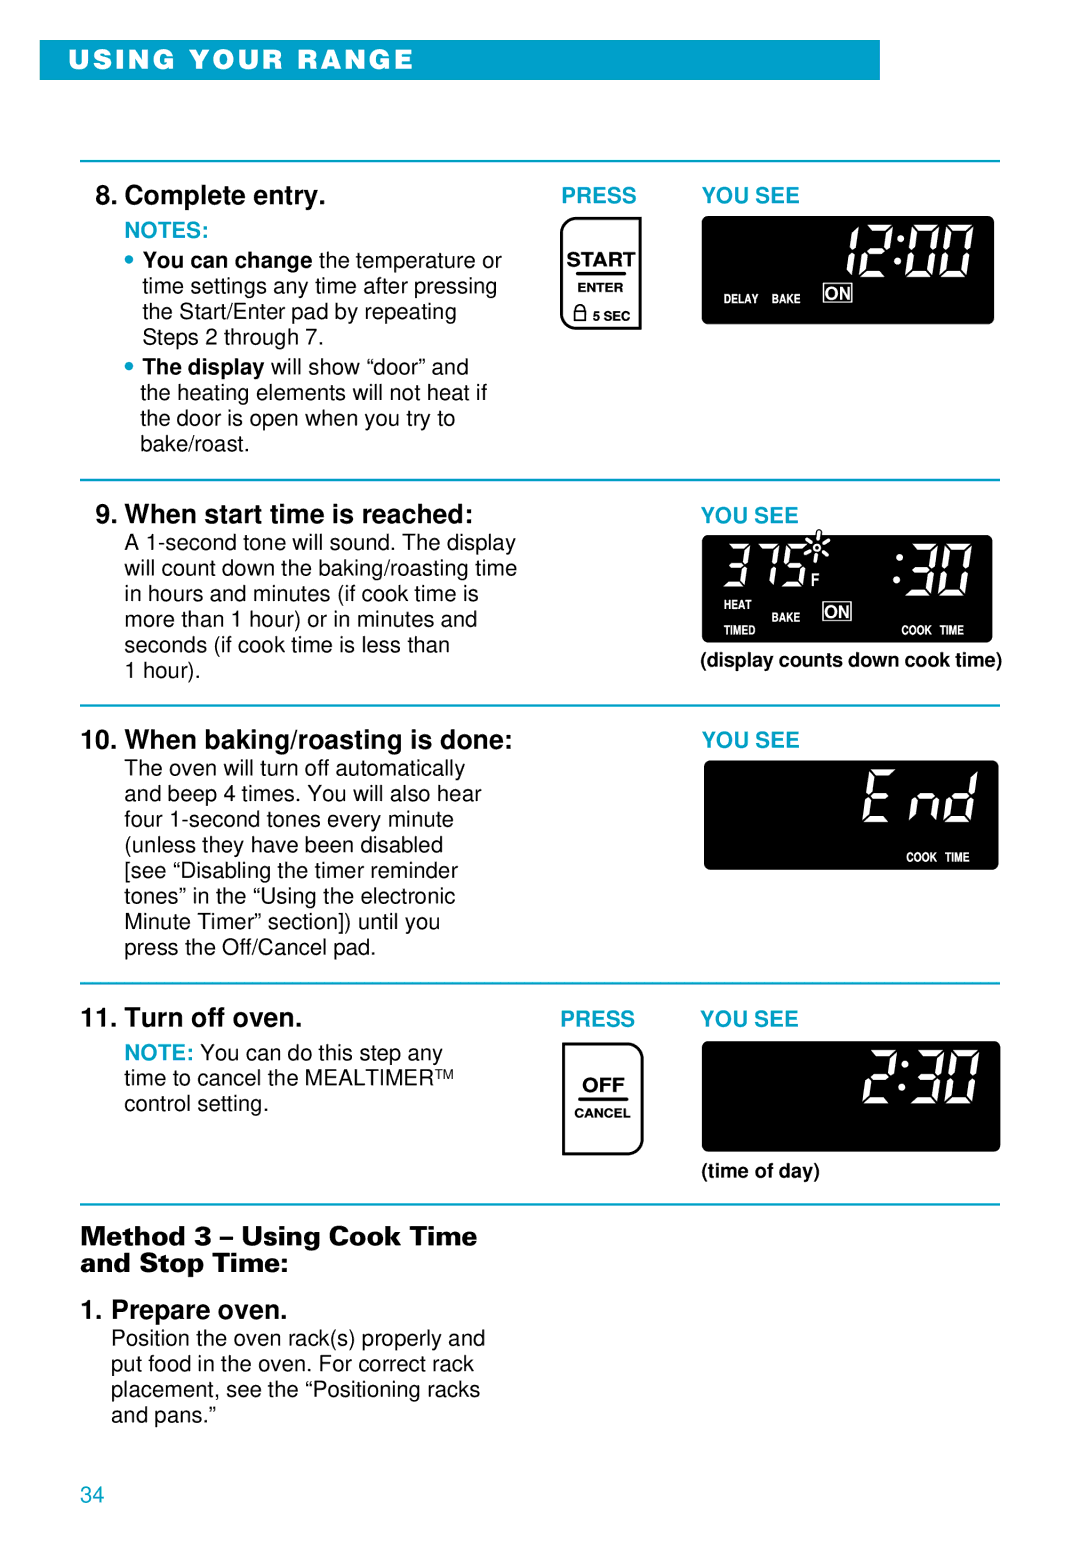
8. Complete entry. | PRESS | YOU SEE | ||
NOTES: |
|
|
|
|
• You can change the temperature or | START |
| ||
time settings any time after pressing |
| ENTER |
| DELAY BAKE ON |
the Start/Enter pad by repeating |
|
|
| |
| 5 SEC |
| ||
Steps 2 through 7. |
|
|
|
|
•The display will show “door” and the heating elements will not heat if the door is open when you try to bake/roast.
9. When start time is reached: | YOU SEE |
| |
A |
|
| |
will count down the baking/roasting time |
| F | |
in hours and minutes (if cook time is |
| ||
HEAT | ON | ||
more than 1 hour) or in minutes and | |||
BAKE | |||
TIMED | COOK TIME | ||
|
seconds (if cook time is less than
1 hour). | (display counts down cook time) |
|
10. When baking/roasting is done: | YOU SEE |
The oven will turn off automatically and beep 4 times. You will also hear four
COOK TIME
11. Turn off oven.
NOTE: You can do this step any time to cancel the MEALTIMERTM control setting.
PRESS | YOU SEE |
OFF
CANCEL
(time of day)
Method 3 – Using Cook Time
and Stop Time:
1. Prepare oven.
Position the oven rack(s) properly and put food in the oven. For correct rack placement, see the “Positioning racks and pans.”
34