Xerox 490/980 Color Continuous Feed Printing System | Color Calibration Process for v1.1.6 Software |
Note
As a reminder, the queue name used to submit the job in the next step is [CalibrationConfirmation].
3.Reference Appendix B and submit the appropriate test pattern to the printer using Line Printer Remote (LPR). Return to this procedure when you are finished.
4.The command prompt window should look similar to the following when you are finished typing:
5.After you have confirmed that you have the appropriate text in the command prompt window, press <Enter> to submit the job to the printer.
6.Close the command prompt and Windows Explorer windows.
7.Save the last three
Note
In the following step, the white paper is used as a backdrop under the test pattern print to prevent the viewing surface from interfering with the color squares.
8.Place a piece of white paper on a table, then place the test pattern on top of the white piece of paper.
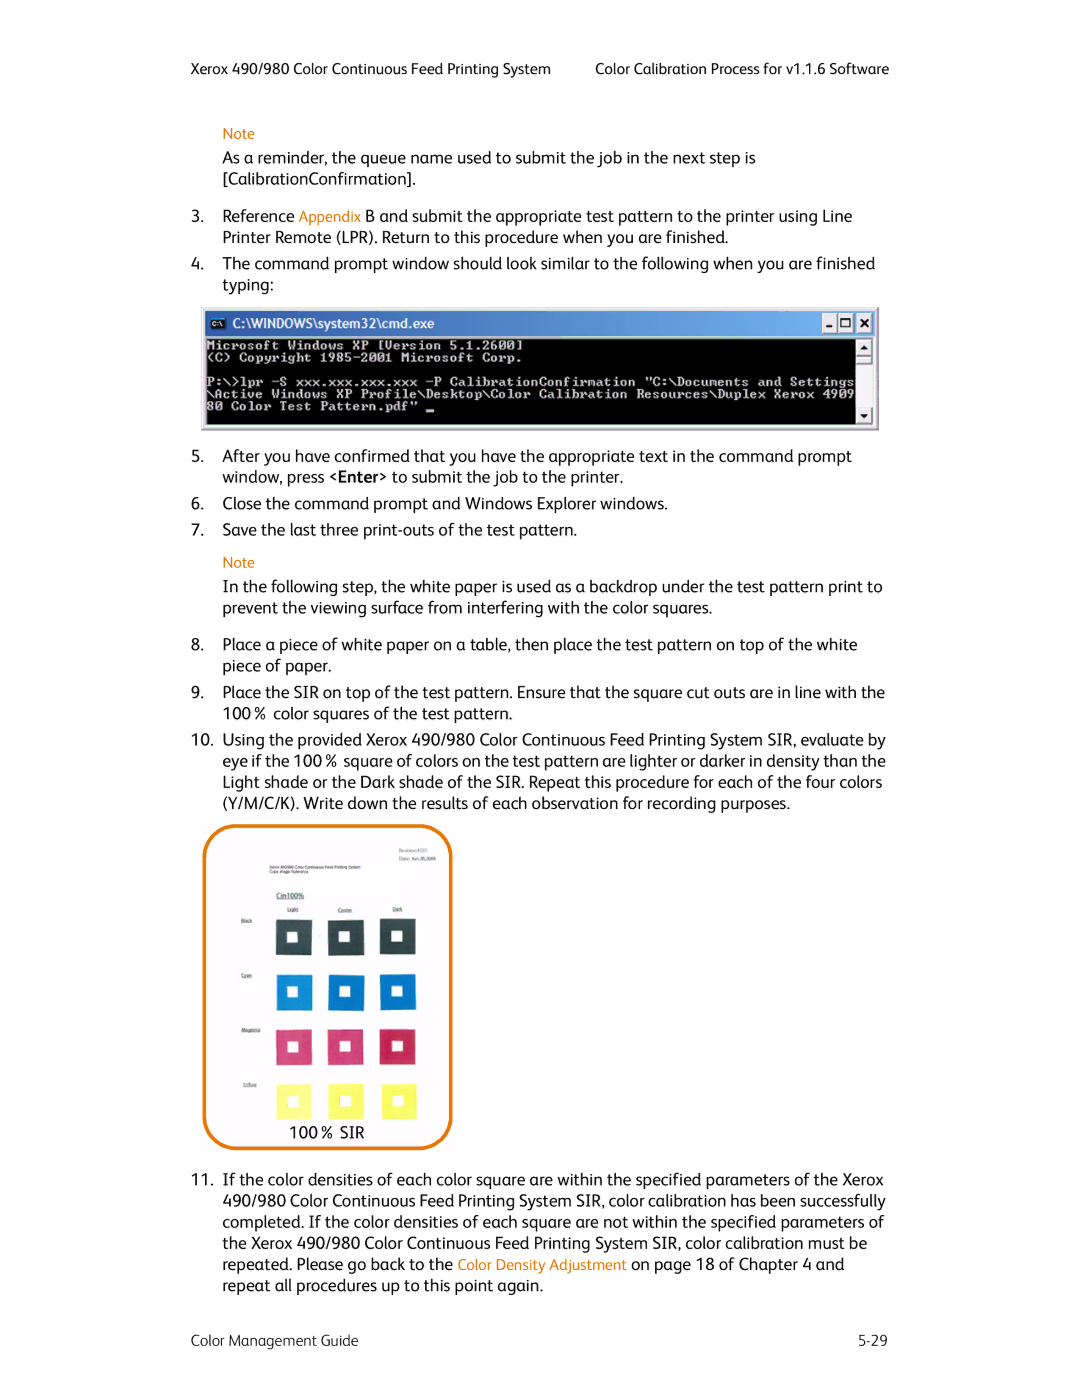
9.Place the SIR on top of the test pattern. Ensure that the square cut outs are in line with the 100% color squares of the test pattern.
10.Using the provided Xerox 490/980 Color Continuous Feed Printing System SIR, evaluate by eye if the 100% square of colors on the test pattern are lighter or darker in density than the Light shade or the Dark shade of the SIR. Repeat this procedure for each of the four colors (Y/M/C/K). Write down the results of each observation for recording purposes.
100% SIR
11.If the color densities of each color square are within the specified parameters of the Xerox 490/980 Color Continuous Feed Printing System SIR, color calibration has been successfully completed. If the color densities of each square are not within the specified parameters of the Xerox 490/980 Color Continuous Feed Printing System SIR, color calibration must be repeated. Please go back to the Color Density Adjustment on page 18 of Chapter 4 and repeat all procedures up to this point again.
Color Management Guide |
