Recording Your Performance
ENGLISH
The ability to record and play back what you’ve played on the
TIP
You can record your perfor- mance (audio data) to a cas- sette tape recorder or other recording device via the AUX OUT connector (page 52).
TERMINOLOGY
Recording vs. Saving:
The format of performance data recorded on a cassette tape dif- fers from that of data recorded on the Clavinova. A cassette tape records audio signals. The Clavinova “saves” information regarding note timing, voices, and a tempo value, but not audio signals. When you play back recorded songs, the Clavi- nova produces sound based on the saved information. There- fore, recording on the Clavinova may be more accurately called “saving information.” However, this book often uses the word “recording” because it seems to make more sense.
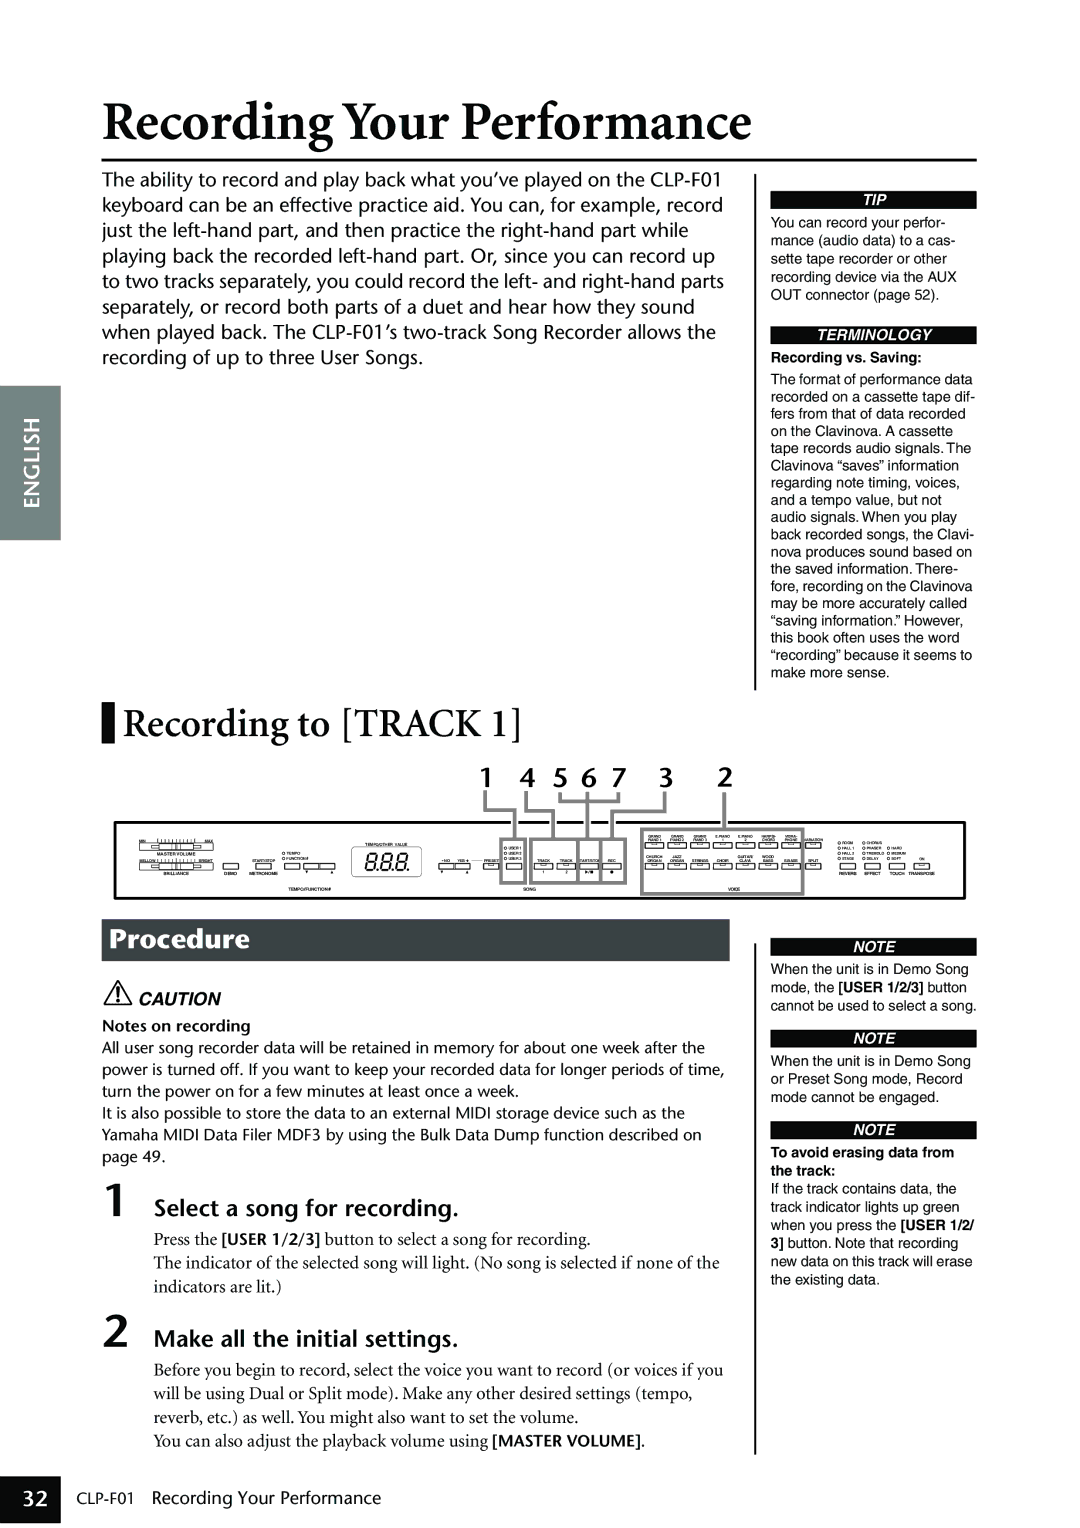
Recording to [TRACK 1] |
|
|
|
|
|
|
|
|
|
|
|
|
|
|
|
| |||||||
|
|
|
|
|
| 1 | 4 |
| 5 6 7 | 3 |
| 2 |
|
|
|
|
|
|
|
| |||
|
|
|
|
|
|
|
|
|
|
|
| GRAND | GRAND | GRAND | E.PIANO | E.PIANO | HARPSI- | VIBRA- | VARIATION |
|
|
|
|
MIN | MAX |
|
| TEMPO/OTHER VALUE |
|
|
|
|
|
|
| PIANO 1 | PIANO 2 | PIANO 3 | 1 | 2 | CHORD | PHONE | ROOM | CHORUS |
|
| |
|
|
|
|
|
| USER 1 |
|
|
|
|
|
|
|
|
|
|
|
|
|
| |||
|
|
|
|
|
|
|
|
|
|
|
|
|
|
|
|
|
|
| HALL 1 | PHASER | HARD |
| |
MASTER VOLUME |
|
| TEMPO |
|
|
| USER 2 |
|
|
|
| CHURCH | JAZZ |
|
| GUITAR/ | WOOD |
|
| HALL 2 | TREMOLO | MEDIUM |
|
MELLOW | BRIGHT | START/STOP | FUNCTION | - NO | YES + | PRESET | USER 3 | TRACK | TRACK | START/STOP |
| STRINGS | CHOIR | E.BASS | SPLIT | STAGE | DELAY | SOFT | ON | ||||
REC | ORGAN | ORGAN | CLAVI. | BASS | |||||||||||||||||||
BRILLIANCE | DEMO | METRONOME |
|
|
|
|
| 1 | 2 |
|
|
|
|
|
|
|
|
|
| REVERB | EFFECT | TOUCH | TRANSPOSE |
|
|
| TEMPO/FUNCTION |
|
|
| SONG |
|
|
|
|
|
|
| VOICE |
|
|
|
|
|
|
| |
Procedure
![]() CAUTION
CAUTION
Notes on recording
All user song recorder data will be retained in memory for about one week after the power is turned off. If you want to keep your recorded data for longer periods of time, turn the power on for a few minutes at least once a week.
It is also possible to store the data to an external MIDI storage device such as the Yamaha MIDI Data Filer MDF3 by using the Bulk Data Dump function described on page 49.
1 Select a song for recording.
Press the [USER 1/2/3] button to select a song for recording.
The indicator of the selected song will light. (No song is selected if none of the indicators are lit.)
2 Make all the initial settings.
Before you begin to record, select the voice you want to record (or voices if you will be using Dual or Split mode). Make any other desired settings (tempo, reverb, etc.) as well. You might also want to set the volume.
You can also adjust the playback volume using [MASTER VOLUME].
NOTE
When the unit is in Demo Song mode, the [USER 1/2/3] button cannot be used to select a song.
NOTE
When the unit is in Demo Song or Preset Song mode, Record mode cannot be engaged.
NOTE
To avoid erasing data from the track:
If the track contains data, the track indicator lights up green when you press the [USER 1/2/ 3] button. Note that recording new data on this track will erase the existing data.
32
