SCSI Connection Set Up
Installing the CRW2200S
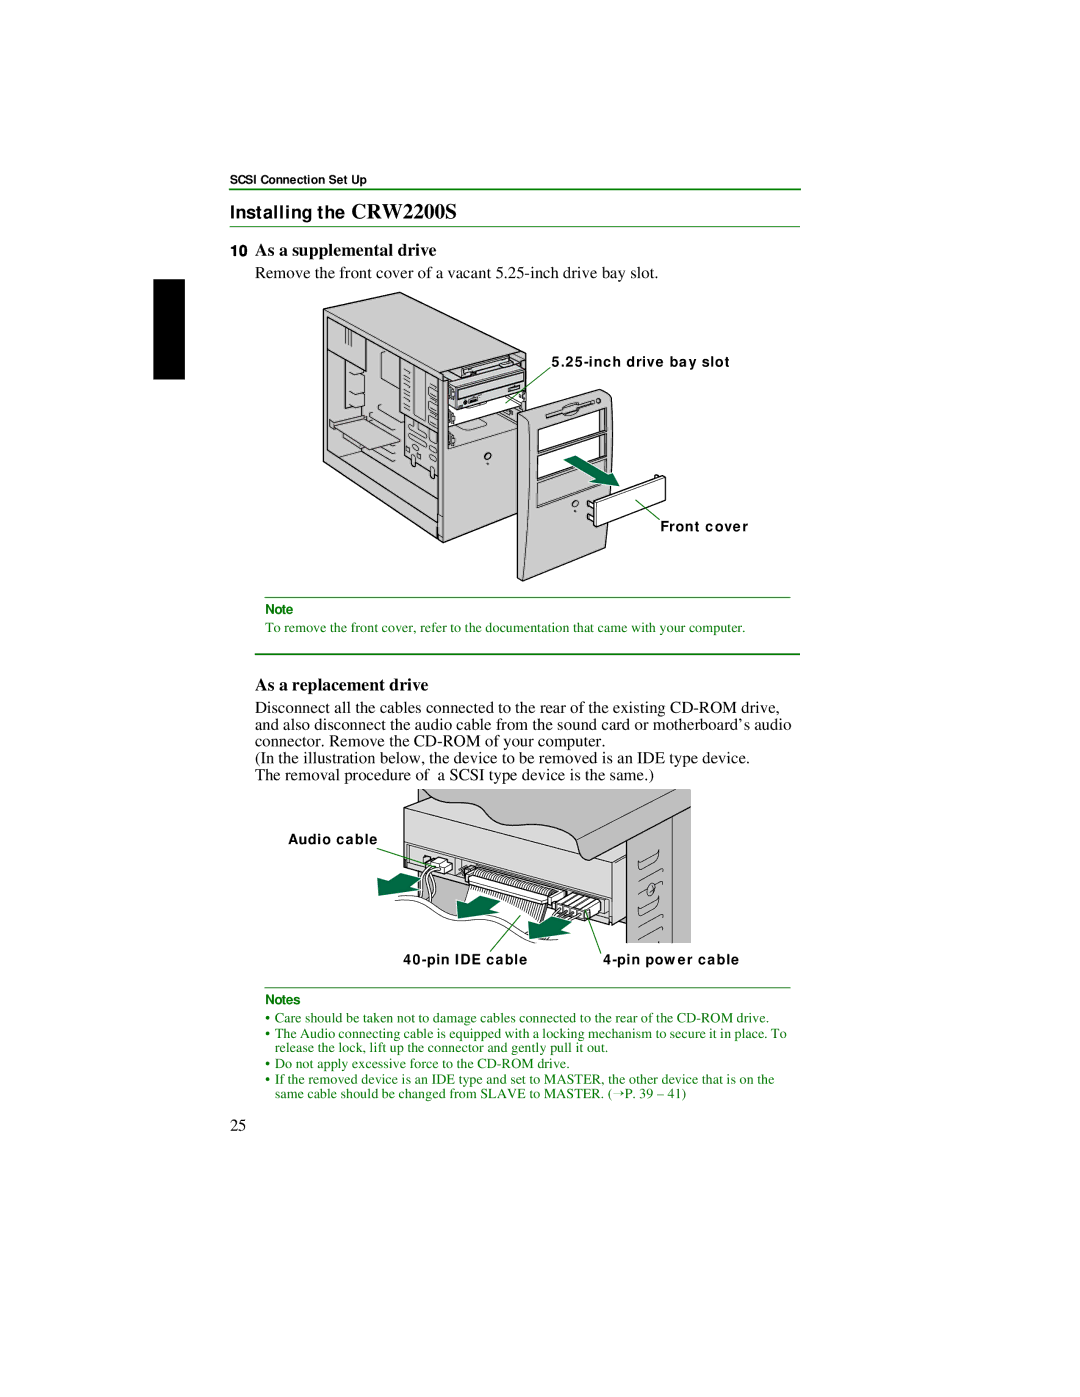
10As a supplemental drive
Remove the front cover of a vacant 5.25-inch drive bay slot.
5.25-inch drive bay slot
Front cover
Note
To remove the front cover, refer to the documentation that came with your computer.
As a replacement drive
Disconnect all the cables connected to the rear of the existing
(In the illustration below, the device to be removed is an IDE type device. The removal procedure of a SCSI type device is the same.)
Audio cable
|
|
Notes
•Care should be taken not to damage cables connected to the rear of the
•The Audio connecting cable is equipped with a locking mechanism to secure it in place. To release the lock, lift up the connector and gently pull it out.
•Do not apply excessive force to the
•If the removed device is an IDE type and set to MASTER, the other device that is on the same cable should be changed from SLAVE to MASTER. (→P. 39 – 41)
25