Connecting the Power Cord
Before plugging the receiver into an AC outlet, make sure that all connections have been made.
1.Plug the power cord into an AC outlet.
2.Press ![]() POWER to set it in the _ON position.
POWER to set it in the _ON position.
The STANDBY lamp lights up. A small amount of power is always consumed.
To shut off the power completely:
Press ![]() POWER to set it in the ÑOFF position.
POWER to set it in the ÑOFF position.
Keep the power cord away from the connecting cables for the TV, VCR, and antenna. The power cord may cause noise or screen interference. We recommend that you use a coaxial cable to connect the antenna, since it is
The difference between the ![]() POWER switch and the STANDBY/ON
POWER switch and the STANDBY/ON ![]()
![]() button
button
•The ![]() POWER switch is the mains supply switch, allowing the receiver to connect to the mains supply.
POWER switch is the mains supply switch, allowing the receiver to connect to the mains supply.
To shut off the power completely, press the ![]() POWER switch to set it in the Ñ OFF position.
POWER switch to set it in the Ñ OFF position.
•The STANDBY/ON![]()
![]() button is a functional on/off (standby) switch, and does not disconnect the receiver from the mains supply. A small amount of power is consumed even in standby mode for receiver to accept signals from the remote control.
button is a functional on/off (standby) switch, and does not disconnect the receiver from the mains supply. A small amount of power is consumed even in standby mode for receiver to accept signals from the remote control.
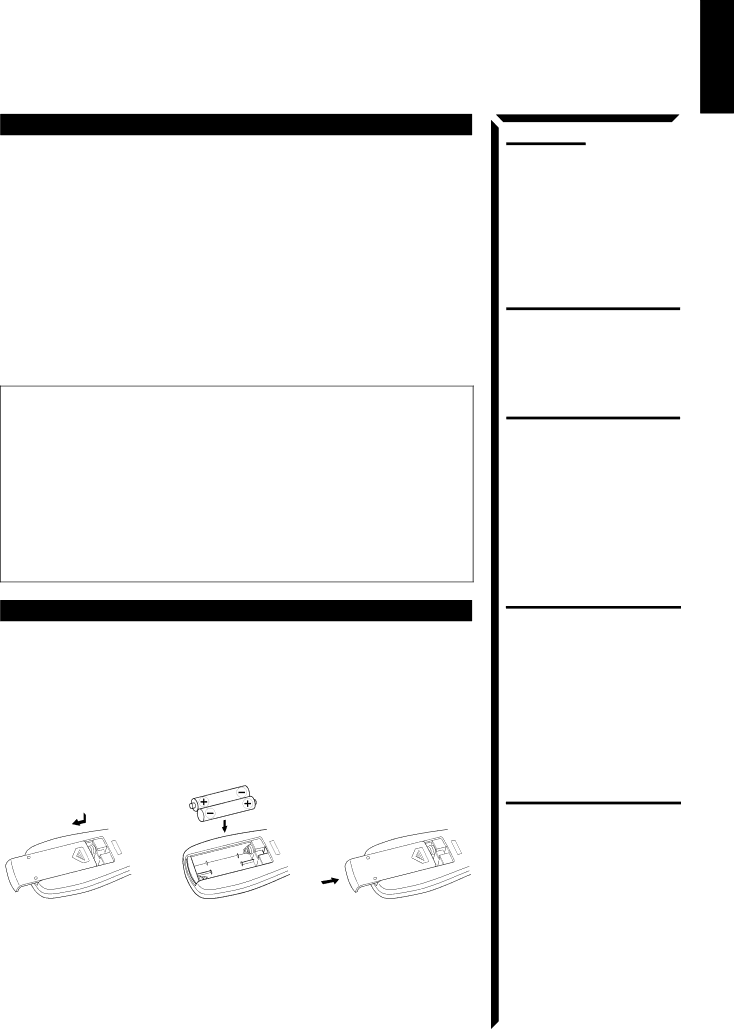
Putting Batteries in the Remote Control
Before using the remote control, put the two supplied batteries in first. When using the remote control, aim the remote control directly at the remote sensor on the receiver.
1.On the back of the remote control, press down on the battery cover and slide it out.
2.Insert batteries. Make sure to observe the proper polarity: (+) to (+) and
3.Slide the cover.
R6P
If the range or effectiveness of the remote control decreases, replace the batteries. Use two R6P
English
Notes:
The preset setting such as preset channel and sound adjustment may be erased in the following cases:
• When you press ![]() POWER to set it in the ÑOFF position.
POWER to set it in the ÑOFF position.
•When you unplug the power cord.
•When a power failure occurs.
CAUTIONS:
•Do not touch the power cord with wet hands.
•Do not pull on the power cord to unplug the receiver. When unplugging the receiver, always grasp the plug itself so as not to damage the cord.
CAUTIONS:
Follow these precautions to avoid leaking or cracking cells:
•Place batteries in the remote control so they match the polarity indicated: (+) to (+) and
•Use the correct type of batteries. Batteries that look similar may differ in voltage.
•Always replace both batteries at the same time.
•Do not expose batteries to heat or flame.
8