Emerson AC4 user manual Override Output

Page 53

System and Control Options

7.9Override Output

The Override Output feature allows you to manually change the state of any digital output to ON or OFF, overriding automatic control by the Liebert AC4 (the default setting for all outputs). This menu also allows you to release the manual override, returning any output to automatic control.

There are two ways to override automatic control of outputs:

Use the Override Output menu, as described in this section, to turn any output ON or OFF.

Use the hardware switch on the circuit board to force all four outputs ON at the same time (see Item F - Manual Override Switch (outputs) in 1.6 Controller Board Overview).

After an output is forced manually ON or OFF, it remains in that state until returned to automatic control through this menu.

Table 20 summarizes the four types of control, including the abbreviated message that appears on the LCD and in log reports.

Table 20 Automatic / manual control - output points

Message


Description


AUTO

Automatic

Controlled by Liebert AC4

(default for all outputs)


FORCE ON

Manually ON

This output has been forced ON


(operating) or OFF via the Override

FORCE OFF

Manually OFF

Output menu


All outputs have been forced ON


Manually ON

(operating) via the hardware switch on

HW FORCE ON

the circuit board (see Item F - Manual

(all outputs)


Override Switch (outputs) in


1.6 Controller Board Overview)


To force an output point ON or OFF or return it to automatic control:

Log In and Choose Override Output

From the Main Menu, use the arrows ↑↓ to choose System and Control, then press Enter (see 7.1 Login for help).

Enter your password at the Login screen.

From the System and Control Menu, use the arrows ↑↓ to choose Override Output, then press Enter .

Select an Output

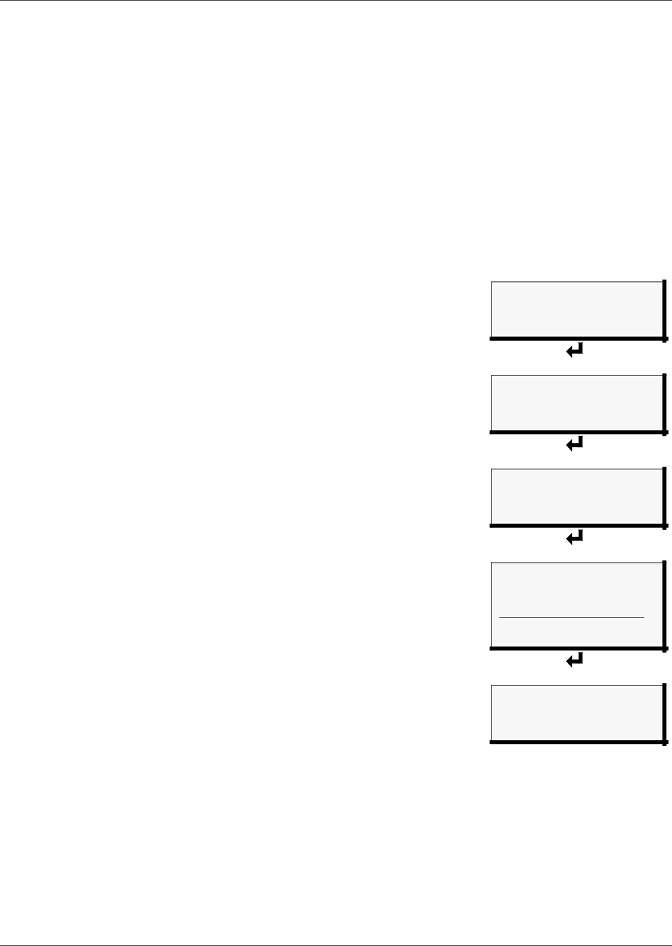
The Select Output menu, shown at right, displays the current status of all four outputs.

Use the arrows ↑↓ to choose the output you want—for example, Device_1—and press Enter .

Turn Output ON or OFF / Return to Automatic

From the Override Output menu, use the arrows ↑↓ to choose one of these options:

AUTO - return to automatic control

FORCE ON - manually turn this output ON (operating)

FORCE OFF - manually turn this output OFF

Press Enter .

Main Menu

VIEW STATUS

>SYSTEM AND CONTROL

↑↓=NEXT =SELECT

Login

LOGIN

AAAA

↑↓=SELECT =NEXT/END

System & Control Menu

SETUP SYSTEM

>OVERRIDE OUTPUT

CLEAR ALARMS & LOGS ↑↓=NEXT =SELECT

Select Output

OVERRIDE OUTPUT

>DEVICE_1 AUTO

DEVICE_2 AUTO ↑↓=NEXT =SELECT

DEVICE_3 AUTO DEVICE_4 FORCE ON

Override Output

SELECT DEVICE_1

FORCE ON ↑↓=SELECT =END

47

Liebert® AC4

Image 53
Contents Liebert AC4 Page Table of Contents Setup System Setup Common Alarm 7.5 Setup System Setup Zones Setup Menu Appendix a Service Terminal InterfaceFigures Available Alarms Methods of Viewing and Configuring the Liebert AC4Data Logs IntroductionOperation LCD for configurationOutside Enclosure Overview Device RS232 LiebertLiebert HimodHimod Typical ConfigurationDevice Liebert Challenger Controller board components Controller Board OverviewDIP switch ConnectorLCD connector 24VAC powerOutput LEDs Status LEDs Input LEDs LED IndicatorsLED indicators summary Typical Sequence Installation Installation ConsiderationsPacking Contents Unpacking and Preliminary InspectionMounting the Panel Surface-Mounting the Liebert AC4Required tools Flush-Mounting the Liebert AC4 Electrical connections to panel Connect Power to the Liebert AC4Wiring specifications Wiring SpecificationsWiring and Connections Connecting Liebert Precision Cooling Units Connecting Digital Inputs and OutputsConnecting Digital Inputs Numbering keysDigital output jumper settings Connecting Digital OutputsSetting the Digital Output Jumpers RS232 Connector Connecting Common Alarm OutputsCommon alarm outputs Serial interface connector RS232/EIA5Guide to Liebert AC4 functions Overview of MenusLCD Menu Overview Opening Screen OverviewMain Menu Overview View Status Options Active Alarms View Active AlarmsClearing Active Alarms Active AlarmsAlarm Log View Alarm LogAlarm log conditions Alarm LogEvent Log View Event LogEvent log conditions Event LogInput Status View Input StatusViewing Additional Input Data Digital input statesOutput Status View Output StatusViewing Additional Output Data Digital output statesSilence Alarm Service Terminal Interface only Silence Alarm & Backup LOG Files Service Terminal InterfaceBack Up Log Files Service Terminal Interface only Silence Alarm & Backup Log Files Service Terminal Interface Login LoginSystem and Control Options Valid characters for data entrySystem & Control menu Clear Alarms&Logs selected Login ScreenSetup System menu Clear Alarms/Logs menuSetup System Setup Inputs Setup System OverviewDefine Input as Normally Open or Normally Closed Define Input as Alarmable or EventChange Label Name of Input Set Up Delay Time Set Up Alarmable Inputs in Latched or Unlatched ModeDelay Time Latched / UnlatchedReset Common Alarm Setup System Setup Common AlarmChange to Reset Y or Not Reset N Set Up a Zone Setup System Setup ZonesMessage if too few devices entered Message if too many devices enteredDefine Output as Normally Open or Normally Closed Setup System Setup OutputsEnable or Disable an Output Device in Alarm Status Define Operating or Standby ModeConfigure Output for Loss of Power Fail-Safe Set ModeChange Password Setup System Setup System InfoChange the Password Reset Password to the Factory Default AaaaSetup Site ID Setup Site IDSet Date & Time/Automatic Daylight Saving Time Set Date & TimeBackup and Upload Configuration File Back Up the Configuration File Upload the Configuration File Firmware Update Service Terminal Interface only Factory DefaultsFactory Defaults Perform Firmware UPDATE-YESY or NON? N Select Setup Operation Setup OperationSetup Operation Menu Default settings operation featuresActivate / Deactivate Turn Automatic Sequencing On or OffSet Interval & Start Time 1- to 99-Day Interval Set Start Time Hour IntervalChange Standby Testing Turn Standby Testing On or OffSpecify Failed Standby Response Failed Standby responseHold Delay Time Specify Hold Delay TimeRestart Delay Time Setup Operation MenuOverride Output Clear Active Alarms Clear Alarms & LogsClear the Alarm Log Clear the Event LogSpecifications Liebert AC4 SpecificationsSpecifications Liebert AC4 Comparison of Functions LCD and Service Terminal Interface Appendix a Service Terminal InterfaceConnecting to the Service Terminal Interface Specify COM Port Connection COM1 Port SetupCreate a Connection Ascii Setup Properties SetupSettings tab Ascii Setup buttonClick on the file name for example, AC4.ht Connect to the Service Terminal InterfaceSetup Menu Overview Silence Alarm and Backup Log FilesView Status Overview Main Menu For sample screens, seeView Active Alarms View Active AlarmsView Status Menus Main MenuView Alarm Log View Alarm LogView Input Status View Event LogView Event Log View Input StatusView Output Status View Output StatusSection A.5.1 Section A.5.2 Silence AlarmBackup Log Files Alarm Log File Back Up Alarm Log FileBackup Log Files Event Log File Back Up Event Log FileLogin Setup MenuLogin Menu Setup Menu Setup MenuTips on Using the Service Terminal Interface See DescriptionSetup Inputs Setup InputsSetup Zones Setup Common AlarmSetup Common Alarm Setup ZonesSetup Outputs Setup OutputsChange Password Setup System InfoSetup System Info Set Date & Time Setup Site IDBackup & Upload Configuration File Backup Factory Defaults Backup & Upload Configuration File UploadFirmware Update Firmware Update Service Terminal Interface onlyAuto Sequencing Setup OperationSetup Operation Auto Sequencing Setup Operation Standby Testing Standby TestingSetup Operation Failed Standby Hold DelaySetup Operation Hold Delay Failed StandbySetup Operation Restart Delay Restart DelayOverride Output Override OutputClear Alarms & Logs Clear the Alarm Log Clear Alarms & LogsClear Alarms & Logs Clear Active Alarms Clear Alarms & Logs Clear the Event Log Specifications Liebert AC4 Specifications Specifications Liebert AC4 Page Is t Ne tTwor k Care