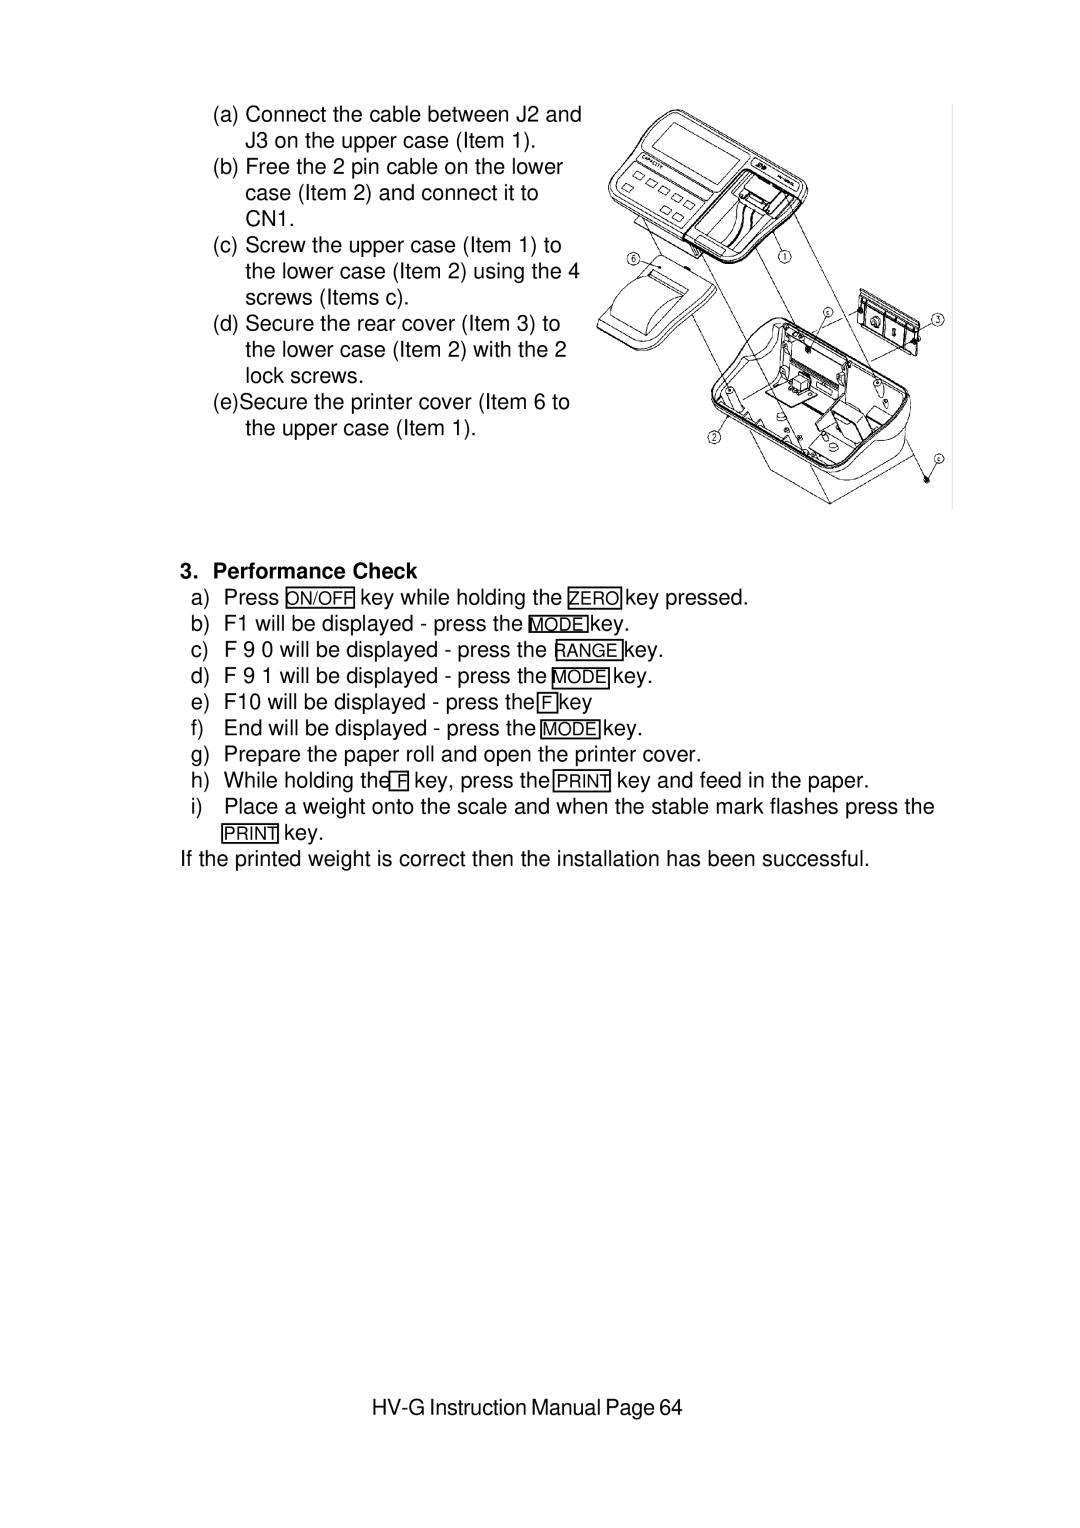
(a)Connect the cable between J2 and J3 on the upper case (Item 1).
(b)Free the 2 pin cable on the lower case (Item 2) and connect it to CN1.
(c)Screw the upper case (Item 1) to the lower case (Item 2) using the 4 screws (Items c).
(d)Secure the rear cover (Item 3) to
the lower case (Item 2) with the 2 lock screws.
(e)Secure the printer cover (Item 6 to the upper case (Item 1).
3.Performance Check
a)Press ON/OFF![]()
![]() key while holding the ZERO key pressed.
key while holding the ZERO key pressed.
b)F1 will be displayed - press the MODE key.
c)F 9 0 will be displayed - press the RANGE key.
d)F 9 1 will be displayed - press the MODE key.
e)F10 will be displayed - press the F key
f)End will be displayed - press the MODE key.
g)Prepare the paper roll and open the printer cover.
h)While holding the F key, press the PRINT key and feed in the paper.
i)Place a weight onto the scale and when the stable mark flashes press the
PRINT key.
If the printed weight is correct then the installation has been successful.