50 | 3 System upgrade |
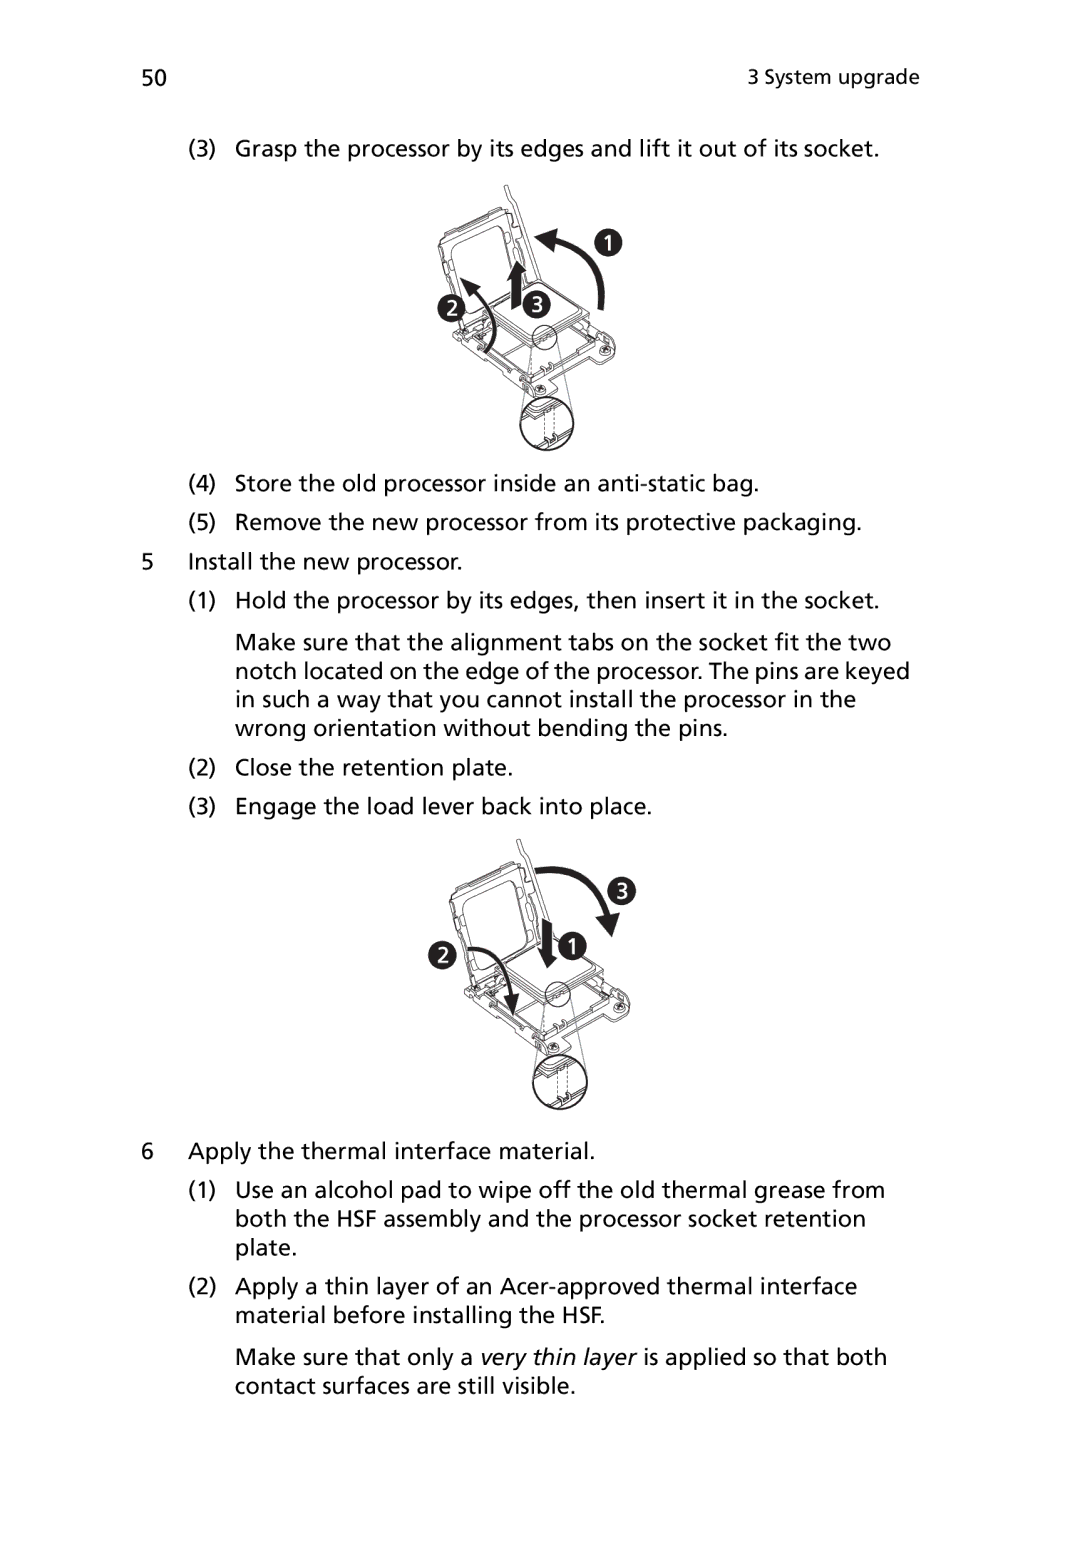
(3) Grasp the processor by its edges and lift it out of its socket.
(4)Store the old processor inside an
(5)Remove the new processor from its protective packaging. 5 Install the new processor.
(1)Hold the processor by its edges, then insert it in the socket.
Make sure that the alignment tabs on the socket fit the two notch located on the edge of the processor. The pins are keyed in such a way that you cannot install the processor in the wrong orientation without bending the pins.
(2)Close the retention plate.
(3)Engage the load lever back into place.
6Apply the thermal interface material.
(1)Use an alcohol pad to wipe off the old thermal grease from both the HSF assembly and the processor socket retention plate.
(2)Apply a thin layer of an
Make sure that only a very thin layer is applied so that both contact surfaces are still visible.