1 Getting started Preparing to use your Acer n10
No. | Label | Description |
|
|
|
3 | Dummy CF | Use this to protect the CF connector when no card is installed. |
| card |
|
|
|
|
4 | Earphone jack | Connects to audio |
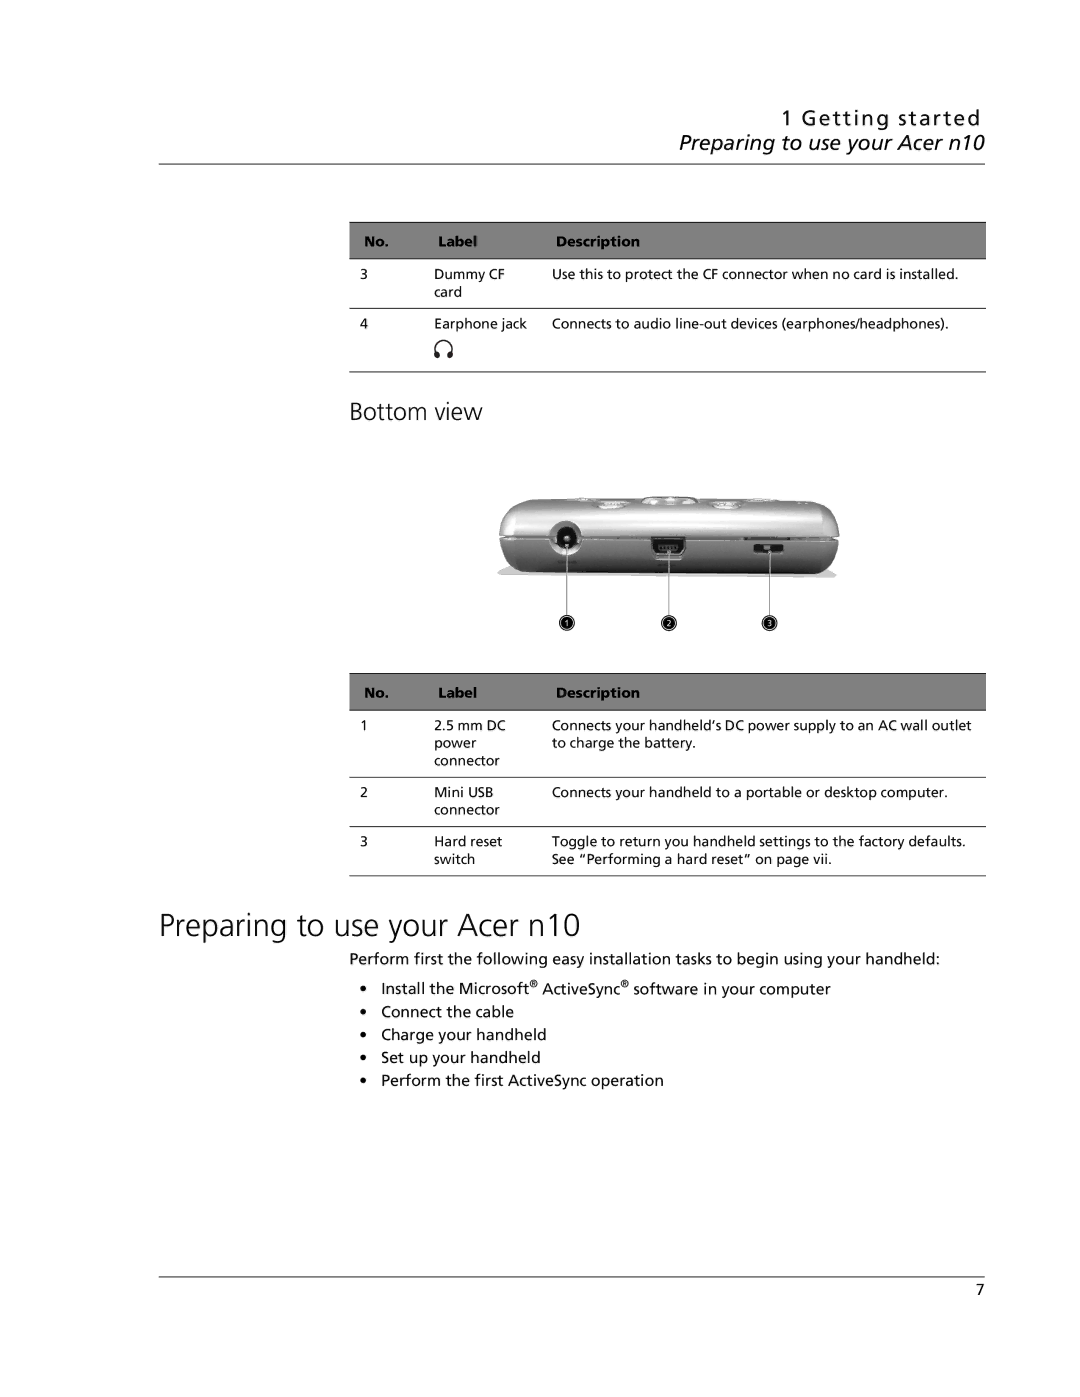
Bottom view
No. | Label | Description |
|
|
|
1 | 2.5 mm DC | Connects your handheld’s DC power supply to an AC wall outlet |
| power | to charge the battery. |
| connector |
|
|
|
|
2 | Mini USB | Connects your handheld to a portable or desktop computer. |
| connector |
|
|
|
|
3 | Hard reset | Toggle to return you handheld settings to the factory defaults. |
| switch | See “Performing a hard reset” on page vii. |
|
|
|
Preparing to use your Acer n10
Perform first the following easy installation tasks to begin using your handheld:
•Install the Microsoft® ActiveSync® software in your computer
•Connect the cable
•Charge your handheld
•Set up your handheld
•Perform the first ActiveSync operation
7