Step 4 - Power off the SmartView XPro
Remove both power supplies from the XPro.
Step 5 - Power on the SmartView with the UPGRADE switch ON
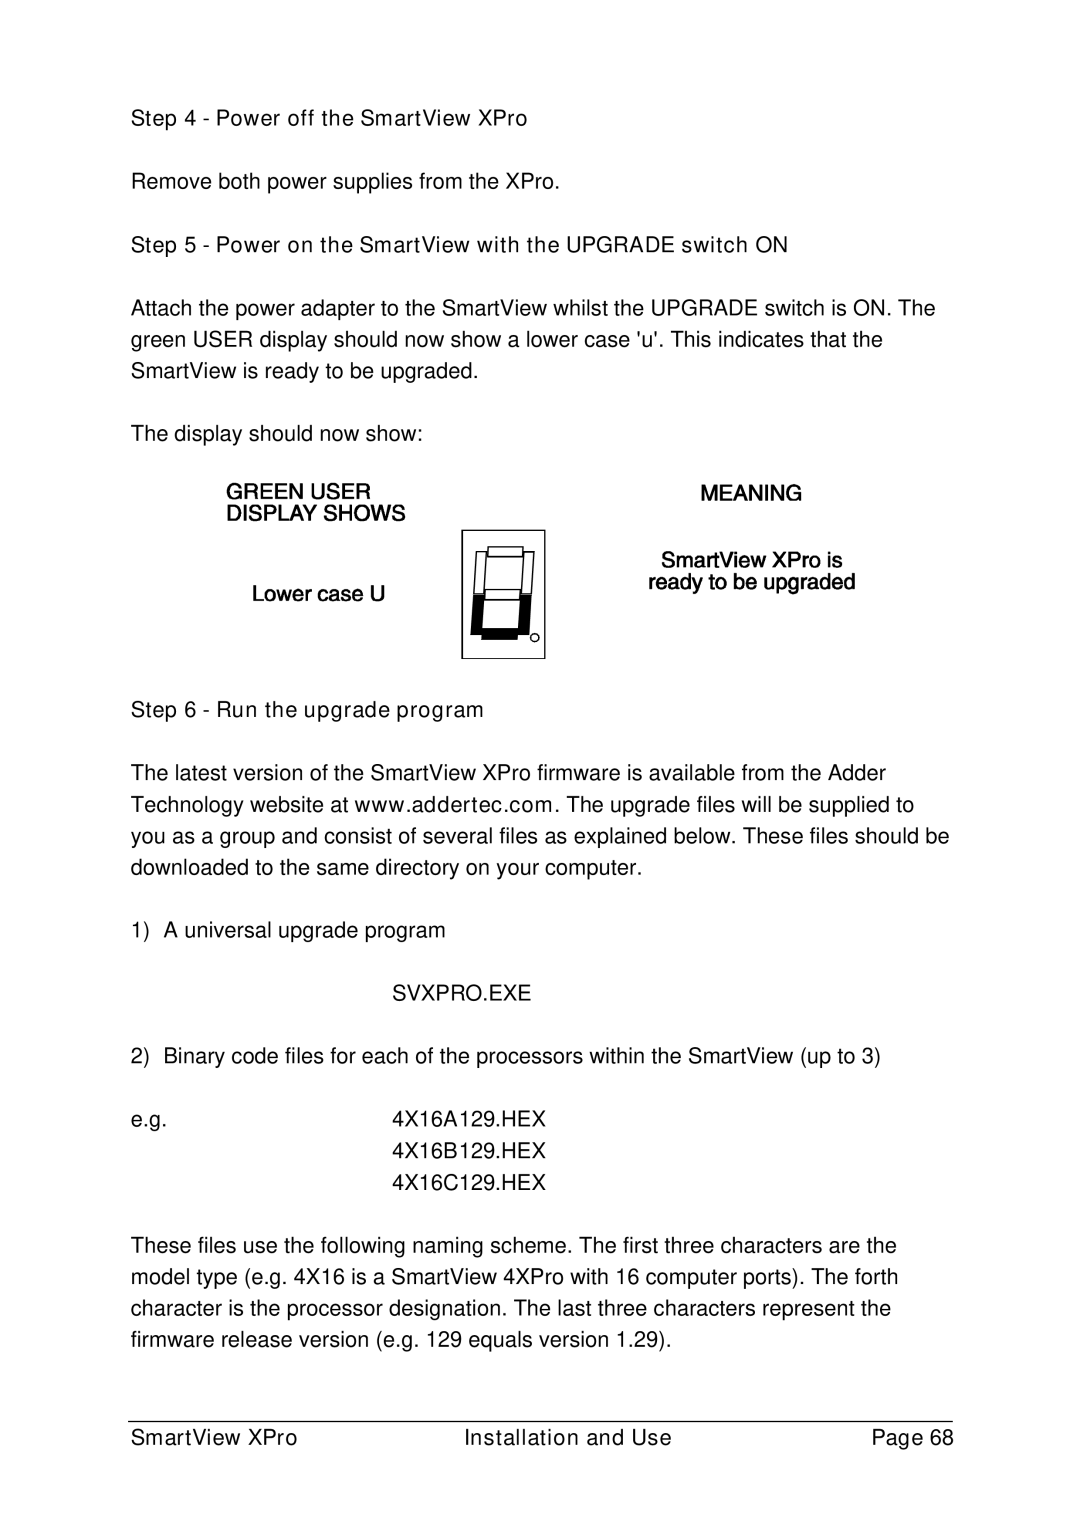
Attach the power adapter to the SmartView whilst the UPGRADE switch is ON. The green USER display should now show a lower case 'u'. This indicates that the SmartView is ready to be upgraded.
The display should now show:
Step 6 - Run the upgrade program
The latest version of the SmartView XPro firmware is available from the Adder Technology website at www.addertec.com. The upgrade files will be supplied to you as a group and consist of several files as explained below. These files should be downloaded to the same directory on your computer.
1)A universal upgrade program
SVXPRO.EXE
2)Binary code files for each of the processors within the SmartView (up to 3)
e.g.4X16A129.HEX 4X16B129.HEX 4X16C129.HEX
These files use the following naming scheme. The first three characters are the model type (e.g. 4X16 is a SmartView 4XPro with 16 computer ports). The forth character is the processor designation. The last three characters represent the firmware release version (e.g. 129 equals version 1.29).
SmartView XPro | Installation and Use | Page 68 |
